Life

Busy. Busy. Busy.

Hello blog,

I have not forgotten about you, although I haven’t posted in a few days. It’s been busy around our house with a lot of non-blog worthy stuff, and the next two weeks don’t look like they will be any slower. Tomorrow is Valentine’s Day — my favorite holiday! Yay! Then Monday is my birthday. Double yay — well for me anyway. Double trouble for the hubby. He’ll manage though. We have lots of celebrations planned, including a Valentine’s Dinner tomorrow night, dinner with family on Saturday, birthday dinner No. 1 on Sunday, birthday dinner No. 2 on Monday, followed by Monday Night Trivia, and then a fondue birthday celebration on the following Saturday. I am full just thinking about it!

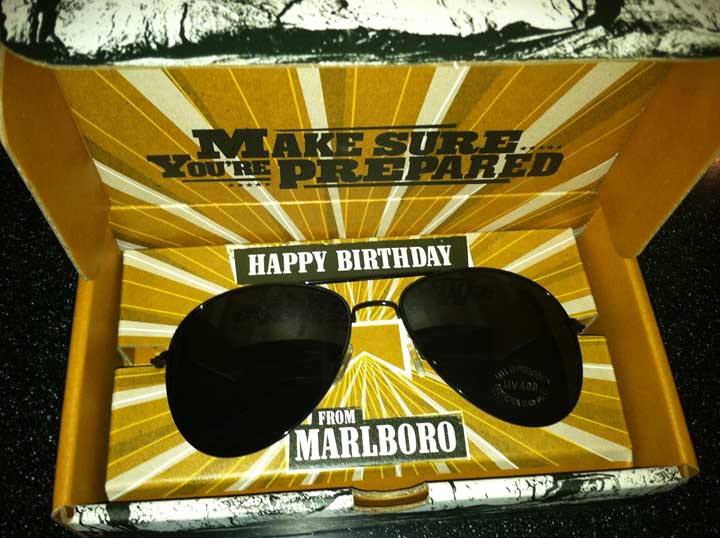
I consider my birthday celebrations officially started with the receiving of my first gift last night…. from Marlboro Cigarettes. Yes, you heard right. I get presents from Marlboro. Let’s clear up a few things: 1. I don’t smoke. 2. I’ve never smoked anything in my life. 3. I never plan on smoking anything in my life. To answer the obvious questions — why the heck is Marlboro sending you a birthday gift  — well, I haven’t a freakin’ clue! I somehow ended up on their mailing list and they like to send me gifts. In the past I got a sweet bottle opener that attaches to a bar. Too bad I donated it before we got our house and our bar. Such is life.

I know, I know… you are dying to know what they could have possible sent, right? Well, this little box arrived at my mom’s place last night. She texted me to tell me she thought maybe Marlboro was sending me free samples of cigarettes. That idea in itself was absurd, so I told her to open it and find out.

Marlboro Swag

Check out my AWESOME birthday gift.  Yes, that’s right. Yours truly just got some SWEET AVIATORS from a cigarette company. Randommmmm.

Marlboro Swag

I’ve got some bad news for Marlboro (who will likely remove me from their list should they ever stumble upon this post): those are sweet aviators and I will TOTALLY be rocking them this summer, but I am still not gonna pick up smoking. I’ve got enough bad habits as it is. Good try though! Maybe I’ll buy a candy cigarette and fake smoke in my aviators just for effect… but that still seems unlikely.

In other news, we are oober close to replacing some of the doors in our house. We are aiming to replace our front and car port doors probably in March and I cannot wait!!! My stepdad is going to help us with the install so I actually get to learn what the heck it takes to put a new door in. Sweeeeeet. The hubby has already warned me we will likely scuff up some of our walls and that I need to prepare myself. Good thing he did because it would and will totally stress me out.

In other other news, we started a trivia team with my neighbors and a few friends this past Monday night and we won Third Place on our first go at it! Go us.

OK, OK. Enough rambling. Happy Wednesday.

Craft Projects, Furniture, Pallet Projects

Pallet Ottoman

I feel very accomplished writing this post. I’ve been saying for about a month now that I planned to build an ottoman out of shipping pallets all on my own. Well, I finally did it. And, it’s cute!

After a busy morning yesterday, I had the perfect opportunity to make my ottoman. The house was clean and decorated, dinner was cooking in the crock pot, the hubbs was busy watching football…. the only thing left to do was tackle my project! And the weather was perfect.

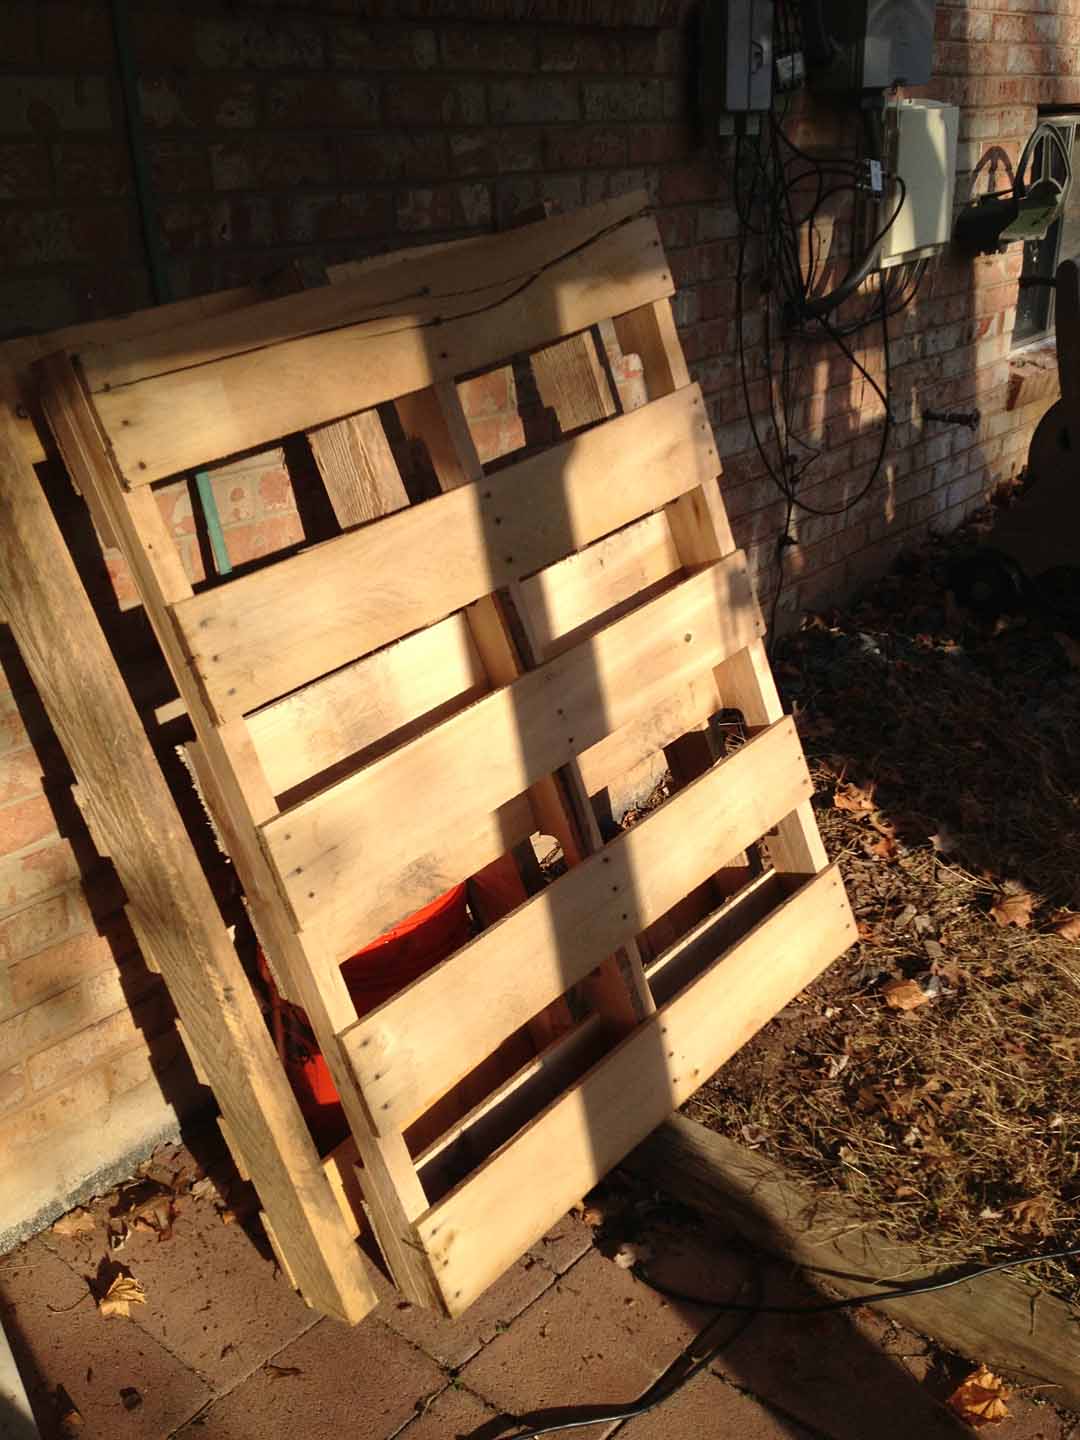
So I lugged four pallets from the front of the house to the backyard and pulled out my arsenal of tools and got to work.

IMG_2036 - Version 2

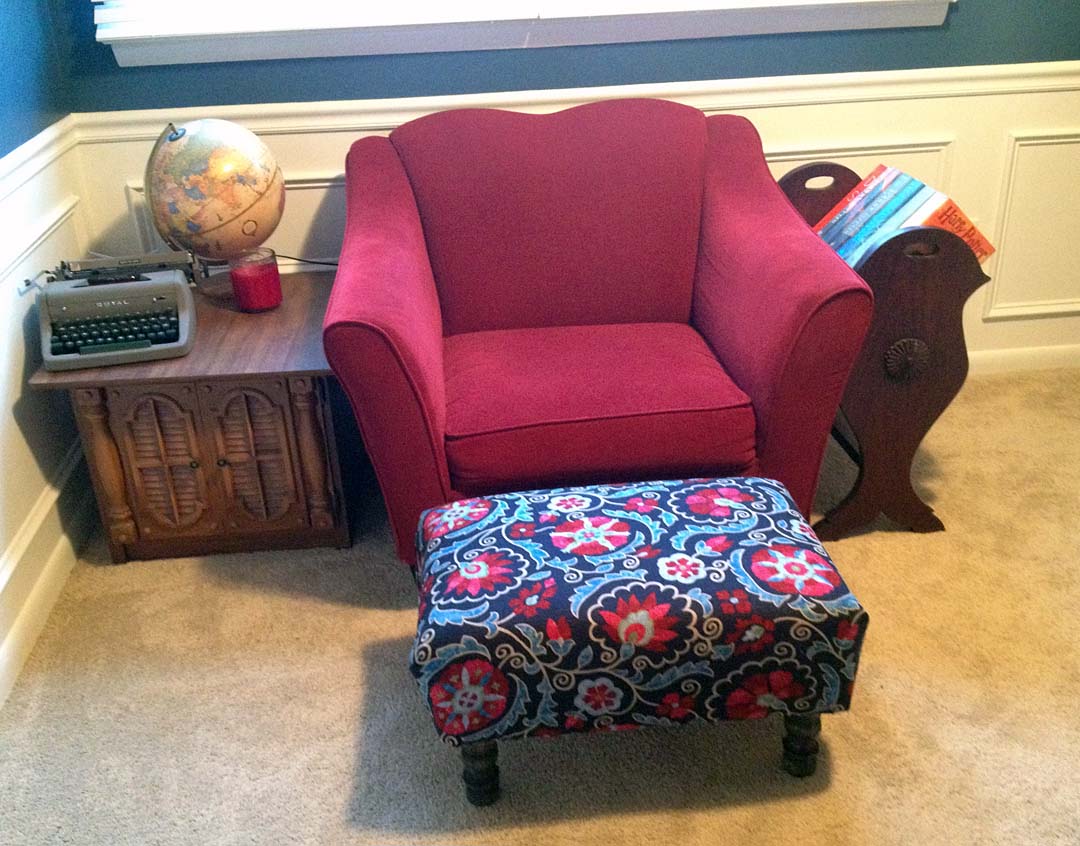
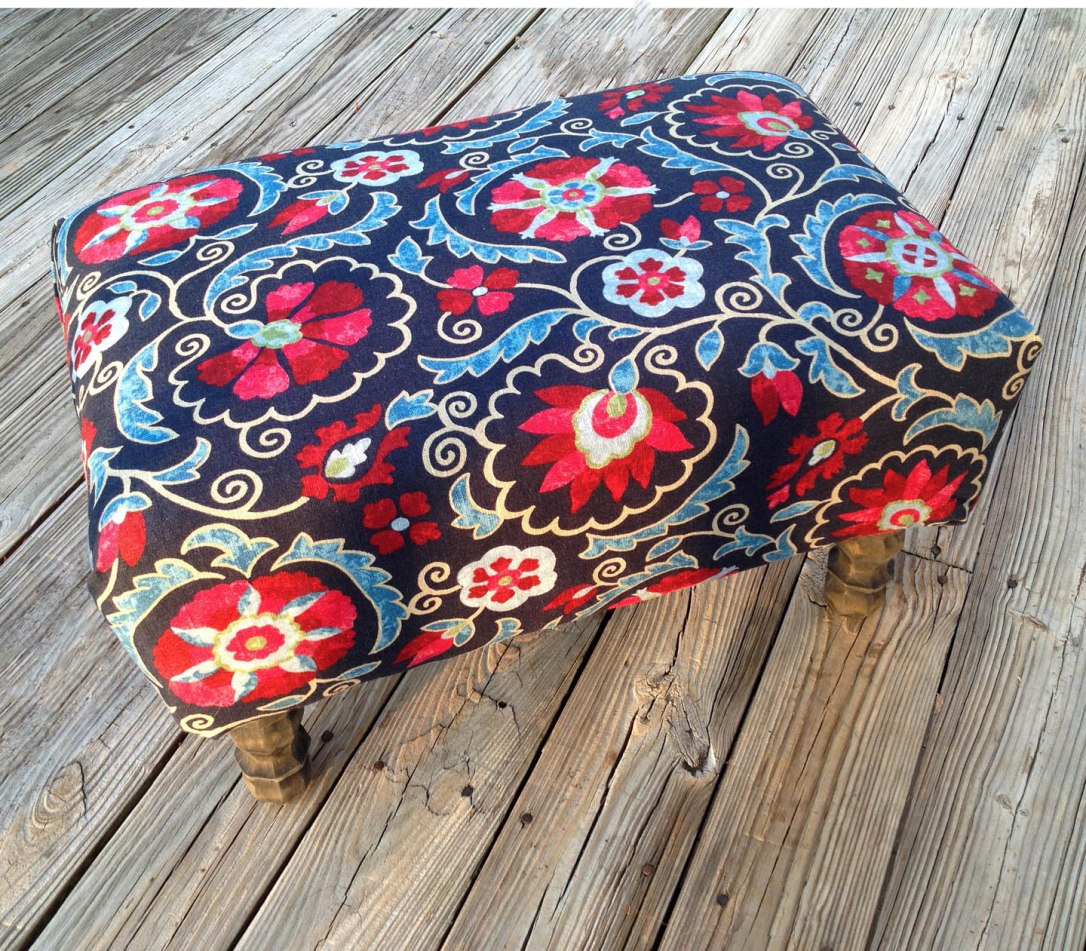
When I had the idea to make this ottoman, it was simply that, an idea. I had a plan in my brain, but wasn’t sure where it would go in the house or who would use it. So I trucked on over to JoAnn’s last weekend to look for some inspiration. Lo and behold I found a beautiful piece of fabric in the home decor aisle (that of course wasn’t on sale) that immediately became my inspiration of the project. The fabric was navy with cherry red  flowers on it, and it would go perfectly in our blue den in front or our red chair.

Now that I knew where I was making the ottoman for, I stood in a miserably long line to get a piece of foam cut for the project (24 in. x 16 in.) and my yard of fabric. The fabric was $45, but I had a coupon for 60% off. Honestly, that’s one of the reasons I waited in the 30-minute line…. that was a sweet discount.

Anyway, my foam and fabric sat around the house for a week before I had the chance to get my hands on it. I pretty much built the ottoman around the piece of foam, so it was pretty important.

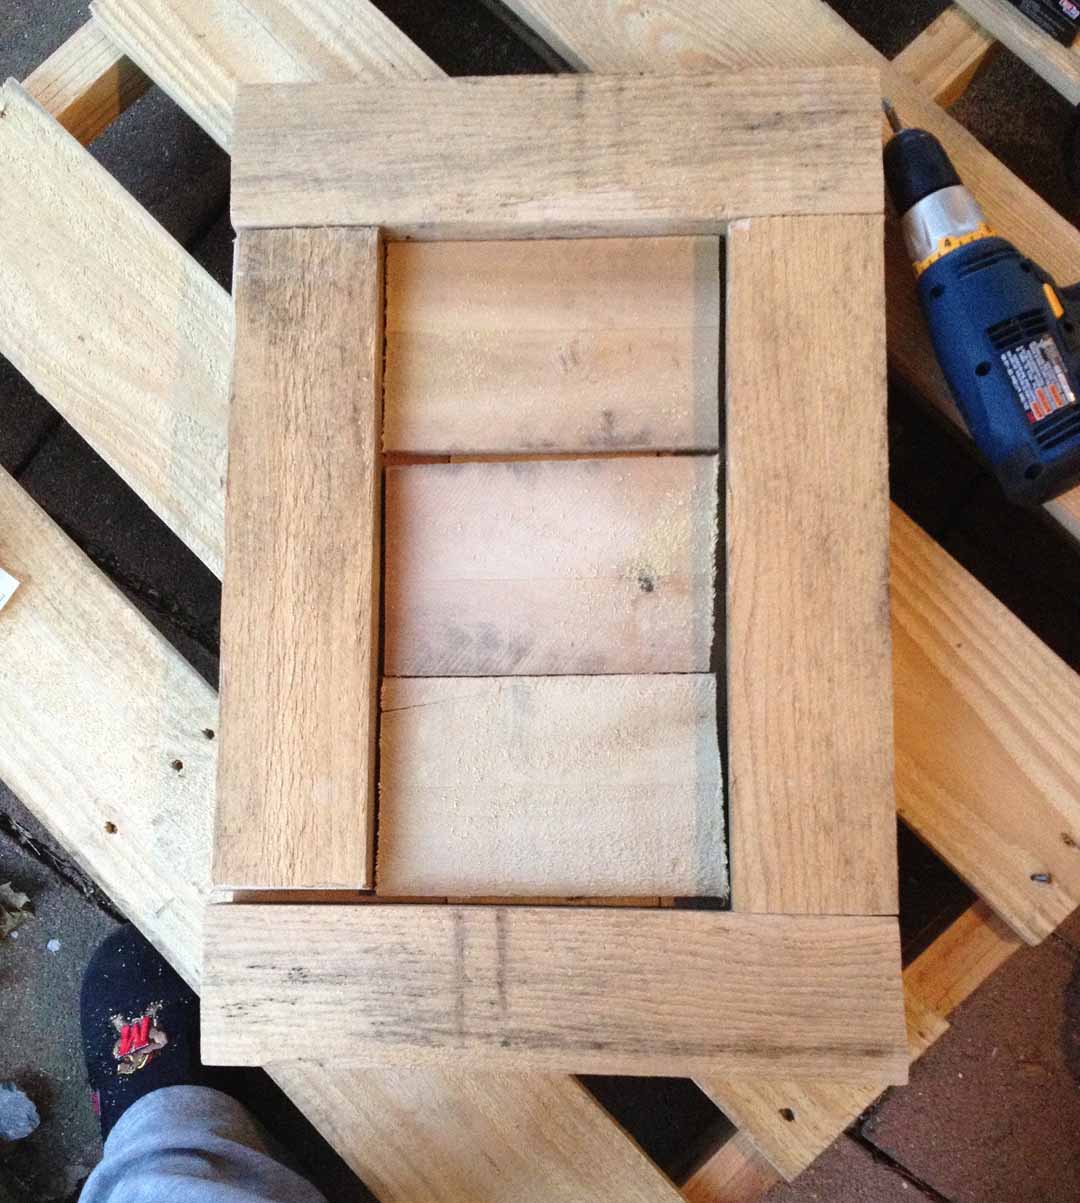
Onto the building part…. I tore two different shipping pallets apart to make this piece. The first I had already mostly used in my pallet sign project. With this project complete, that pallet is totally donezo. I took the top boards off of the second pallet by cutting them with my jigsaw (not quite the appropriate tool to use, but I had to work with what I have). The pallet boards were about 5.5″ wide, so I cut three of them down to the length I needed (24 in.). These boards were the surface on which I adhered my foam.  Then, I cut two 2×4 boards to go beneath the ottoman top to support the top and allow the boards to be joined. These two boards were 16 inches long, that way they spanned across all three boards (the short length). I screwed the three top boards into the two supports to start my structure.

IMG_2042

Once that was complete, I flipped my board over to measure the distance between the two support boards. I wanted to add support lengthwise as well, so I had to determine the size I needed of the 2×4.

IMG_2043

I cut two boards to fit along the edges, then screwed them into the structure from the top down.

As a final measure of sturdiness, I ran three boards opposite the three top boards (only in the center of the structure), and one final board along the middle.

IMG_2045 - Version 2

With everything screwed or nailed into place, my base for my ottoman was complete. Since none of the pallet wood would be showing, I didn’t sand or stain any of it.

Next, I took some spray adhesive and sprayed the top of the ottoman base. I firmly placed my foam (4 in., high density) on top of the glue and let it sit for a minute. Once I couldn’t pull the foam off, I brought the project inside and began to cover the ottoman. I started with a layer of batting, which I wrapped around the long edge of the ottoman and stapled underneath. Then, I did the same thing width-wise. When I was finished with the batting, the entire top and sides of the ottoman were covered and plush.

IMG_2046 - Version 2

Next up, fabric!! I ironed my fabric, then laid it out on the floor to position the ottoman. Then I tightly (but not too tightly) wrapped it around and stapled it to the ottoman base. I did triangular folds around the corners to be a bit fancy. Oh la la!

IMG_2048

Once that was completed, I went the extra mile and added another fabric to the bottom so no pallet wood was exposed at all. For this step, I simply folder the edges of the fabric into a faux hem, then stapled them on top of the existing fabric. It turned out great!

IMG_2049 - Version 2

With my ottoman all covered, it was time to add the legs. I bought four heavy-duty leg plates at Home Depot that I screwed into the base. I definitely recommend this because it saves you from having to bore a hole into your base itself and makes it a little more secure and stable. Not to mention they are $2 or $3 a pop. Win.

IMG_2050 - Version 2

Meanwhile, I stained the legs black and gave them a quick coat of poly.

IMG_2053

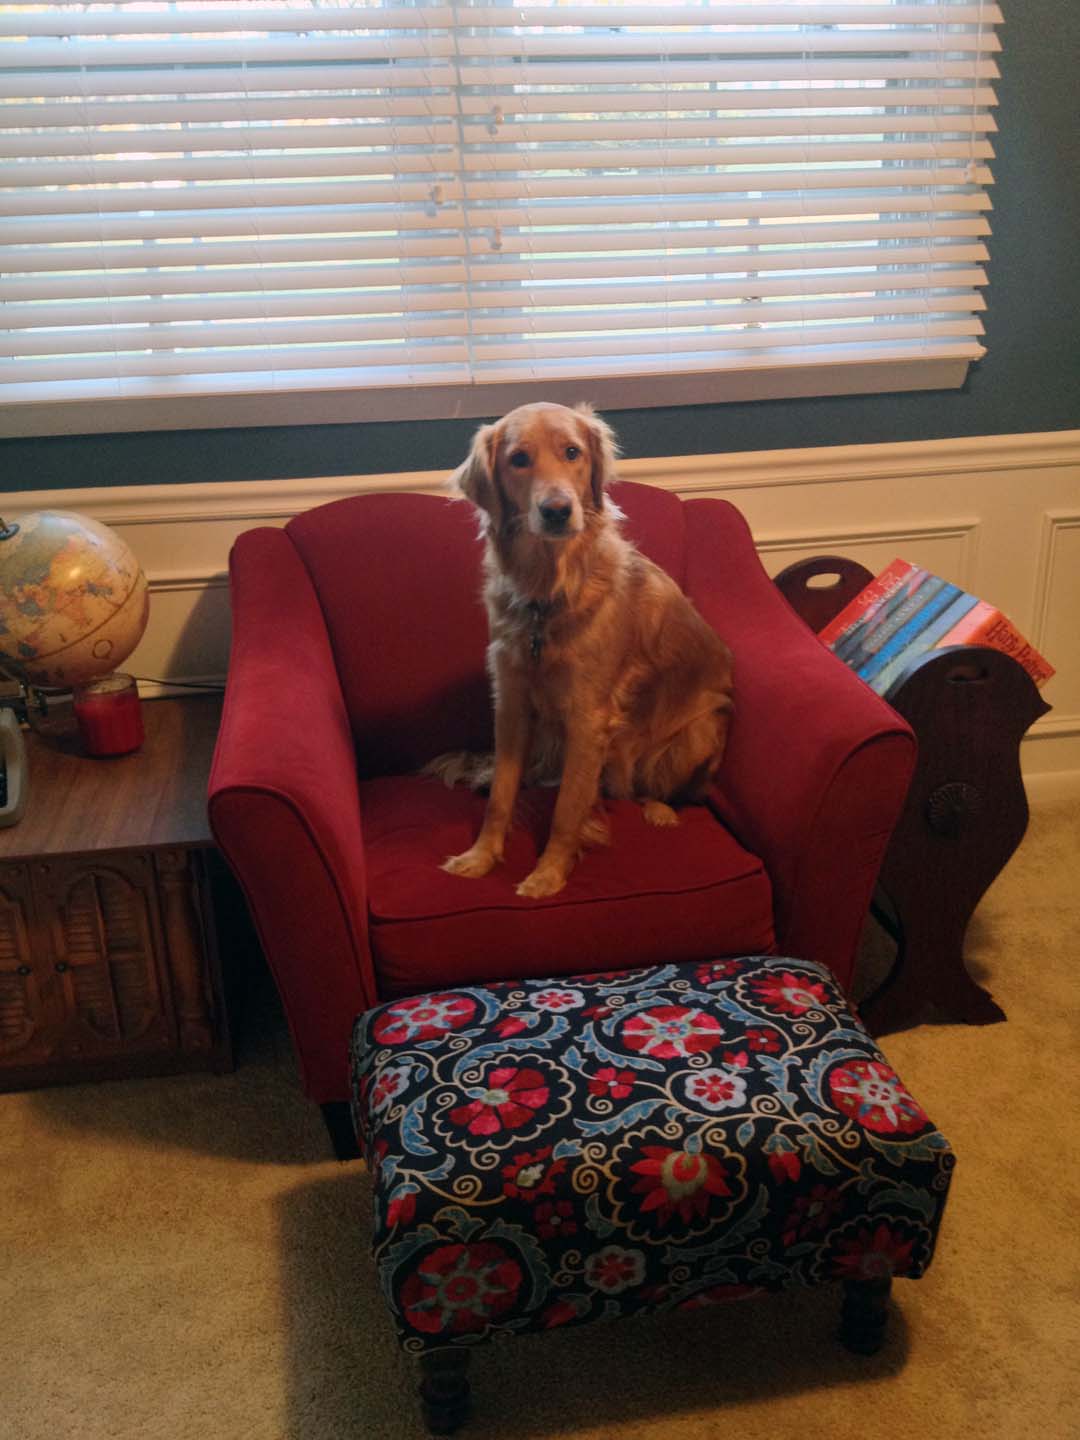
When all of that was finished, I assembled the whole thing and was done. Time to relax on my fabulous, new ottoman. Or should I say, time for Remmy to relax (so spoiled!).

Remmy on Chair

IMG_2055

Finished Ottoman

IMG_2085

IMG_2077

To say I am pleased with how this turned out would be the understatement of the century. I am still slightly shocked that I pulled it off having never built anything from scratch before and totally winging the plans, which I created in my non-mathematical brain of mine. Wow.

It looks great in our room and I couldn’t be happier with how it turned out. And now that I know I can do it, appropriate tools or not, I will happily tackle another ottoman project as soon as we buy a new couch for our family room. I don’t want to build it without knowing the style of couch we’ll end up with, but I am now confident I can do it.

Happy Monday, everybody 🙂

Graphic Design

Give Thanks printable

Well, it’s almost Thanksgiving. Holy moly, it is early this year. Thanksgiving is always crazy for us because we travel to Ohio to see my dad’s family. That doesn’t sound too crazy, but when you consider that we go up on Wednesday night and come back Saturday morning and that it is a 9-hour drive… well, you see what I’m talking about. But family is family, so we suck it up and go. And we have a great time 🙂

Today’s post is another graphic design tutorial using screen caps in InDesign. Let’s do this!

I wanted to make a “Give Thanks” printable/computer background for the month of November, so I opened up a new InDesign doc and got to work.

Since Fall has such rich, warm tones, I chose an orange for the background by dragging a box to the edges of the paper and filling it.

I adjusted my orange using the CMYK sliders.

In a second layer, I made this cross-looking design using the font Soft Ornaments Six. This shape is four “letters” rotated and joined together.

I liked this look, so I grouped the four “letters” together, then copied and pasted them into another layer. I rotated them so the cross became a snowflake-y design.

Then I added my words. I put them into one text box at first before I started to manipulate the text.

I found a font I like called Albemarle Swash, so I changed my text to that font and started playing with colors. First purple.

Nope. Then light blue with a brown background…

And then I changed “give” to be smaller and all lowercase, resting it on the upper curl of the “k.”

… and then I got tired of looking at orange. Shocker. I can’t stay away from blue, no matter how hard I try. I also made the document a square instead of a rectangle and changed my text to black.

I like how it turned out, even though the colors have nothing to do with the fall. In the blue, the background looks more like a snowflake, which means I can use this as my background all through the winter.

Feel free to download this printable, and remember to give thanks!

Things I am thankful for:

  • My husband
  • My family
  • My friends
  • My pup
  • My job and my awesome coworkers
  • My new and awesome neighbors
  • My house. Gosh, I love my house.
  • My blog and all of my followers!
  • …. and so many other things.