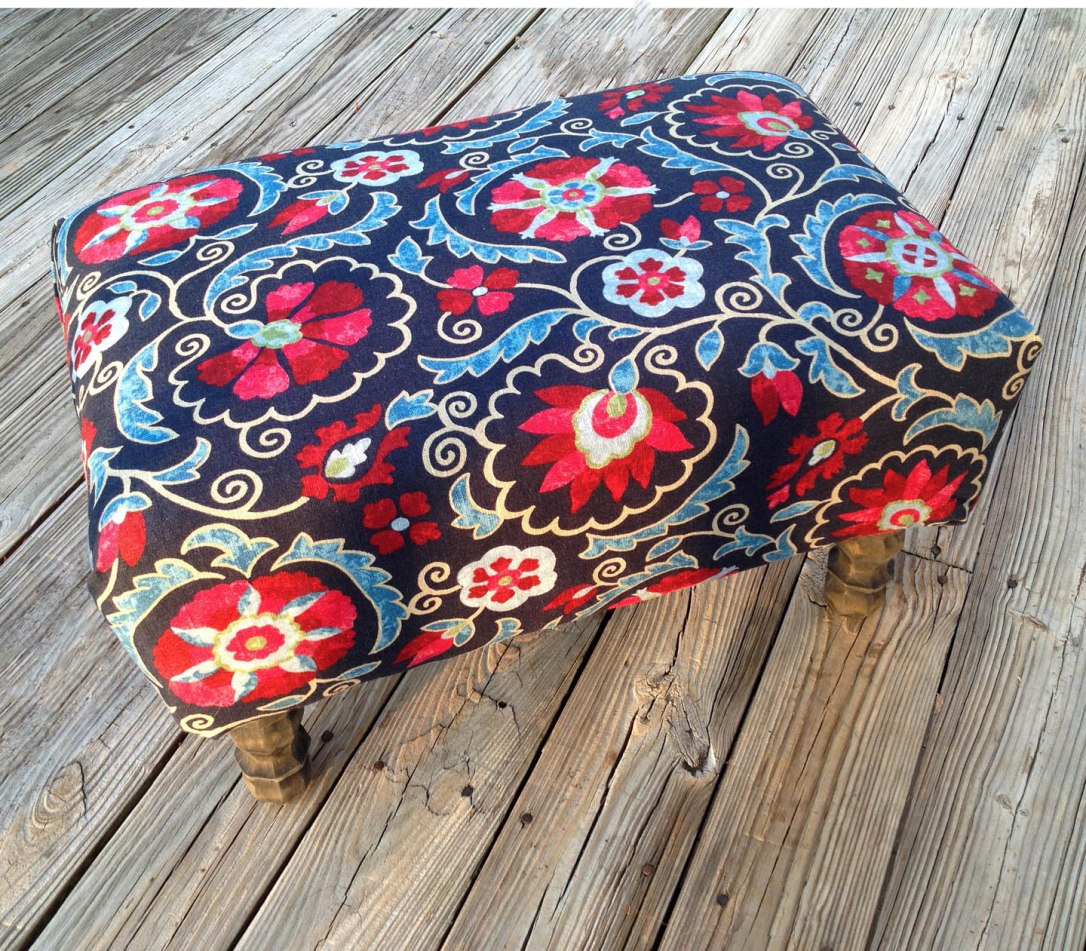
I feel very accomplished writing this post. I’ve been saying for about a month now that I planned to build an ottoman out of shipping pallets all on my own. Well, I finally did it. And, it’s cute!
After a busy morning yesterday, I had the perfect opportunity to make my ottoman. The house was clean and decorated, dinner was cooking in the crock pot, the hubbs was busy watching football…. the only thing left to do was tackle my project! And the weather was perfect.
So I lugged four pallets from the front of the house to the backyard and pulled out my arsenal of tools and got to work.

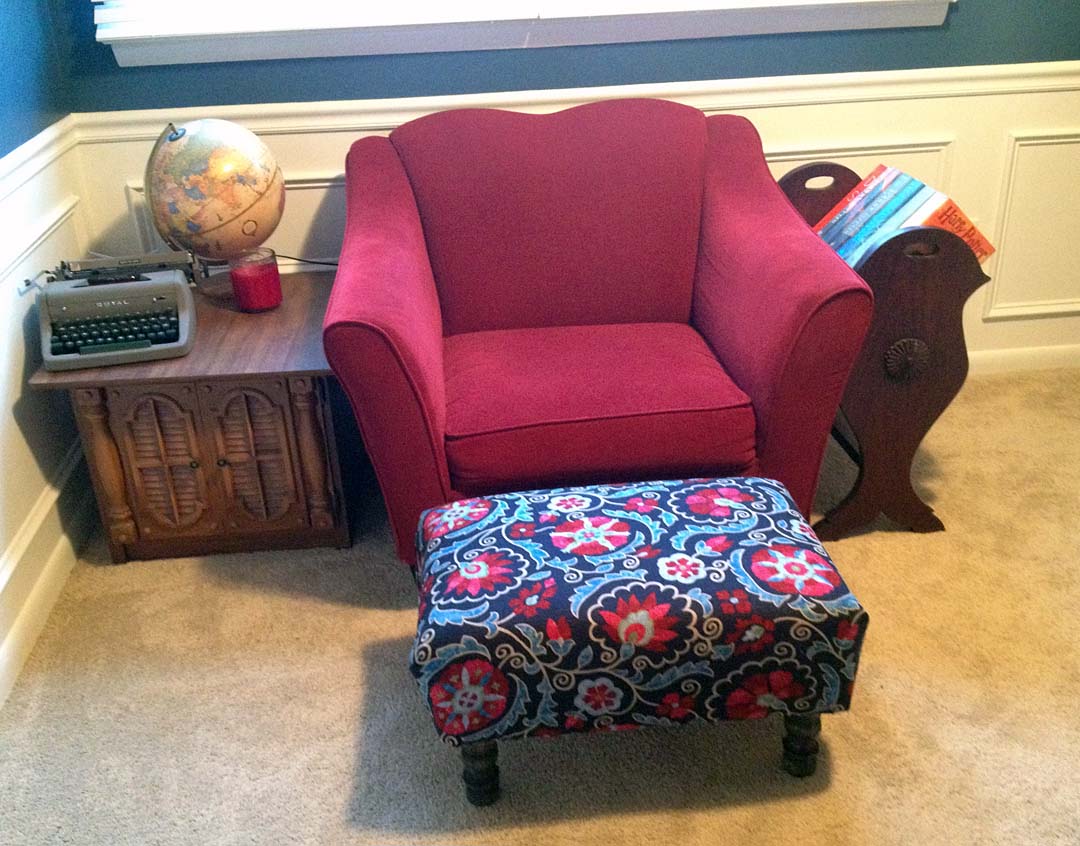
When I had the idea to make this ottoman, it was simply that, an idea. I had a plan in my brain, but wasn’t sure where it would go in the house or who would use it. So I trucked on over to JoAnn’s last weekend to look for some inspiration. Lo and behold I found a beautiful piece of fabric in the home decor aisle (that of course wasn’t on sale) that immediately became my inspiration of the project. The fabric was navy with cherry red flowers on it, and it would go perfectly in our blue den in front or our red chair.
Now that I knew where I was making the ottoman for, I stood in a miserably long line to get a piece of foam cut for the project (24 in. x 16 in.) and my yard of fabric. The fabric was $45, but I had a coupon for 60% off. Honestly, that’s one of the reasons I waited in the 30-minute line…. that was a sweet discount.
Anyway, my foam and fabric sat around the house for a week before I had the chance to get my hands on it. I pretty much built the ottoman around the piece of foam, so it was pretty important.
Onto the building part…. I tore two different shipping pallets apart to make this piece. The first I had already mostly used in my pallet sign project. With this project complete, that pallet is totally donezo. I took the top boards off of the second pallet by cutting them with my jigsaw (not quite the appropriate tool to use, but I had to work with what I have). The pallet boards were about 5.5″ wide, so I cut three of them down to the length I needed (24 in.). These boards were the surface on which I adhered my foam. Then, I cut two 2×4 boards to go beneath the ottoman top to support the top and allow the boards to be joined. These two boards were 16 inches long, that way they spanned across all three boards (the short length). I screwed the three top boards into the two supports to start my structure.

Once that was complete, I flipped my board over to measure the distance between the two support boards. I wanted to add support lengthwise as well, so I had to determine the size I needed of the 2×4.

I cut two boards to fit along the edges, then screwed them into the structure from the top down.
As a final measure of sturdiness, I ran three boards opposite the three top boards (only in the center of the structure), and one final board along the middle.
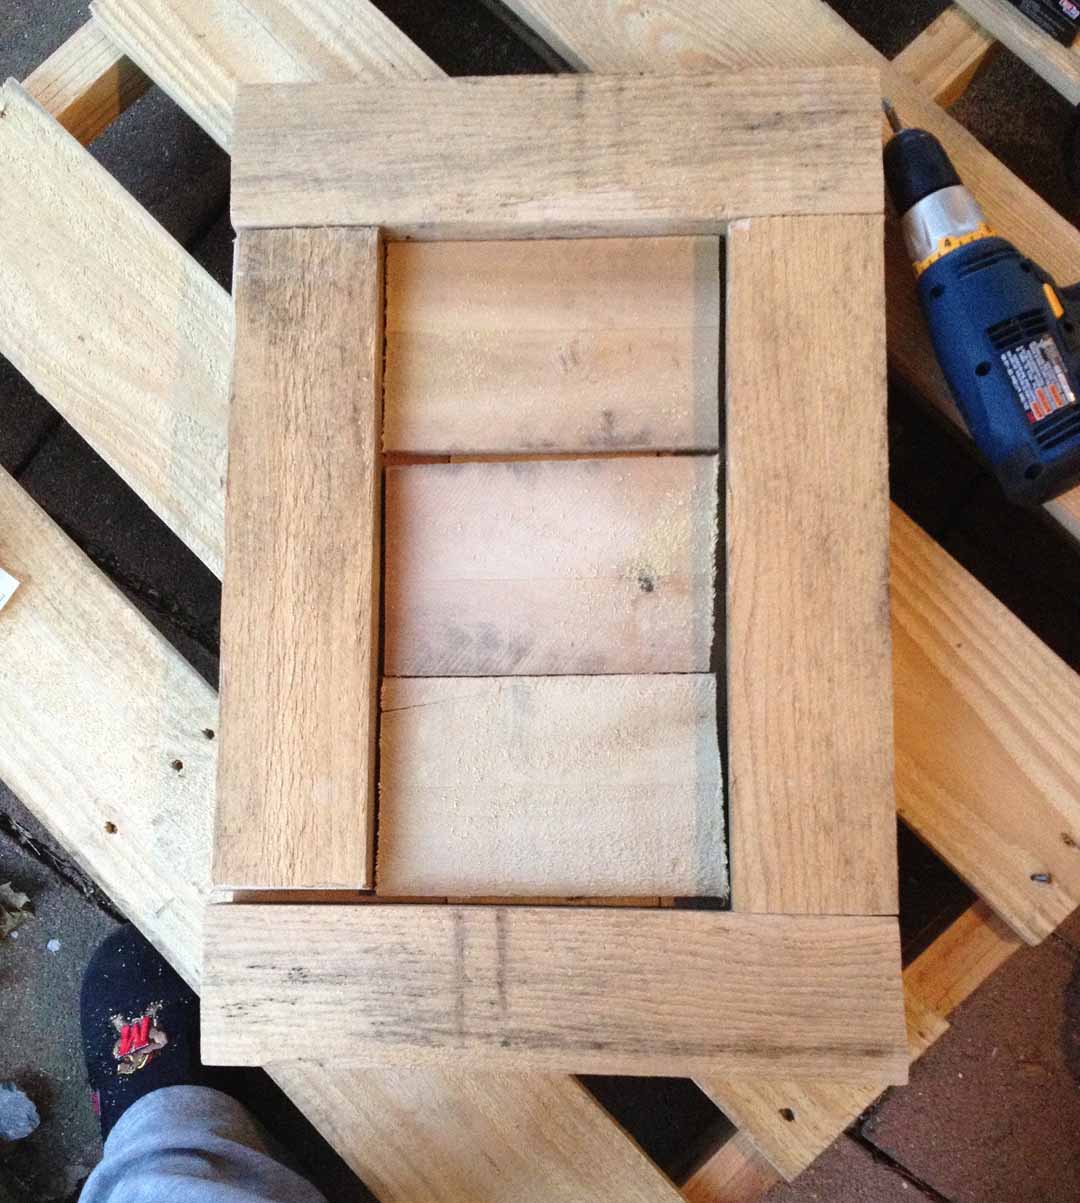
With everything screwed or nailed into place, my base for my ottoman was complete. Since none of the pallet wood would be showing, I didn’t sand or stain any of it.
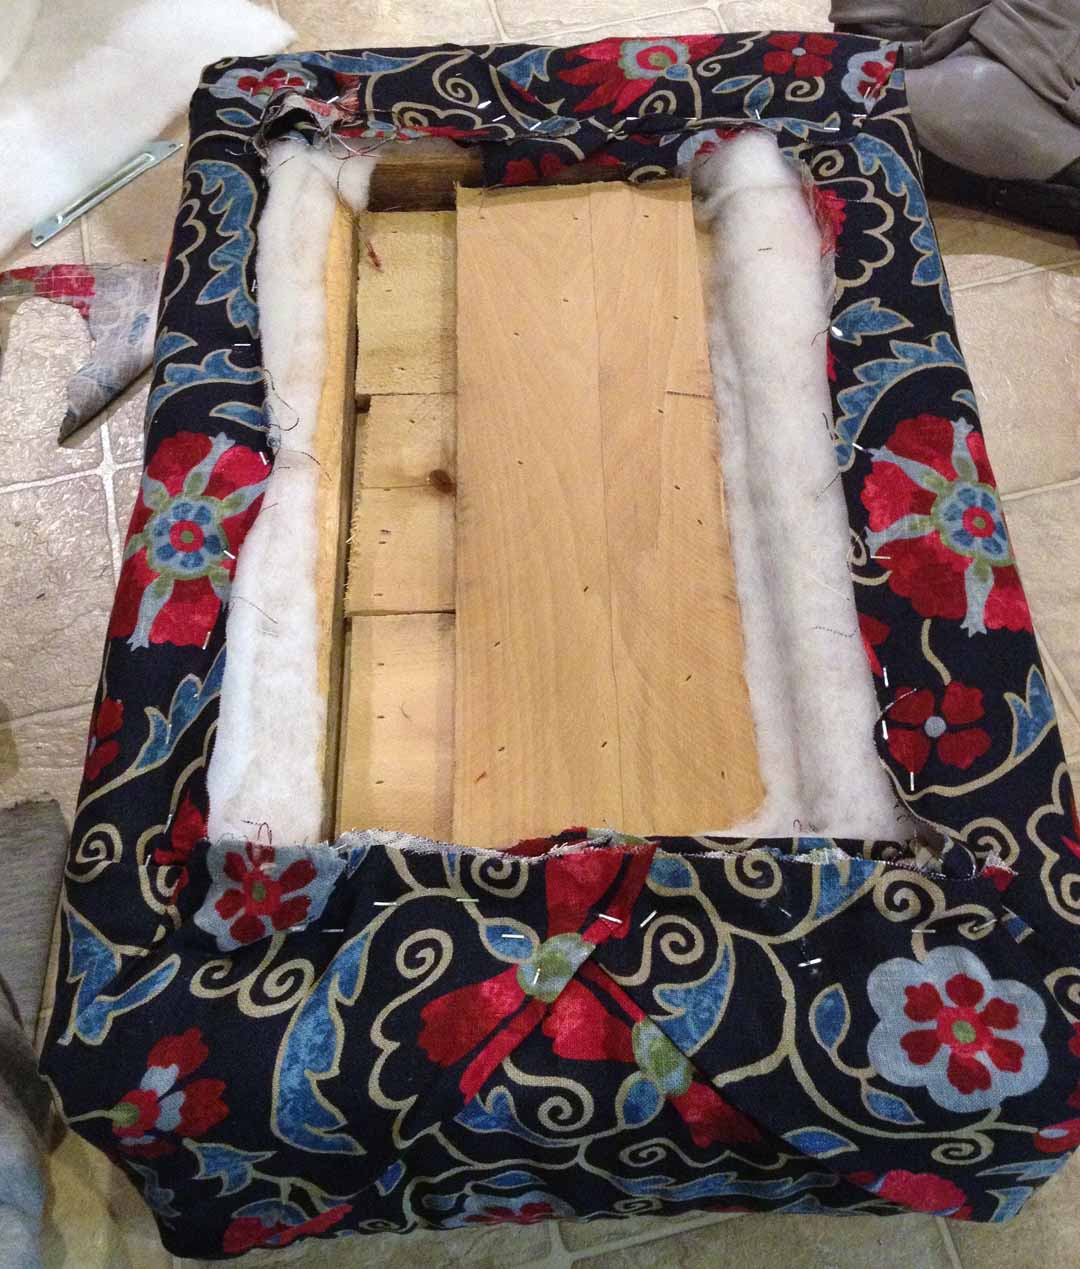
Next, I took some spray adhesive and sprayed the top of the ottoman base. I firmly placed my foam (4 in., high density) on top of the glue and let it sit for a minute. Once I couldn’t pull the foam off, I brought the project inside and began to cover the ottoman. I started with a layer of batting, which I wrapped around the long edge of the ottoman and stapled underneath. Then, I did the same thing width-wise. When I was finished with the batting, the entire top and sides of the ottoman were covered and plush.

Next up, fabric!! I ironed my fabric, then laid it out on the floor to position the ottoman. Then I tightly (but not too tightly) wrapped it around and stapled it to the ottoman base. I did triangular folds around the corners to be a bit fancy. Oh la la!

Once that was completed, I went the extra mile and added another fabric to the bottom so no pallet wood was exposed at all. For this step, I simply folder the edges of the fabric into a faux hem, then stapled them on top of the existing fabric. It turned out great!

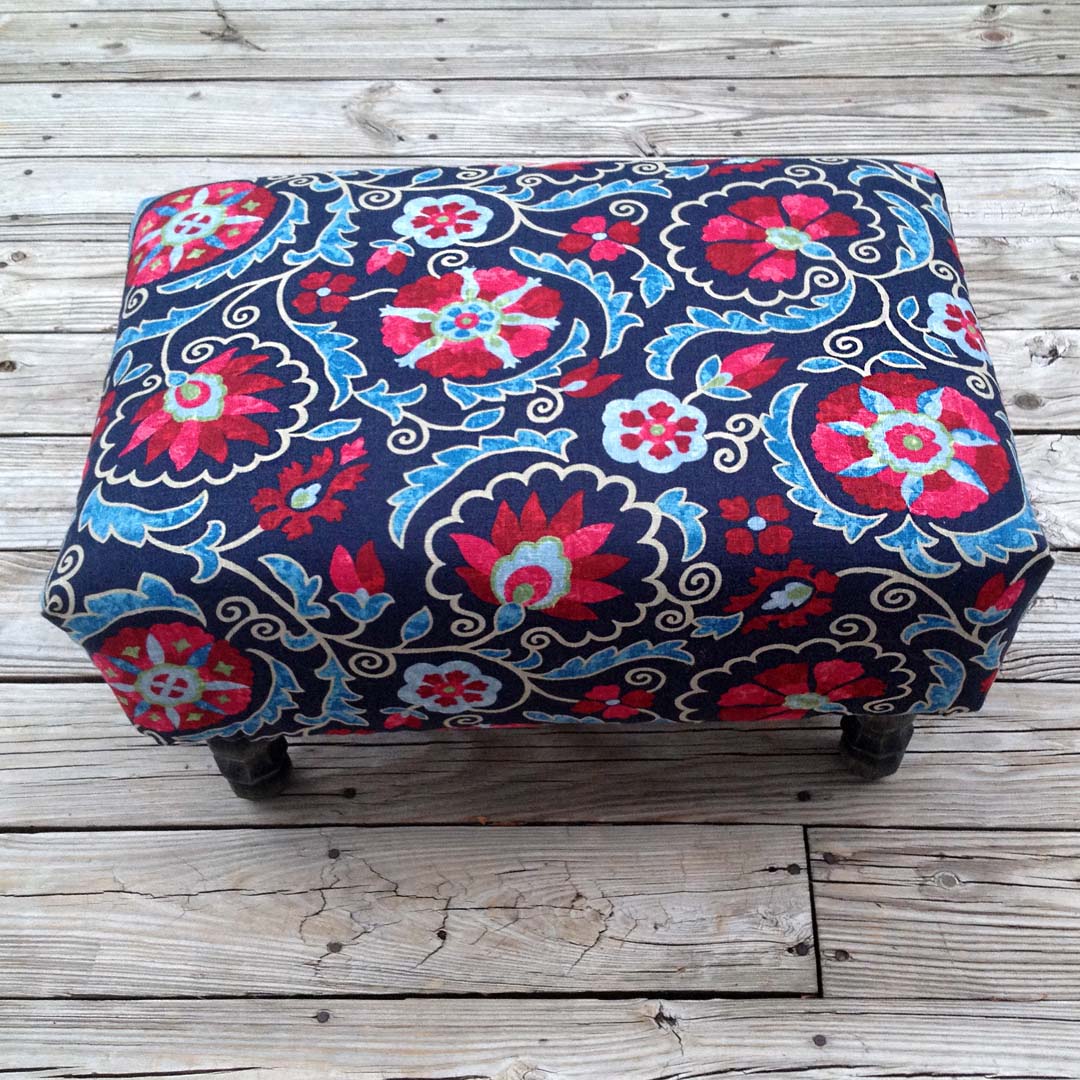
With my ottoman all covered, it was time to add the legs. I bought four heavy-duty leg plates at Home Depot that I screwed into the base. I definitely recommend this because it saves you from having to bore a hole into your base itself and makes it a little more secure and stable. Not to mention they are $2 or $3 a pop. Win.

Meanwhile, I stained the legs black and gave them a quick coat of poly.

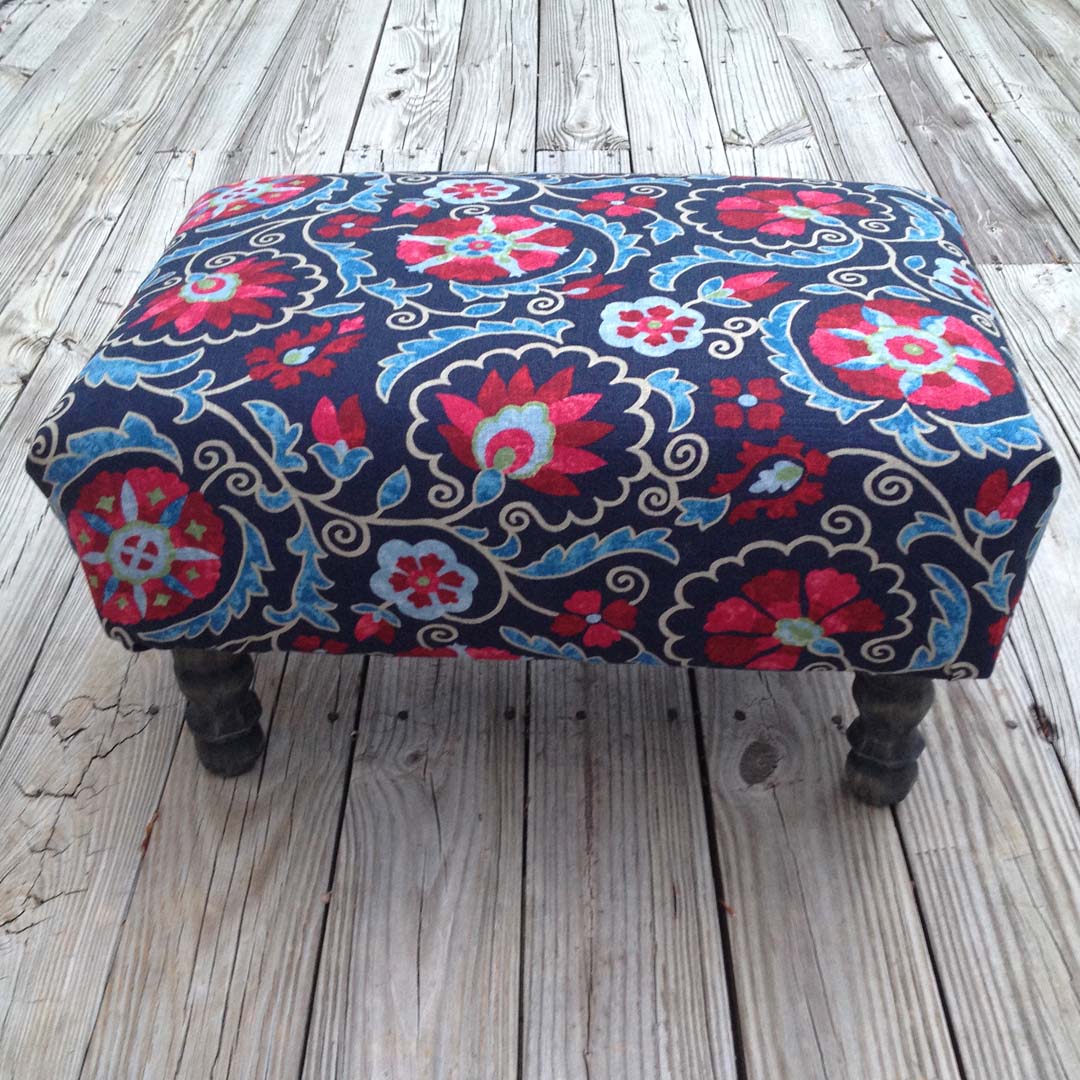
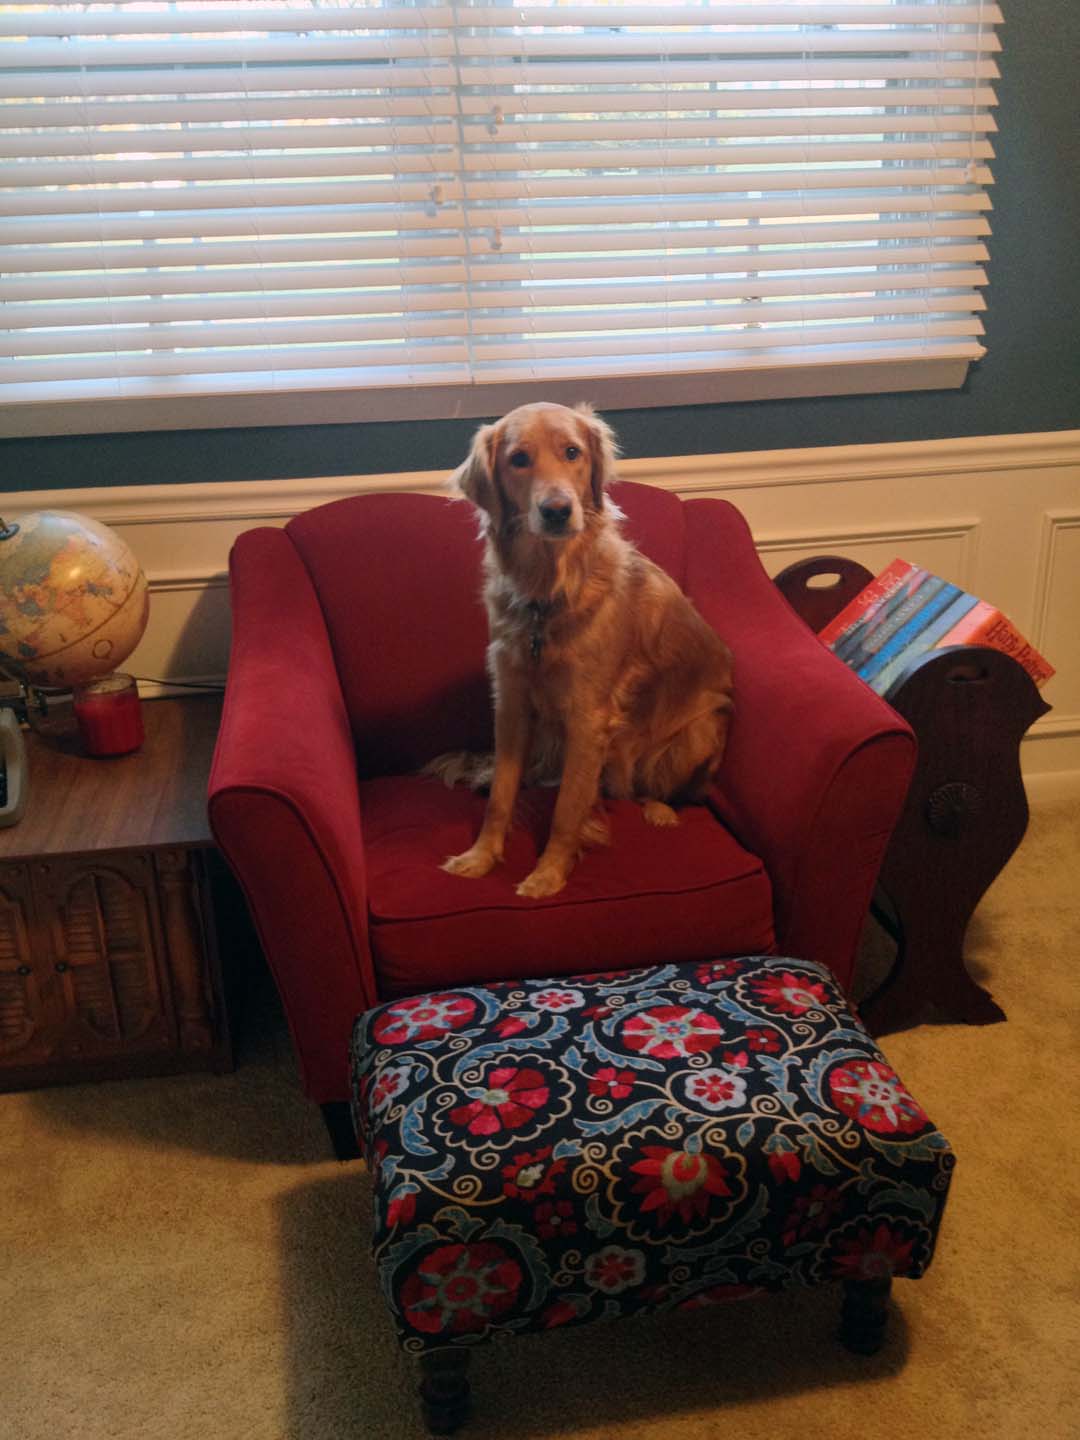
When all of that was finished, I assembled the whole thing and was done. Time to relax on my fabulous, new ottoman. Or should I say, time for Remmy to relax (so spoiled!).


To say I am pleased with how this turned out would be the understatement of the century. I am still slightly shocked that I pulled it off having never built anything from scratch before and totally winging the plans, which I created in my non-mathematical brain of mine. Wow.
It looks great in our room and I couldn’t be happier with how it turned out. And now that I know I can do it, appropriate tools or not, I will happily tackle another ottoman project as soon as we buy a new couch for our family room. I don’t want to build it without knowing the style of couch we’ll end up with, but I am now confident I can do it.
Happy Monday, everybody 🙂