I ordered earring stud posts about a month ago and they couldn’t have arrived at a better time. I got home yesterday and found the tiniest package waiting for me on the counter of 50 silver studs — talk about a great way to break me out of my creative rut! I love to make earrings, but I never wear any of what I make because they are all dangle/drop earrings. I am trying to get into the habit of wearing dangle earrings more, especially after receiving a beautiful cobalt blue pair from my neighbors and a mint green pair from my family this past holiday season. But, old habits die hard… or should I say my insecurities die hard. Confession… I am super sensitive about my ear lobes! I have attached ear lobes and think they look funny. My hubby is so sweet and tells me sometimes how nice my lobes are (sounds really weird when I write it on my blog), but I still am not super adventurous in calling attention to my ears with big statement earrings.
Long story short, I really like stud earrings. I think they look a lot better on my ears. Until now, I’d never tried to make them! Last night after an impromptu dinner date with my dad and after watching an episode of Glee (another confession… I love Glee. Don’t judge too much!), I sat down in my craft room and actually crafted! Woot!
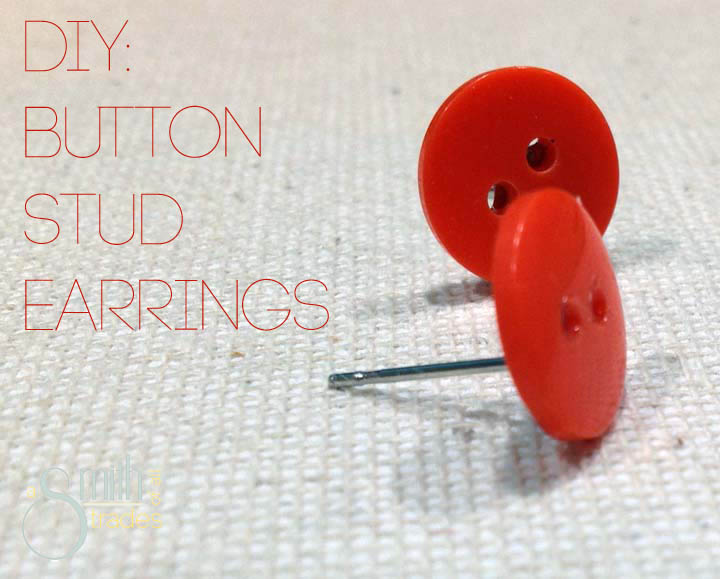
Since I’ve never worked with studs before, I made several pairs of super easy earrings using buttons.
For this project I used:
- Buttons
- Stud earring backs
- E6000 glue
Yup, that’s it!
I spent about 20 minutes sorting through my mounds of buttons, hoping to stumble upon two purple buttons that matched. No such luck (which I still cannot believe)! So I pulled out a bunch of other matches that I liked enough to sport on my ears.
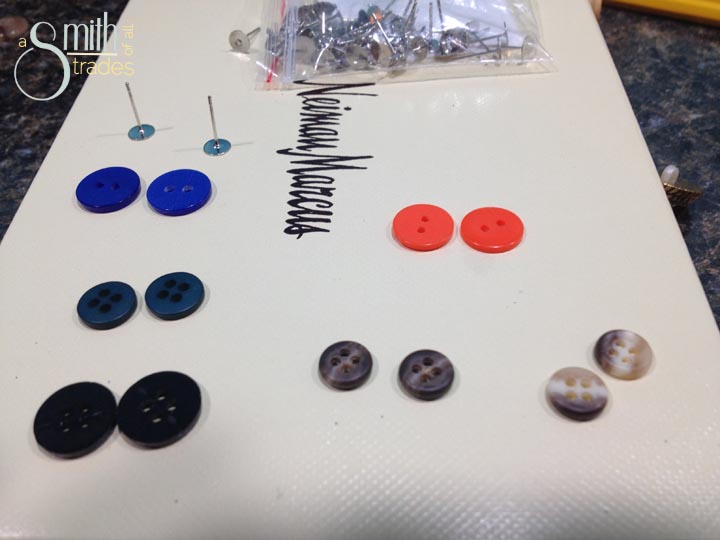
Then, I placed a small dab of E6000 onto my workstation (a Neiman Marcus box) and grabbed an old needle to spread the glue with. You could use a toothpick or a rolled up piece of paper. I just grabbed an old needle because I was planning on tossing it anyway.
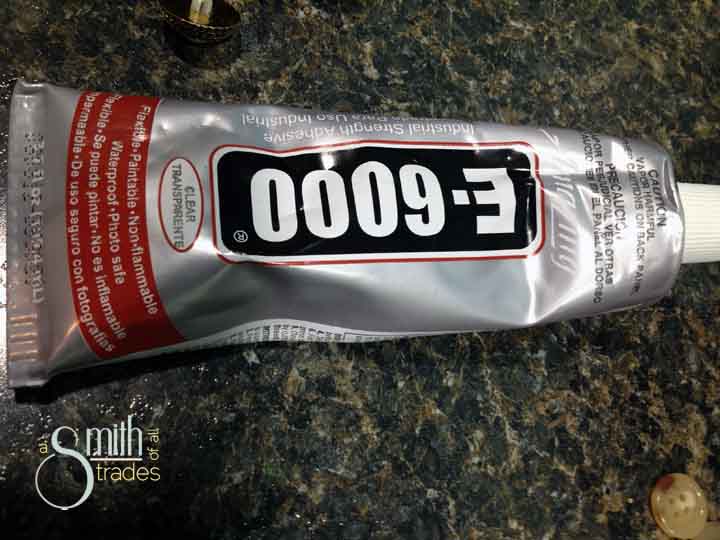
Using the needle, I scooped up some glue and carefully spread it on the backing of my stud.
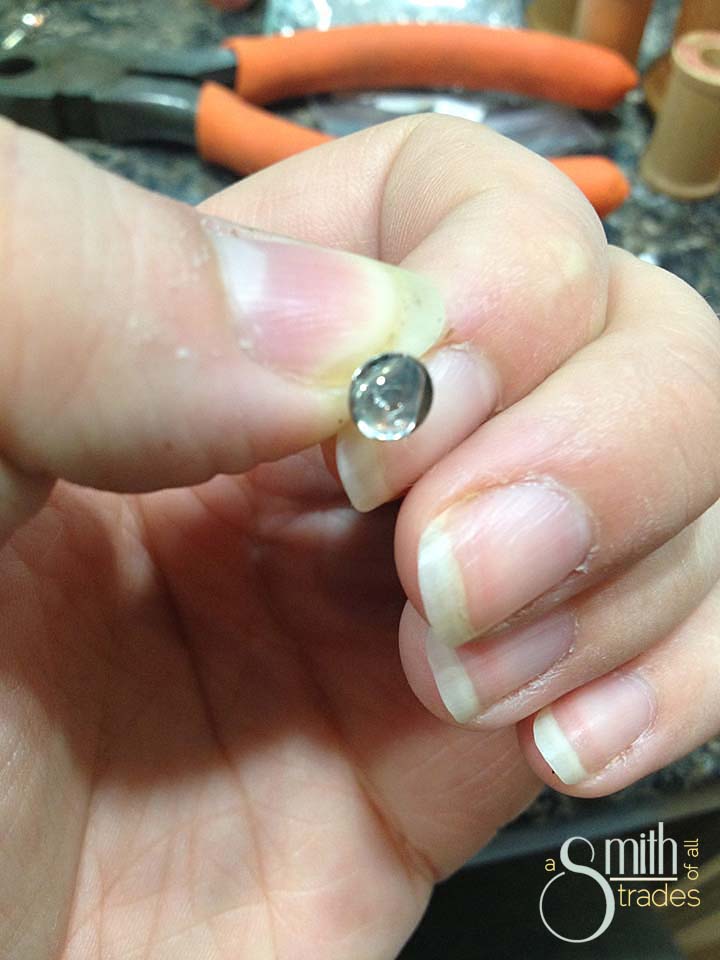
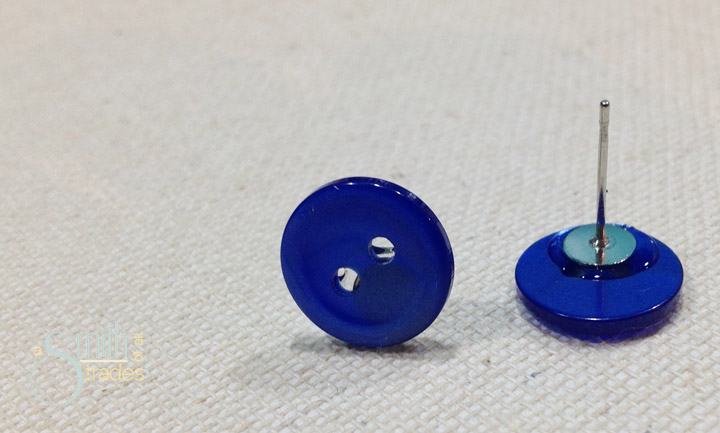
Then, one by one, I placed an earring stud onto the back of each button.
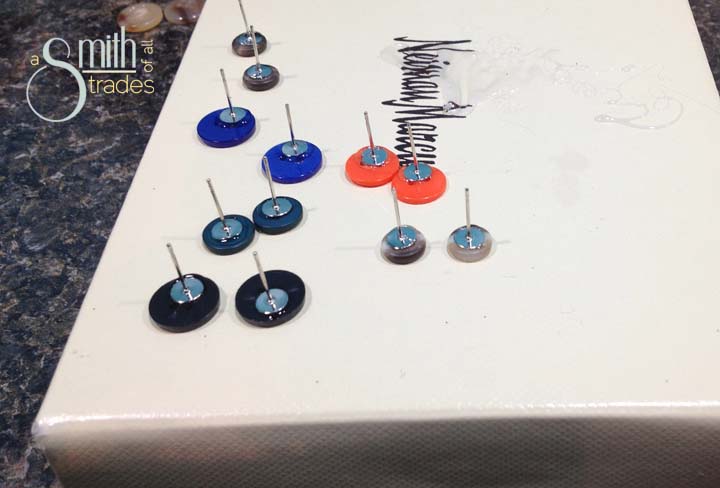
I let everything dry overnight before adding plastic earring backs to each pair.
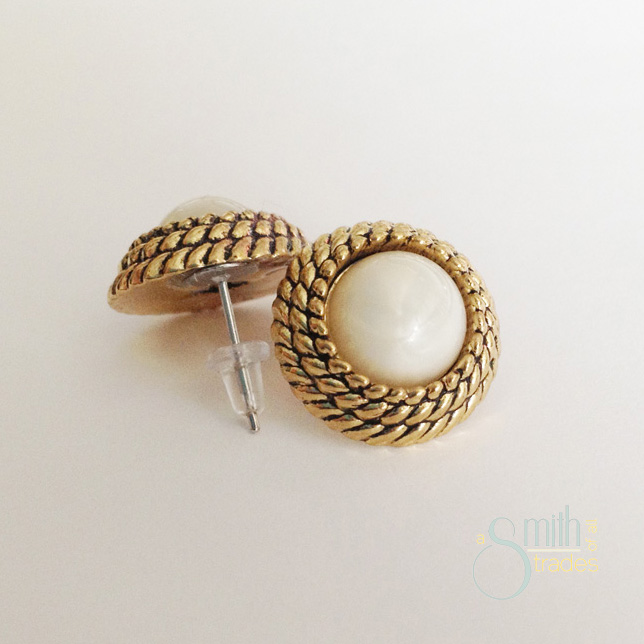
These gold ones are my favorite. The best part is that the buttons are made of plastic, even though they look like metal, so they aren’t heavy on my ears at all.
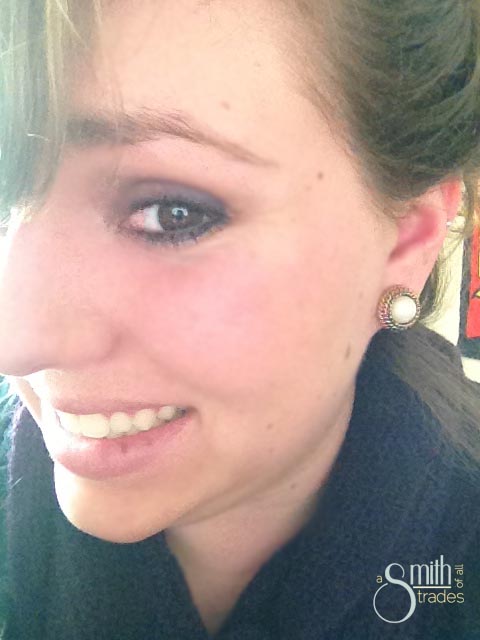
In fact, I wore them to work today (bad photo alert). I look so happy to be wearing them, huh? Haha… I swear I love them even though I look slightly pained in this photo.
Here’s another cute pair… cobalt blue! Love them.
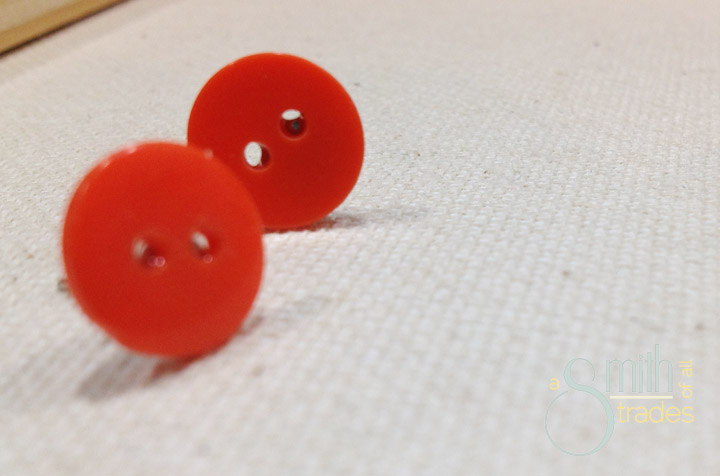
I can’t forget about the orange ones I made for Dana. She loves orange and she just got her ears pierced (well… a few years ago). The novelty of making her earrings hasn’t worn off yet.
I made a black pair, a teal pair and two pairs of super teeny buttons. I love them all. Now, I really need a jewelry box to store them all. Anyone have any recommendations on where to get one? I am super picky and can’t seem to find one I like online.
Hopefully this project was just the start of getting out of my creative rut 🙂