Graphic Design

Stand Tall printable

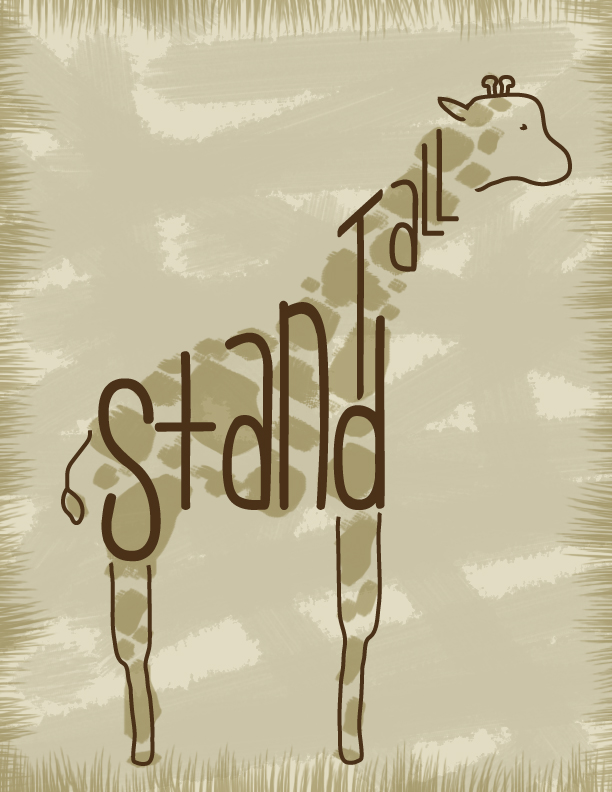
I love to play around with the Adobe Creative Suite because every time I do I learn something new. For this printable, I was inspired by a tattoo I saw on Pinterest. Here are screenshots of the project as I went along.

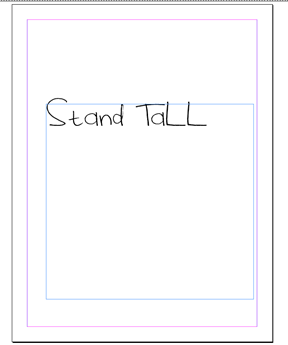
I like to start any project with words or a quote by simply adding my text to the page and fooling around with different fonts until I find one that is just right. You’ll probably notice two different fonts between these first few images and my final image — I exed out of my original design and lost everything I had done so far so I had to start for square one again. Whoops.

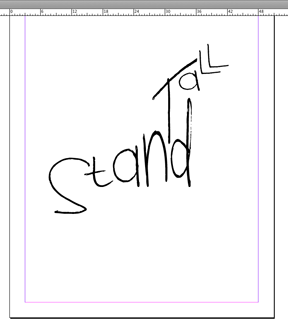
After the text is on the page, I start manipulating it, sometimes adding different parts of the words into different text boxes altogether. For example, the “s” in “stand” is in its own text box, while “tand” is in another. This allows you to maneuver your text exactly how you want it. Since I wanted the “S” lower and in a larger font, it was easier to create a new text box for it than to leave it with the rest of the word. In that same vein, each letter in “tall” has its own text box.

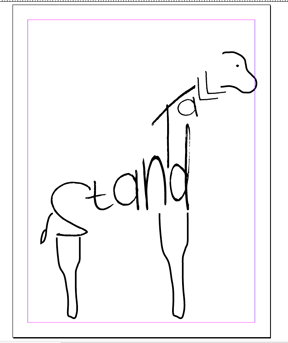
After I squeezed, stretched, angled, shrunk, etc. my letters, I started adding the rest of the picture. I used the pencil tool and the smoothing tool to add these lines.

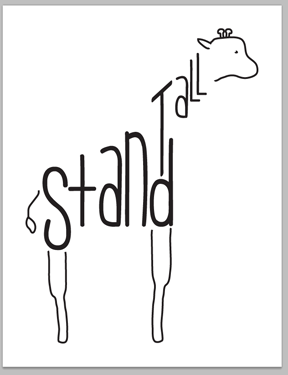
Notice the switched fonts? It worked out for the best I think.

With the InDesign portion of my printable done, I grabbed the vector image I created and dropped it into Photoshop.

On many different layers, I tinted the background, added the paintbrush texture, added giraffe spots and added the grass border. I had to play around with the opacity of each layer, but once I messed around with it enough I think I got it just right.

What do you think of the final product?
Life

Operation: Beautify Conference Room

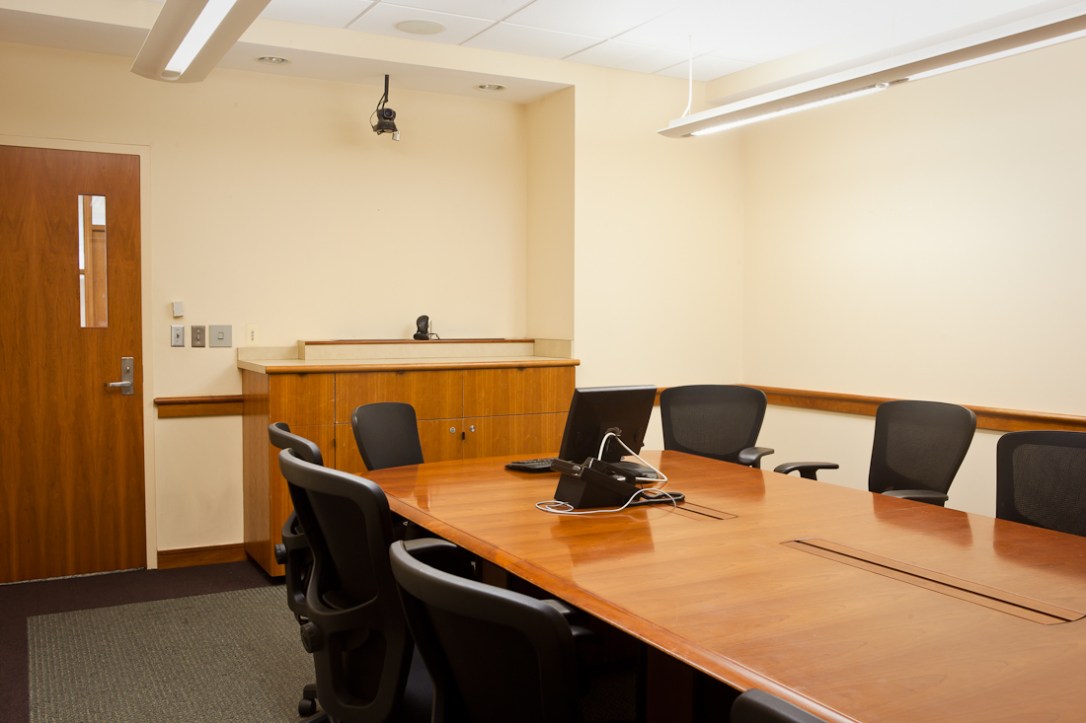
Oh my goodness am I excited to share this project with you all! Months ago (monnnnnths), I volunteered to breathe some new life into our conference room at work. We are the creative department at our school, yet our conference room was rather bland. It was a little beat up, too.

Courtesy of Tony Richards

We here call this color “nicotine yellow.” Doesn’t that just scream creativity?

No? That’s what we thought, too. So we formed a mini committee and brainstormed ways to beautify our conference room.

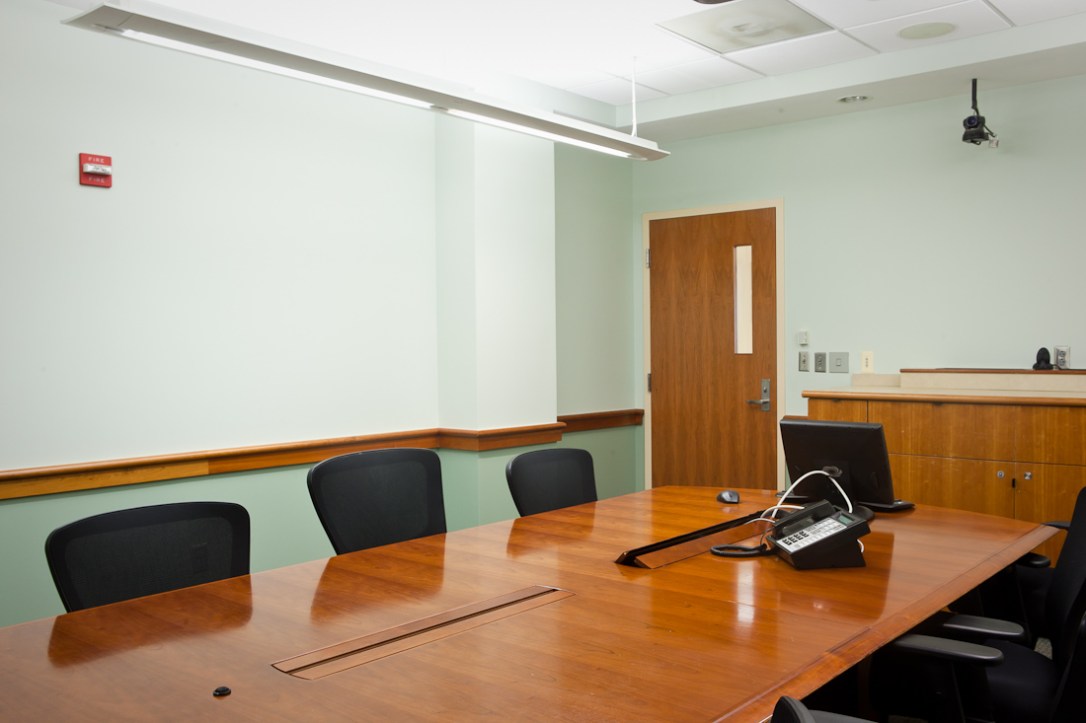
First and foremost, we needed COLOR! Two of my coworkers and I pow-wowed on the floor trying to pull in colors from our lovely carpet. We decided to go with two tones of green, with a lighter color on top and a darker color on the bottom.

Courtesy of Tony Richards

The color alone was a huge change for the better, but there was still work to be done.

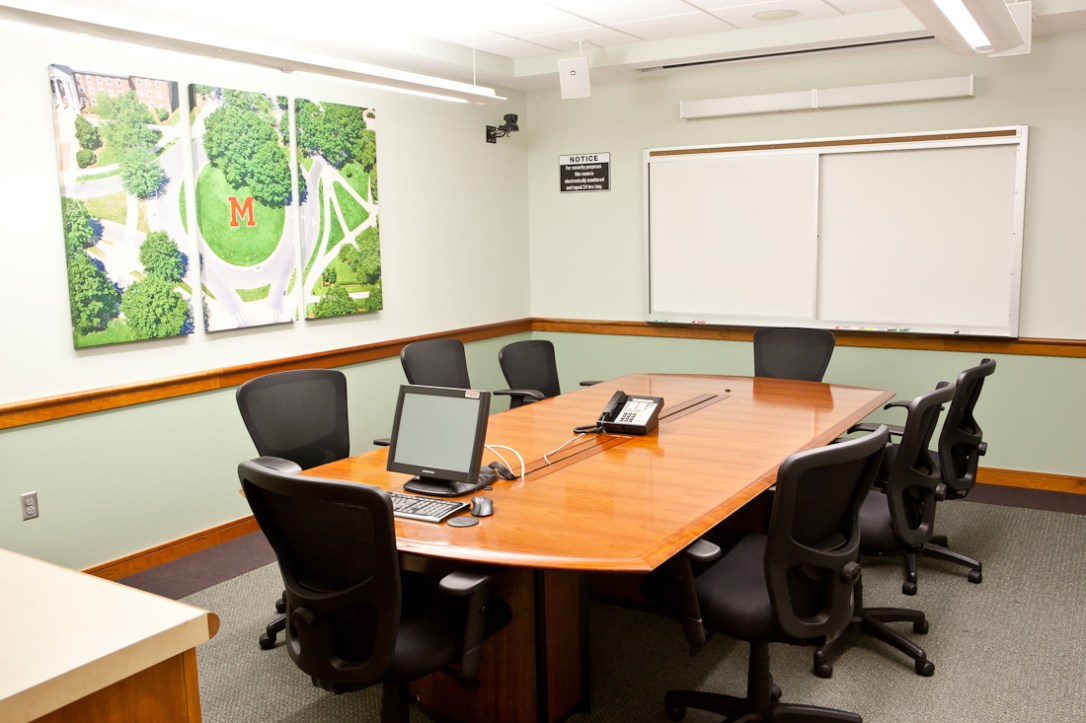
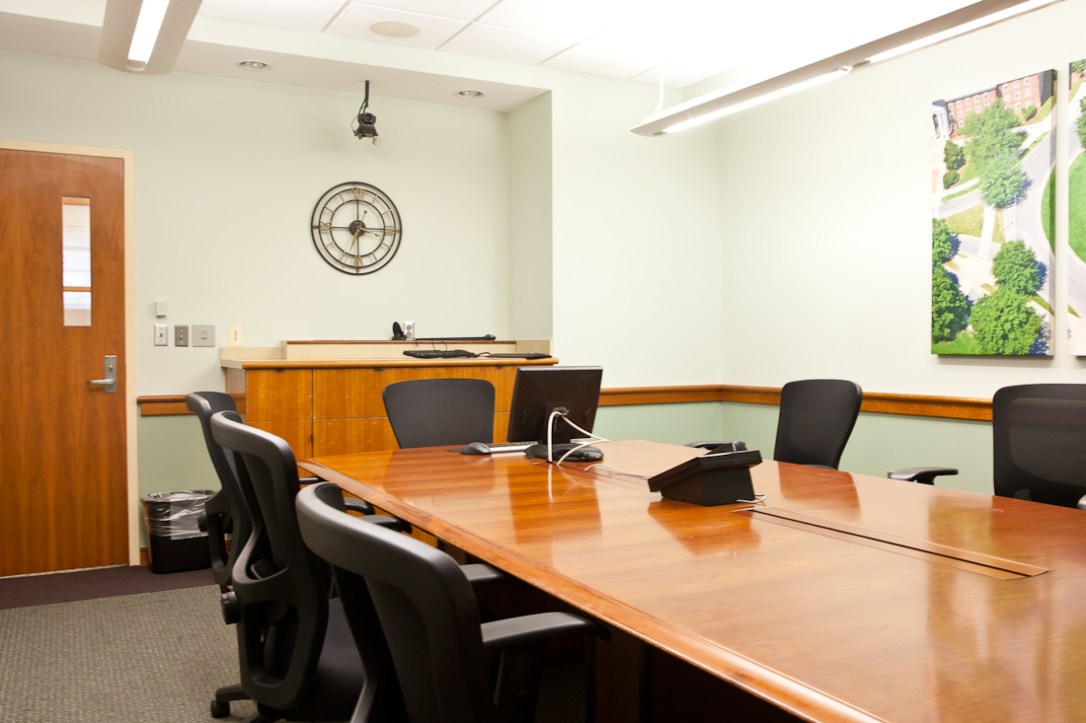
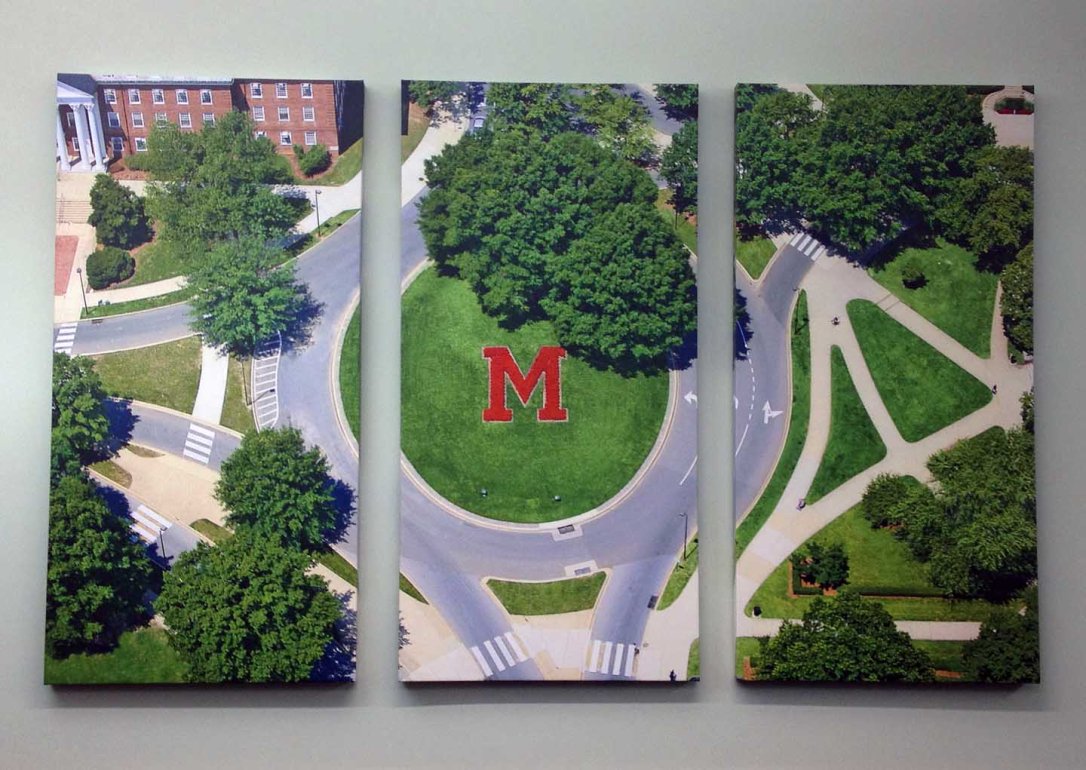
After some discussion, we decided to fill the walls with pictures that represent the University of Maryland and our students. One one wall, we did a huge canvas triptych. On the opposite wall we did a gallery style wall with more than 20 canvases. We added an oversized clock to the back wall, and the room months in the making was finally complete.

Courtesy of Tony Richards

You know I loved working on this project — so much fun. It was a treat to work with so many of my coworkers on this to make our space so much more colorful and fun to be in.

Here’s a close up of the triptych:

(From my iPhone)

And here’s a panorama shot:

(From my iPhone)

A special shout out to my coworker, Tony Richards, who took these fabulous photos so I could share them with you. He is our photographer and videographer and has several photos displayed on our wall now. He also has a fantastic blog that you should check out, http://www.tonyrichardsphoto.com/. Seriously… click that link! You won’t be sorry.

See, isn’t his work amazing? Here are a few of my favorites from his blog:

http://www.tonyrichardsphoto.com

Thanks for the photos, Tony.

And thank you for stopping by! Happy Friday and have a fabulous weekend

Graphic Design

Smith Family Tree

Are you ready for the most adorable thing ever? Are you really ready? OK, here goes. LOOKATTHEADORABLEFAMILYTREEIDESIGNEDFORMEANDHUBS!!!!! *breath*

I am so very pleased with how this project turned out. In fact, it might be my favorite thing that I’ve ever designed. EVER. (EVAAAAAARRRRRR, right sisters?)

*drumrollllllllllll*

Welcome to our “family tree!” It’s not a real family tree because those follow some sort of genealogy structure, but I love it just the same.

I designed this print in InDesign using five different fonts (the hearts are a font!) and three different colors (brown, green and pink in different transparencies). InDesign has this great feature where you can draw a line and then make your text curve to the line, so I used that to get some of the names in our tree to curve like tree branches.

The Fonts:

I only did our immediate families because once you get past that we get wayyyyyyy to crazy. Already we have three sets of parents! I had to contain our crazy somehow 🙂 Our parents are in brown and paired with one another and a small pink heart. The dark green names are those of my siblings. The hubby has none, so they are all mine *evil laugh.* Then the lighter green font are the various last names of our family. I am a Bauer turned Smith. My older sister is a Rivera. My dad is a Bauer and my mom a Rowicki-turned-Brown. Tierney is my mother-in-law’s maiden (and now middle) name, and Shaffer is my step mom’s maiden (now middle) name. The date is our wedding date, when our families became one big happy family (our one-year anniversary is coming up so soon! Holy cow.).

I absolutely love how well this print turned out. This might be the first of my designs I have professionally printed for us. It is just perfect.

Do you have a family tree in your home?