Craft Projects

How to NOT glitter shoes

I don’t often talk about projects that are total flops, but I had an oober flop of a project last night that I thought I’d share in case anyone else is thinking about trying it. I had an old pair of black pumps that are SO comfy and SO beat up, so I wanted to try my hand at glittering my shoes with Mod Podge.

IMG_2541

Well, it was bad. Really bad. I had skimmed some other tutorials on how to do this and finally was ready to part with my pumps and try it out, hoping for the best.

Turns out I followed a bad tutorial. Meh, oh well!

Here’s what I did:

I Mod Podged sections of my shoes and spread thick layers of glitter on top before shaking it off.

IMG_2543

After I had the whole shoe glittered I let it dry for a few hours.

And here’s where I went terribly wrong. Dun dun dunnnnnn.

Once my glitter was dry I wanted to secure it to the shoe so it wouldn’t fall off as I walked. SO… I put Mod Podge on top of the glitter to seal it on the shoe. DO NOT DO THIS! Haha. Please. Don’t.

Mod Podge Shoes Gone Wrong

By sealing the glitter with Mod Podge I pretty much took all of the shine and sparkle out of the glitter. Boo.

By the time it dried, my shoe was so boringly black with no sparkle at all… ugh, such a fail. It also had a terrible texture to it

To make matters worse, even though I tried to make it better, I painted the tops of my shoe, the heel and the strap gold. Ugh. Bigger mistake.

Mod Podge Shoes Gone Wrong

Ugliest. Shoe. Ever.

Thankfully, I took this project one shoe at a time and didn’t waste any glitter or Mod Podge on the other shoe. Not so thankfully, I ruined my possibly awesome shoes. Oh well!

After looking around the interwebs to try and figure out just where I went wrong, it looks like a lot of people seal their glitter shoes with a clear glaze spray. That’s what I’ll be trying next time around.

Anywho, I figured I share my mishap since there seems to be lots of glitter shoes on Pinterest. If I can save another project from going awry then that’s a good thing!

Christmas, Craft Projects, Holiday, Quick and Easy Crafts

Glitter Pinecones

Wow, what a weekend! Craft night on Friday, two holiday parties on Saturday and a football party on Sunday.

I made the most adorable football cookies for our sad loss (better luck next time, boys!). At least the cookies were delicious.

IMG_2166

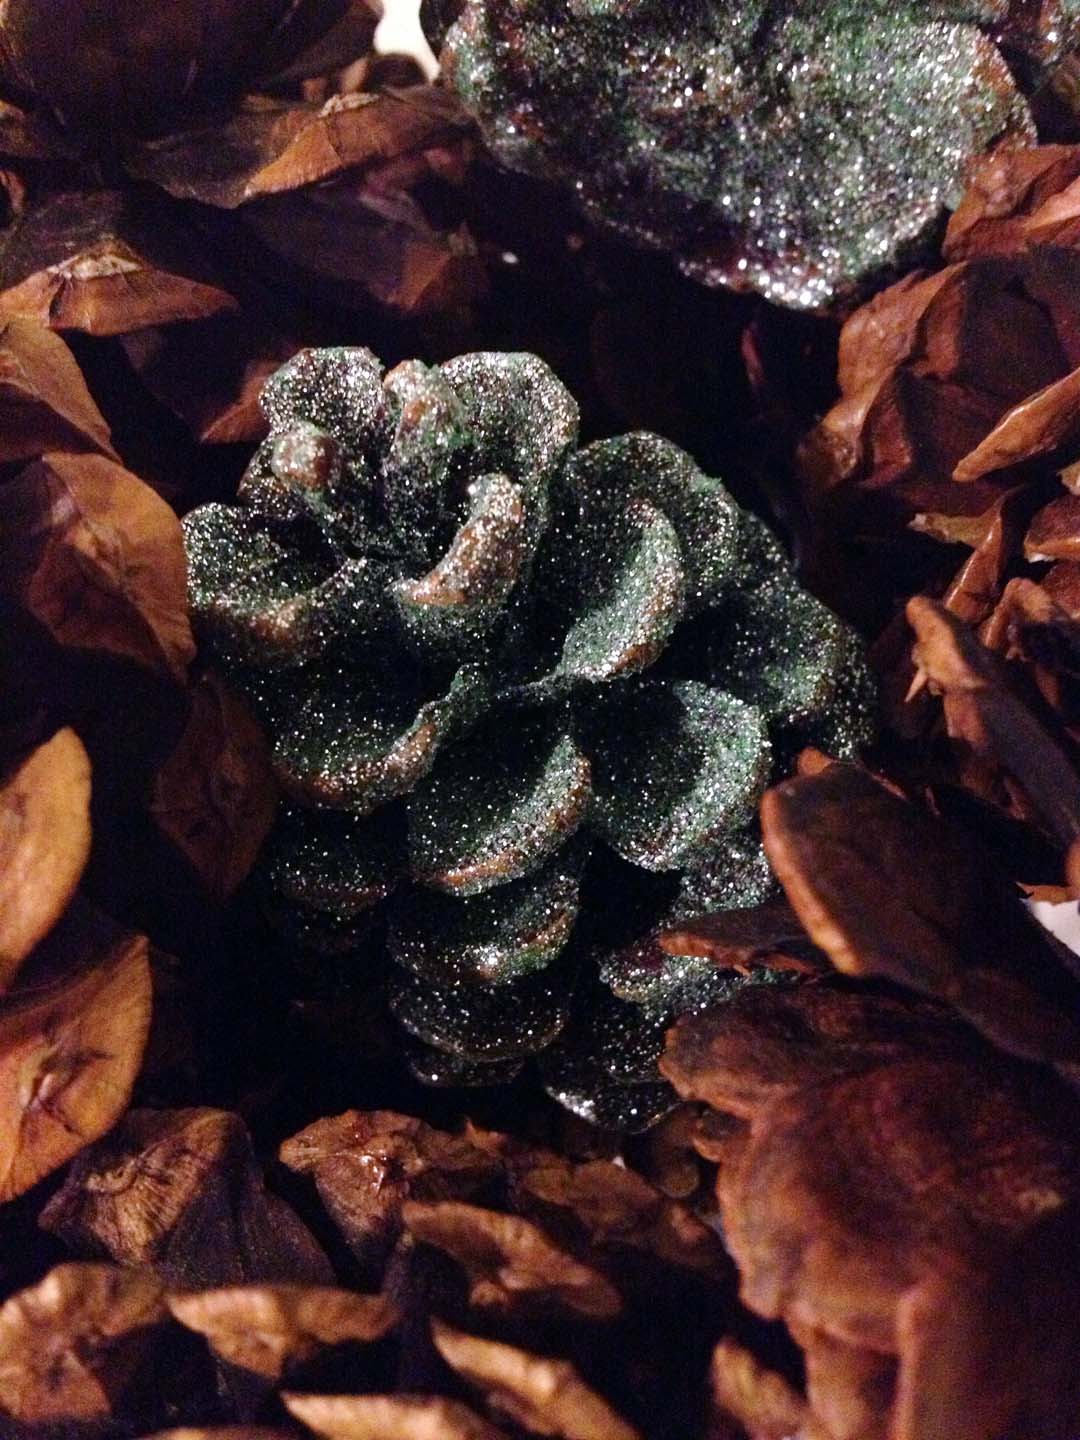
Onwards to the craft! Need a quick and easy holiday decoration that is sure to make your house sparkle and smell delicious? Why not glitter some cinnamon-scented pinecones?

That was one of our crafts for Craft Night and it was super fun and messy!

We used Mod Podge and a paint brush to paint the tips of the pinecones.

IMG_2152

Then we poured, rolled, dusted, etc., glitter onto the edges. Once the glue and glitter dried, I sprayed mine with Mod Podge sealer so the glitter would go crazy everywhere.

And then I popped them into my centerpiece bowl full of cinnamon pinecones. Yummo 🙂

pinecone

I only glittered four pinecones, and I think it was the perfect pop of aqua in my centerpiece. I’m usually all about green, red, gold and silver for the holidays, but I think the blue looks lovely.

IMG_2158

Holy glitter!

IMG_2156

Happy Monday!

Craft Projects

Mod Podged Candle Holders

Today I’m sharing another project I made for the upcoming Trash to Treasure Fair in November. Using pages from an old book and the remainder of my burlap fabric scraps, I turned two shot glasses that my mother-in-law’s work was going to throw away (not sure why they have shot glasses…) into adorable candle holders.

Here’s what you’ll need:

  • Pages of a book (or any paper) cut into little pieces
  • Mod Podge
  • Fabric
  • Hot Glue
  • Needle and Thread
  • Buttons
  • Ribbon
  • Glass

To start this project, I cut up three or four pages from an old dictionary into little pieces of paper. I had no rhyme or reason for the shape of the paper, just random shapes.

Once my paper was small enough, I started to Mod Podge it to the glass. I put a thick layer of the podge down, then placed strips of paper on top. I smoothed out the paper as I went along to remove any bubbles between the paper and the glass. Once each glass was covered, I placed a layer of podge on top.

I let the candle holders dry for a bit before adding embellishments. They weren’t dry completely, but I didn’t mind since I wanted the stuff I was adding to stick right on top.

At this point, I flipped each glass upside down and added a slim, pink ribbon around the bottom with small dabs of hot glue.

With the pink ribbon added to each glass, I set both candle holders aside to create two oversized flowers. I cut out five petals for each flower, using scraps from an earlier project.

To connect the petals, I folded each petal at the flat edge in an accordion-style fold: down, up, down, up, down.

Then, I sewed through each of the folds. Once I had stitched my way through one petal, I went on to the next, adding petals until I was out.

When all five petals were connected, I looped the needle and thread back through the first petal to finish off the flower.

With the flower complete, I selected a flashy button to add to the middle. I added it to the flower with hot glue, then hot glued each flower to a candle holder.

OHMYGOSHSOCUTE. If these don’t get snatched up at the fair, I might not be so upset.

I like how large the flowers are on the glass, the pink ribbon “leaves,” and the randomness of the dictionary scraps. These might be my favorite candle yet. Now I just need to remake them with aqua ribbon instead of pink ;p