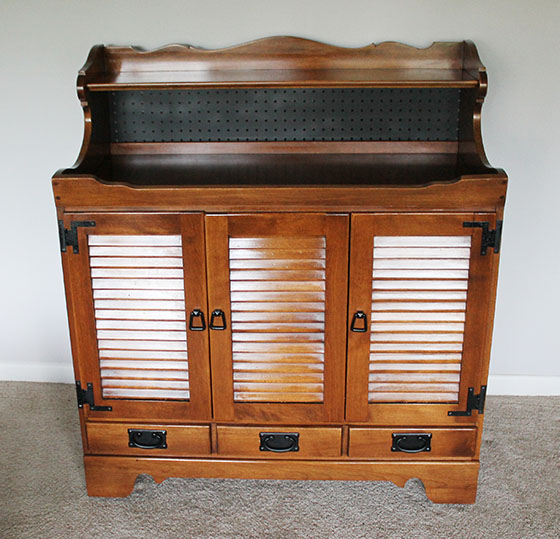
Meet my buffet. Or sideboard. Whatever you want to call it.
I picked this baby up in a thrift store a few months ago on a Thirft Store Thursday excursion.
It needed some love, and while it took my awhile to give it the love it needed, I am happy to share that this beauty is beautiful again!

The piece was in rough shape. It was missing the entire back, the hardware was dated (and in some cases, missing!), the casters were uneven and broken. But the bones were great. It is an all-wood piece, so I knew with the right care it could be transformed.


I worked on this piece over several months, so I was really bad at taking pictures. Here’s what I did to refinish this bad boy:
- New hardware: I ordered new black hardware for the front of the buffet. This included three drawer pulls for the faux drawer fronts and three hanging handles from the shuttered doors. Since this piece is older, the existing hardware was oddly sized, so I had to re-drill the holes to attach the new stuff. I went with black to pick up the black hinges on the front of the doors. It looks like this hardware has always been on this piece, which is nice.
- New casters: I didn’t want to replace the casters on this piece because the old ones were super cool and old. I actually am saving them, just in case I Can use them in the future. But only three of the four casters were useable — the fourth split in half so the entire buffet was wobbly and slanted. Not cool. So I grabbed four new casters, popped the old ones out and popped the new ones in.
- Spruced up bottom: I removed the bottom of the cabinet, cleaned it up and sprayed it black. When I put it back in place I also added another piece of wood underneath it for extra support.
- New backing: Can you tell what backing I used for this piece? It’s peg board! I wanted to use the pretty, cutout tin but it was hella expensive. Instead, I picked up a sheet up peg board at Habitat Restore, sprayed it black and cut it down to size. I screwed it onto the back to close up the buffet and give it a finished feel. The black peeks through at the top, again picking up the black in the hinges and the new hardware.
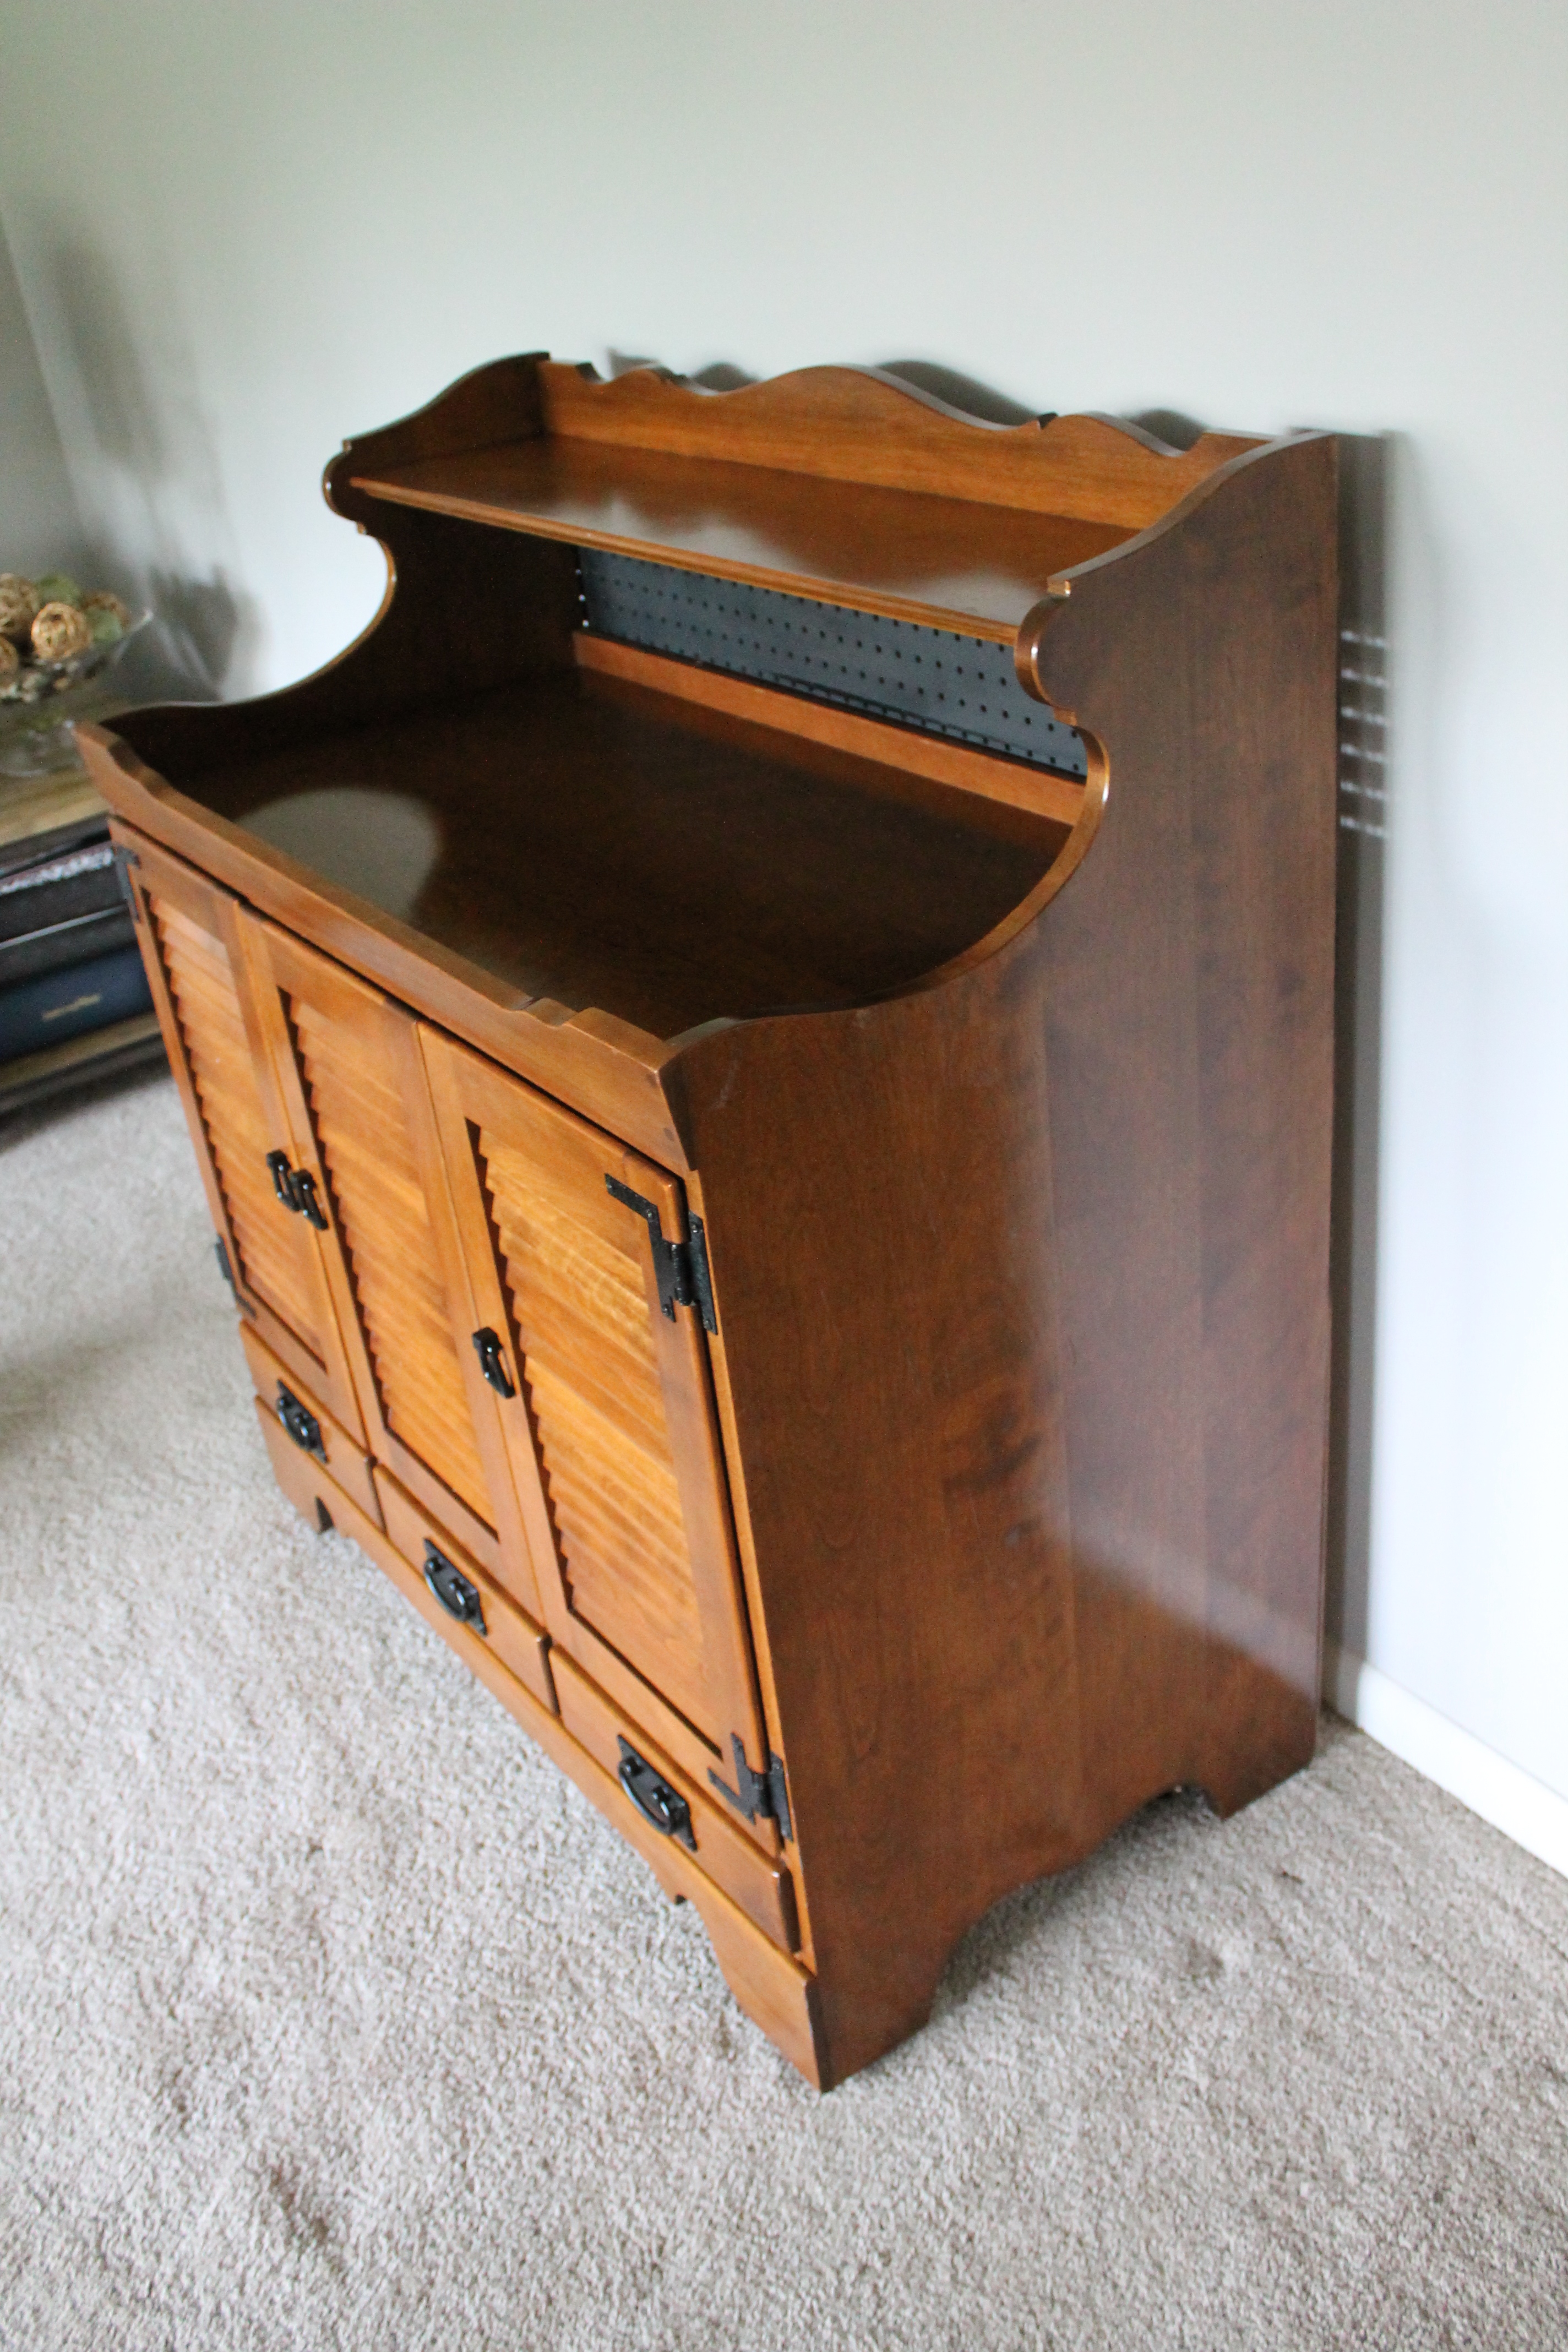
- Refinished the wood: I’ve talked about this product before and I’ll continue to use it because of the results I always get (This is not a sponsored post — I just love this stuff!) I used Howards Restor-A-Finish to bring the wood back to life. This stuff gets rid of light surface scratches, colors in deeper scratches so they aren’t as noticeable and just gives wood a beautiful sheen. I did the Restor-A-Finish once when I got the piece a few months ago, and again yesterday. The results are stunning, especially on the scratched up side. I followed this by a waxing with the Howards Feed-N-Wax.
Ready for the finished version?
BAM!
That scratched up side? Well, it is scratched up no more.
The peg board? Thoughts? I was skeptical, but I really like it. I like that it is black, versus a shiny, silver tin. I think it goes better with the piece overall. Win!

And look, a back! Woohoo! It’s amazing what not being able to see through a piece of furniture does for the overall look of said piece of furniture.

I’m glad I’m done with this buffet. It is great to be able to get it out of my craft room and out there for the world to see (dramatic much?)!
Thanks for stopping by to see the transformation today. Happy weekend!