Let me start out this post by saying I am so excited to share this project with you. I get a lot of my ideas from Pinterest or other projects I’ve seen people do, but this project was 100 percent my idea 🙂 Now, that’s not to say someone else out there hasn’t already done it… but I haven’t stumbled upon it yet.
A little background on this project: I just received an iPhone for work, which is totally fantastic. Unfortunately, iPhones are a battery suck, and I am the world’s worst device charger. I never remember. Ever. If my phone is charged, it’s because the hubby plugged it in for me. On top of the work iPhone, I have a personal phone and a Kindle Fire that need to be charged often enough. So, I had a great idea to make myself a device charging station to rest on my night stand in hopes that I might actually charge the millions of electronics that I use on a daily basis.
Now, device charging stations are not new. They are available online and can charge lots of electronics, depending on what you get.

I decided to make my own using a tray I had bought a while ago for 99 cents from a thrift store.
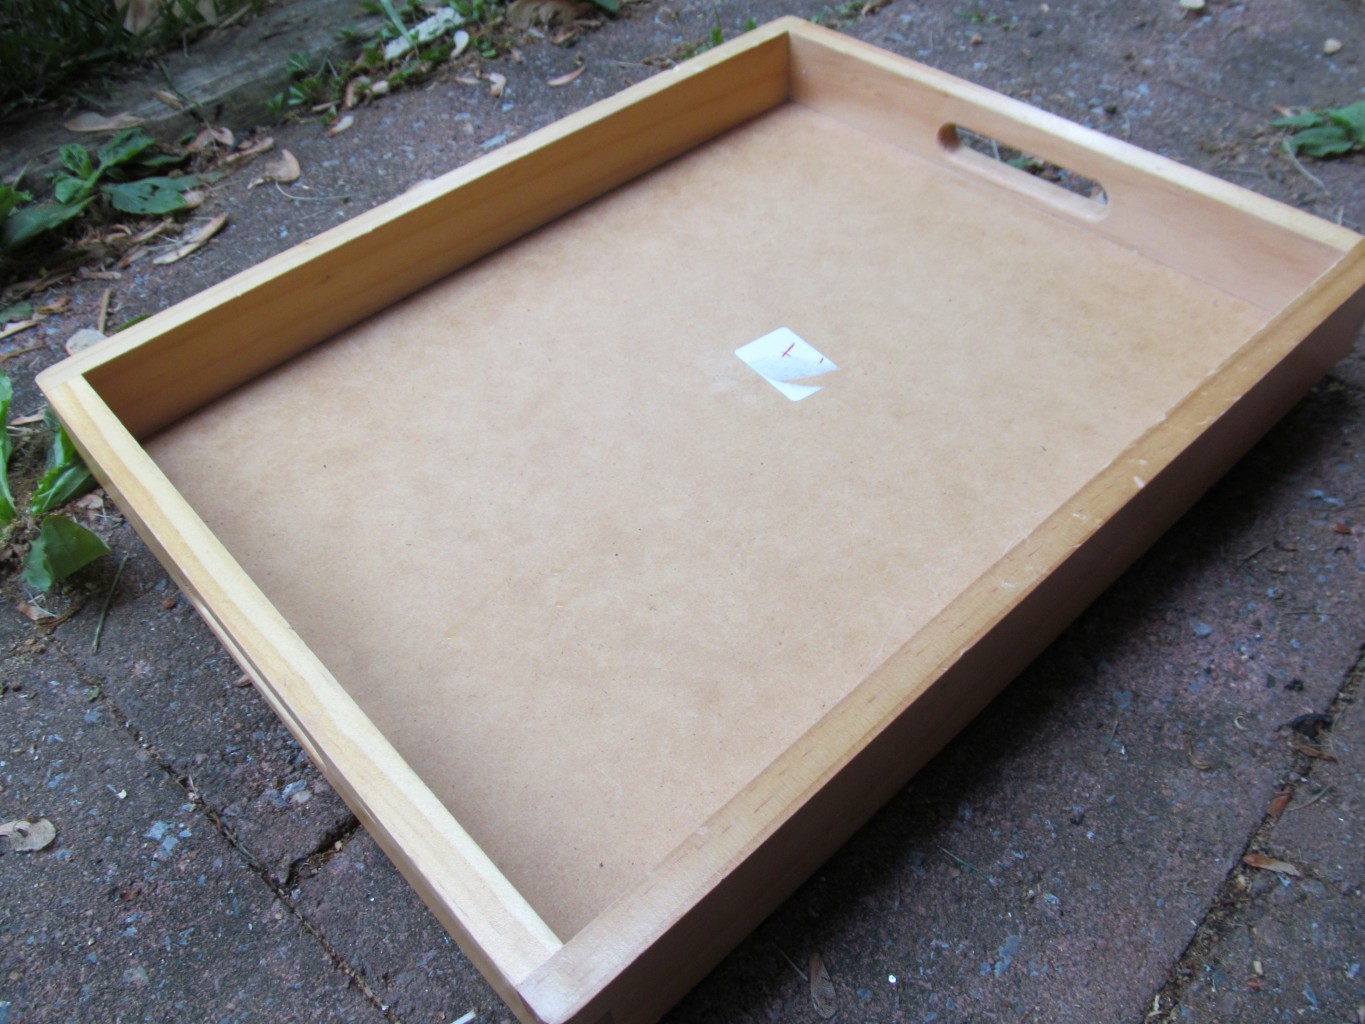
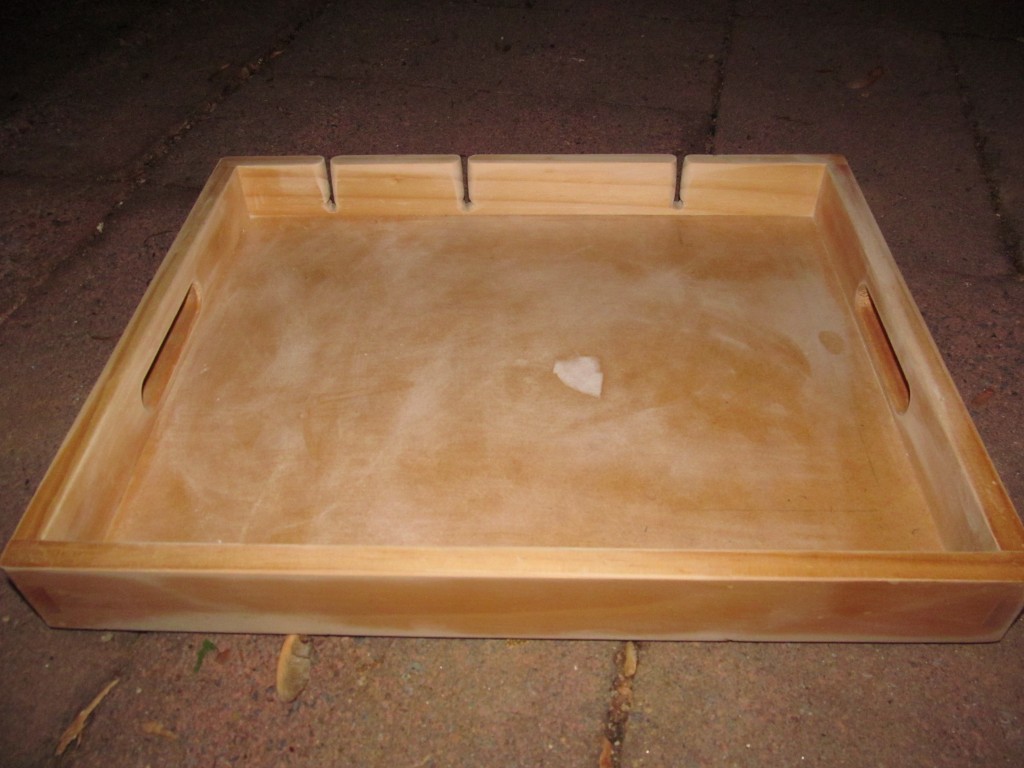
Enter tray.
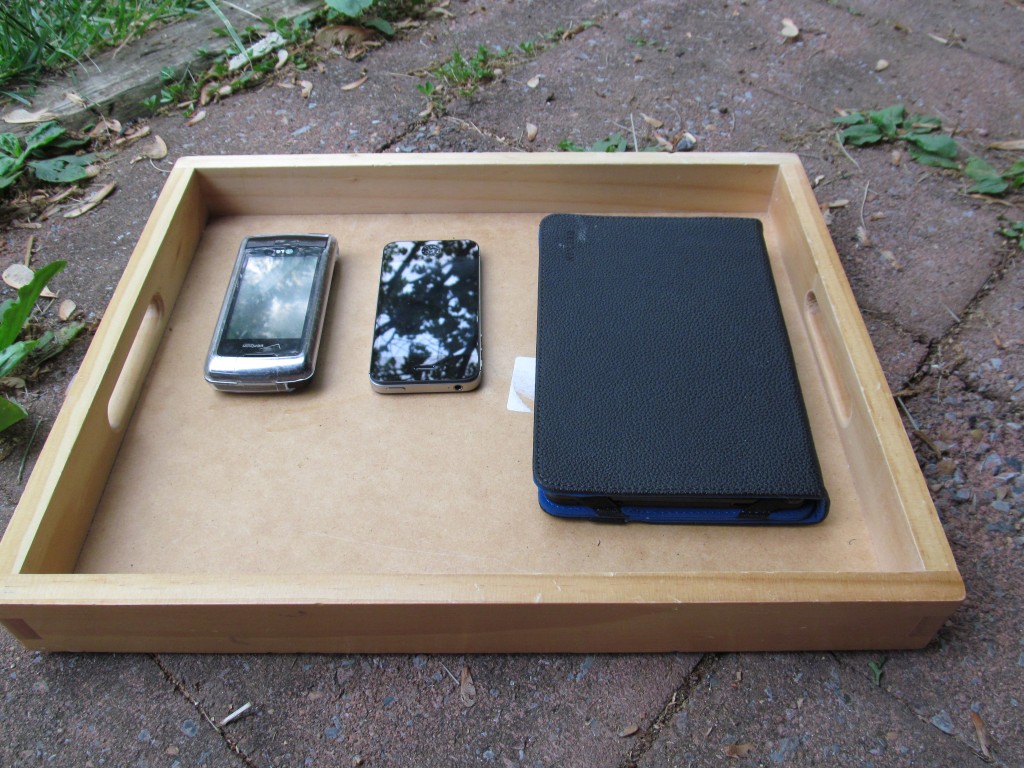
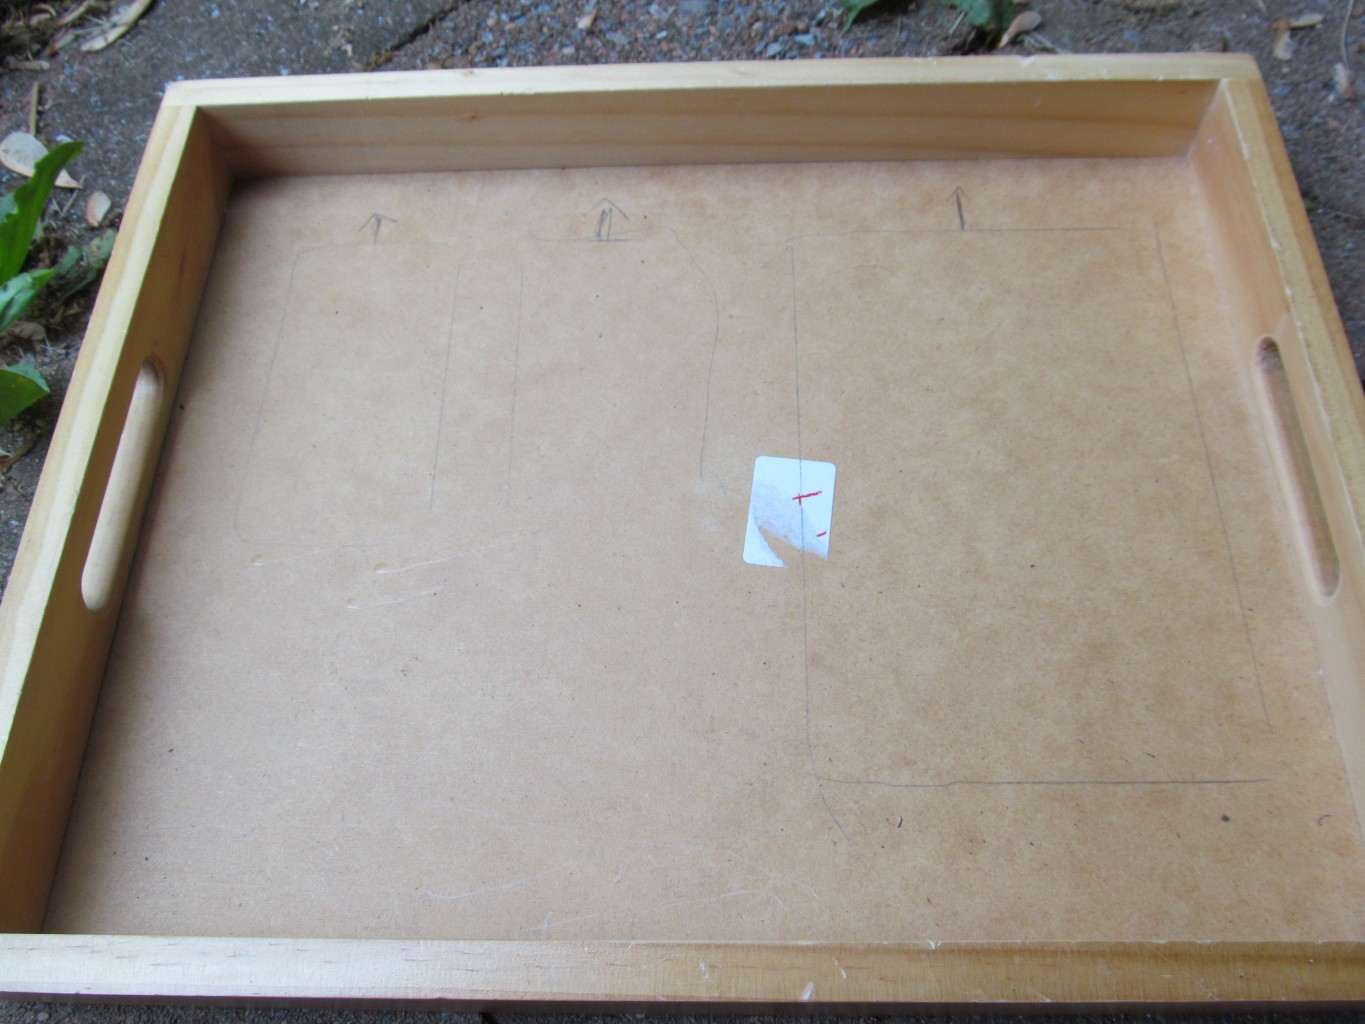
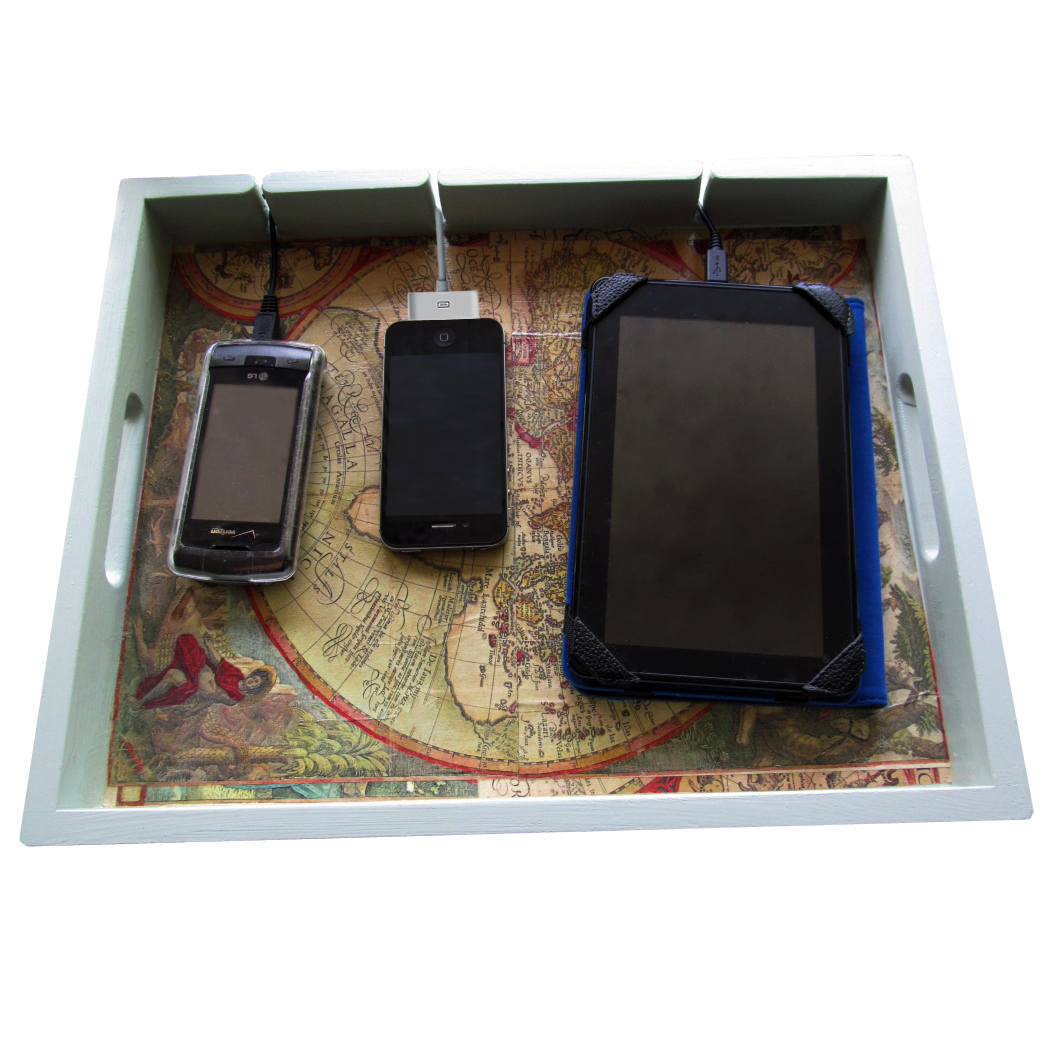
Like I said, I have three devices I need to charge on a somewhat regular basis. I traced the devices onto the bottom of the tray, spacing them out so they all fit nicely on the tray.
With the outlines on the tray, I then drew a line to the side of the tray where I want the cords to rest so they align with the charging ports of the devices.
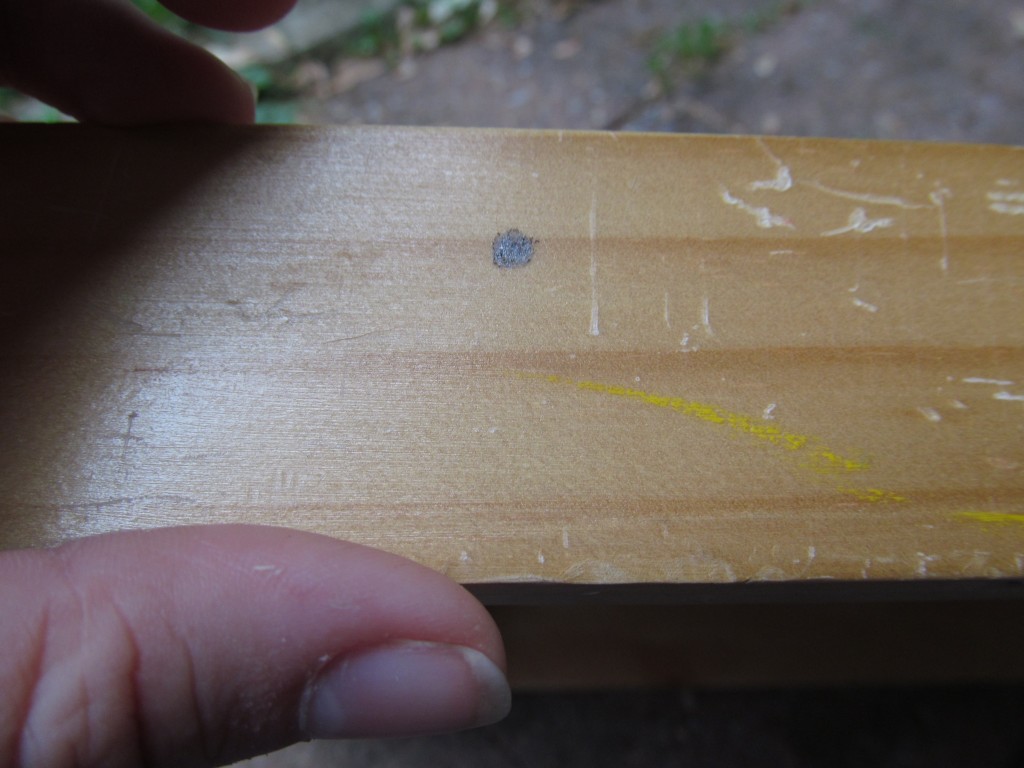
Afterward, I drew a dot on the opposite side of the tray to drill a hole for the cord to pass through.
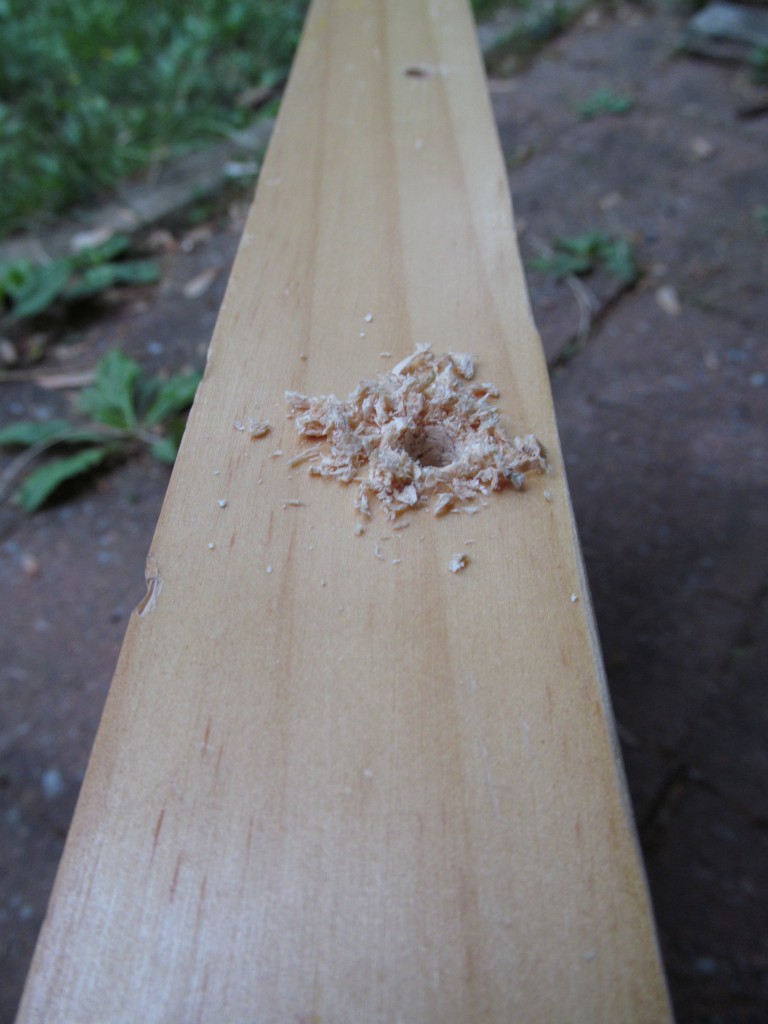
Time to drill the hole!
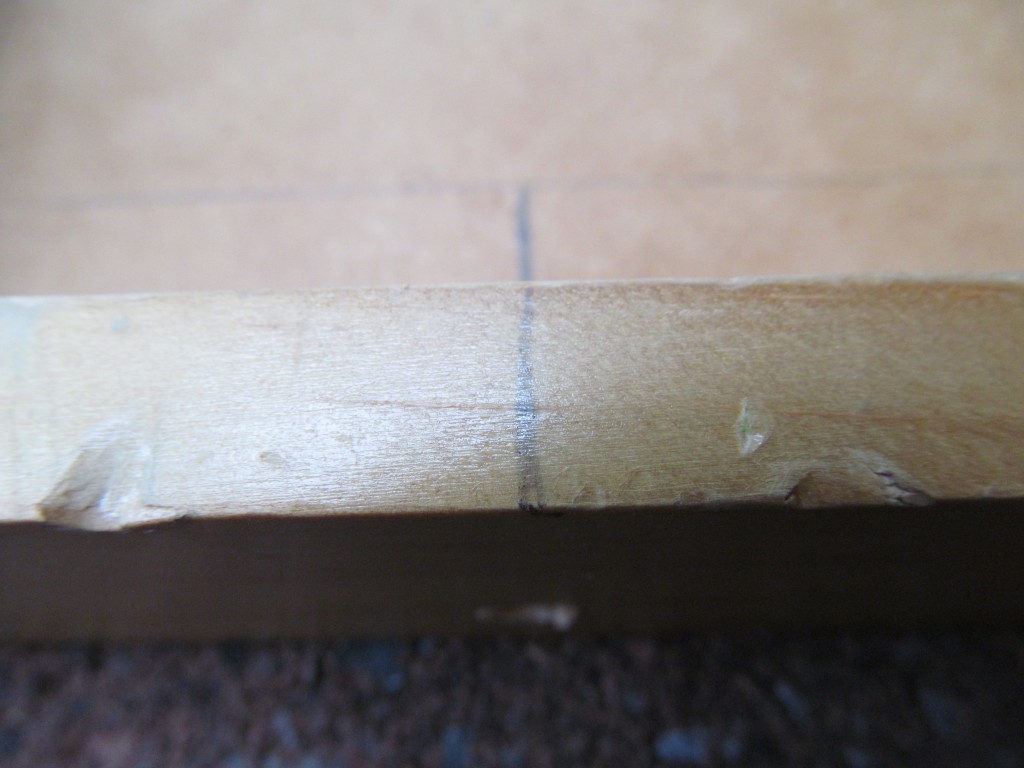
After this step, I took a pencil and connected the three holes to the top of the tray and marked a spot for my jigsaw.
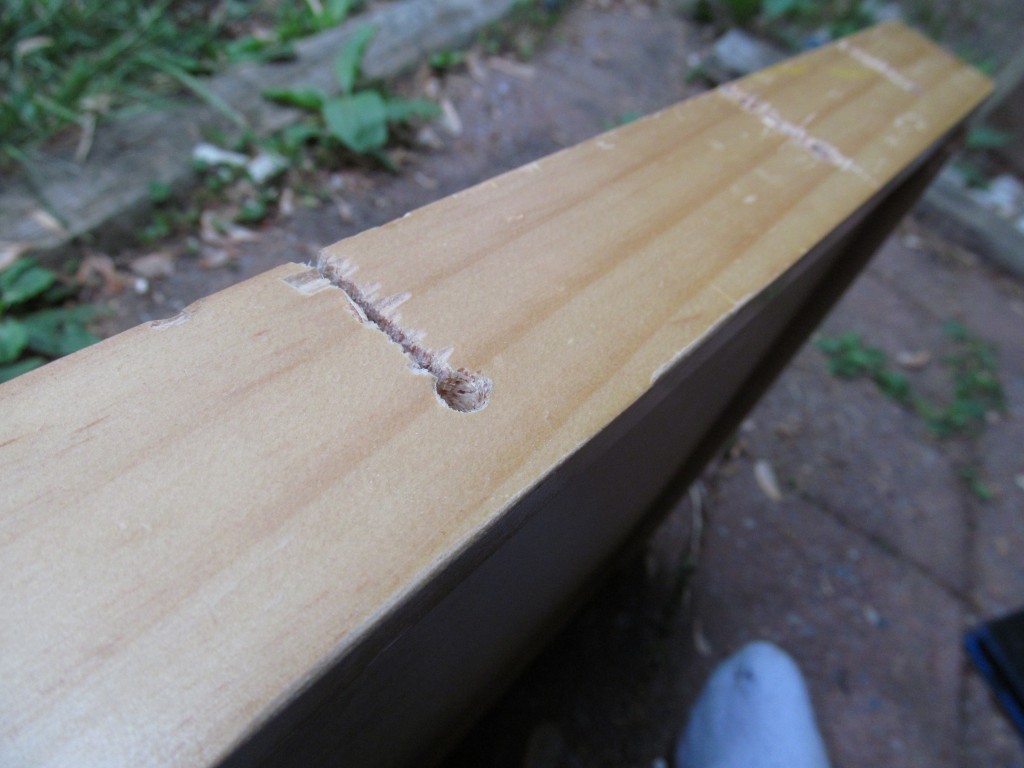
Time to jigsaw! This was my first time using my jigsaw — totally awesome!
Obviously this tray wasn’t the highest quality, so the cruddy wood chipped a lot when I sawed the three channels down the side. Time to sand!
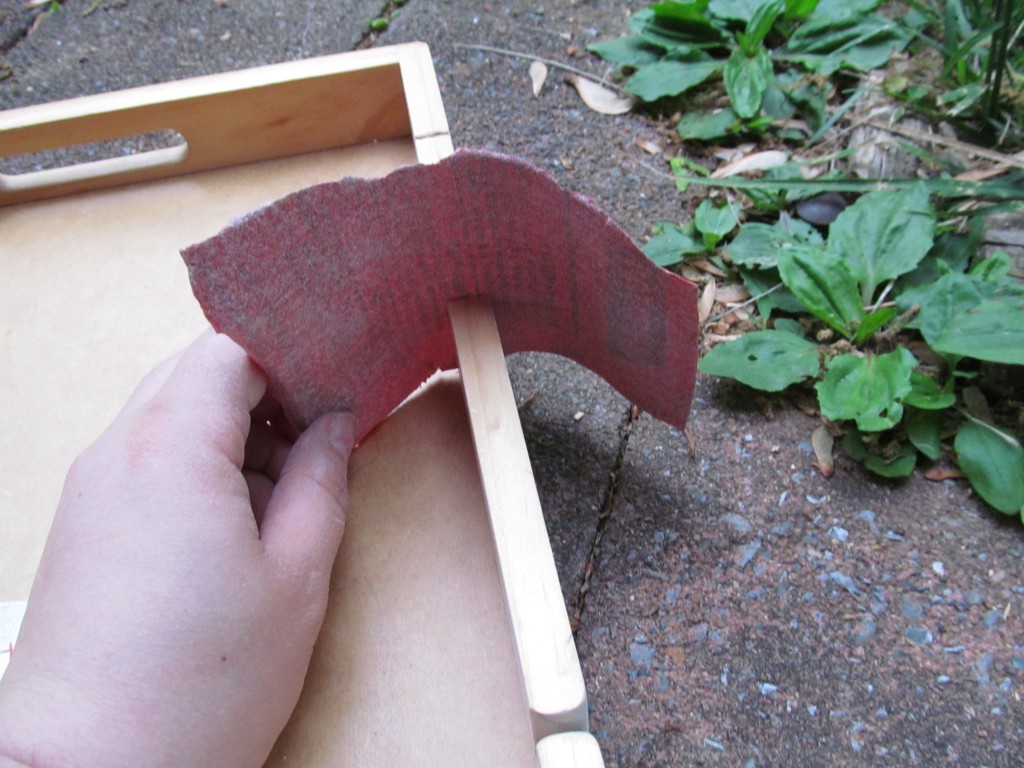
It took a while to sand the channels down so they were smooth, round and wide enough to fit the charging cords. After I was done, I sanded down the rest of the tray so the paint would stick well.
(As you can see as the pictures continue, it was getting darker outside… I was really into this project and stayed outside working on it until 9 p.m. on Monday. Sorry for the dark pics!)
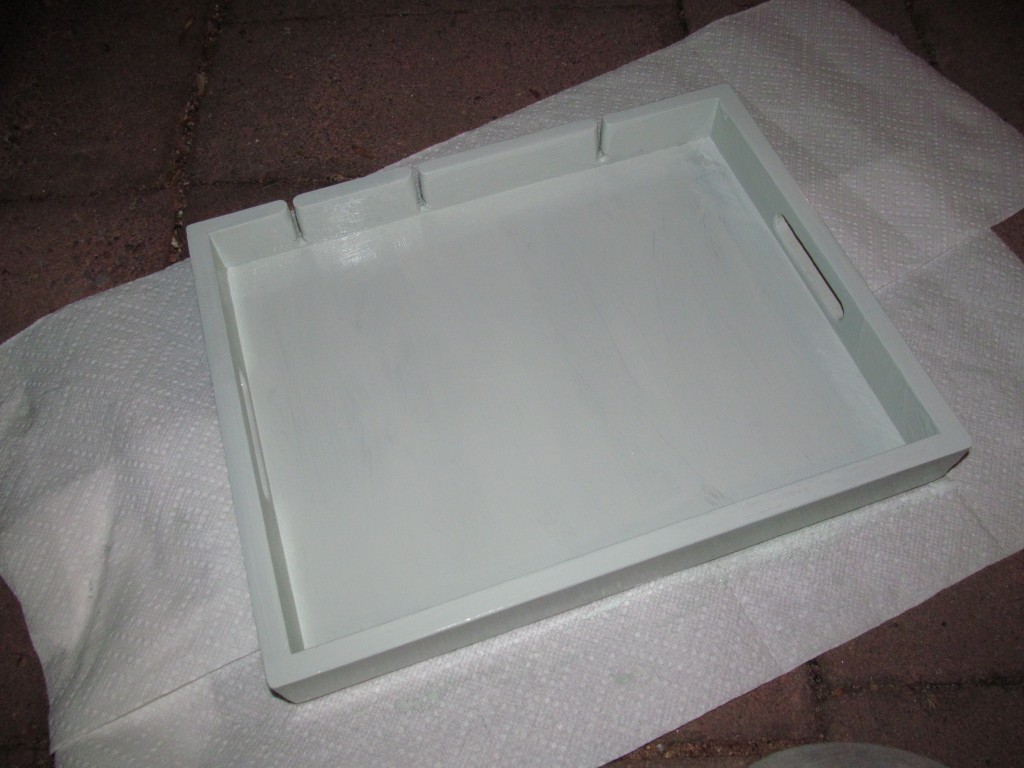
Time to paint. I used the same paint that we used to paint our family room — Behr’s Contemplation.
I let the tray dry overnight.
Tuesday I got home from a daylong class on Adobe Illustrator (totally awesome!) and had to write a story for work, but all I really wanted to do was work on my charging station some more.
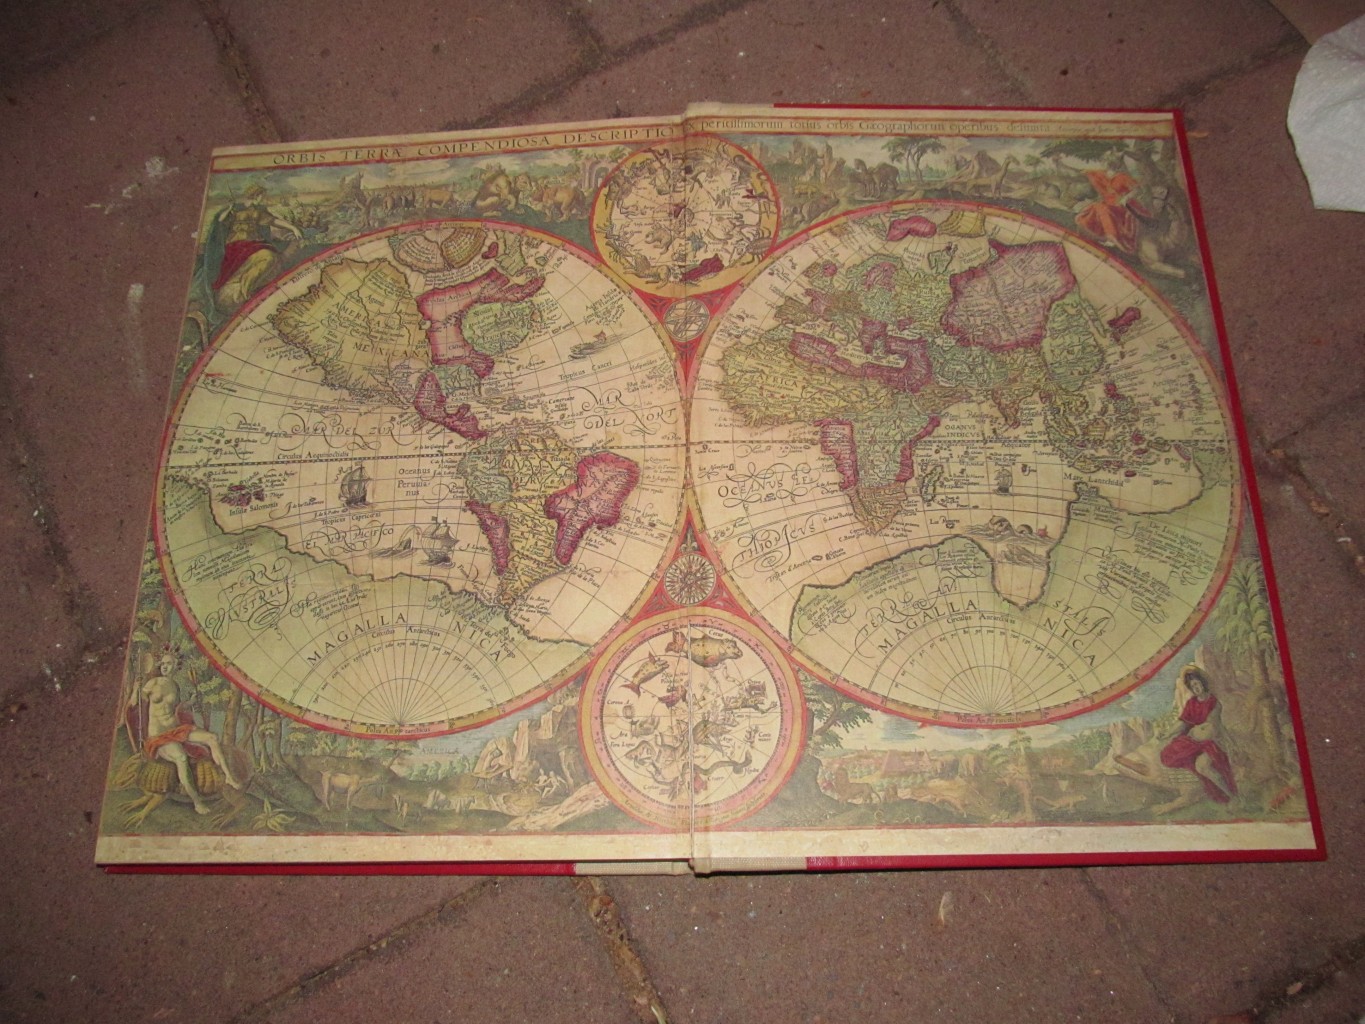
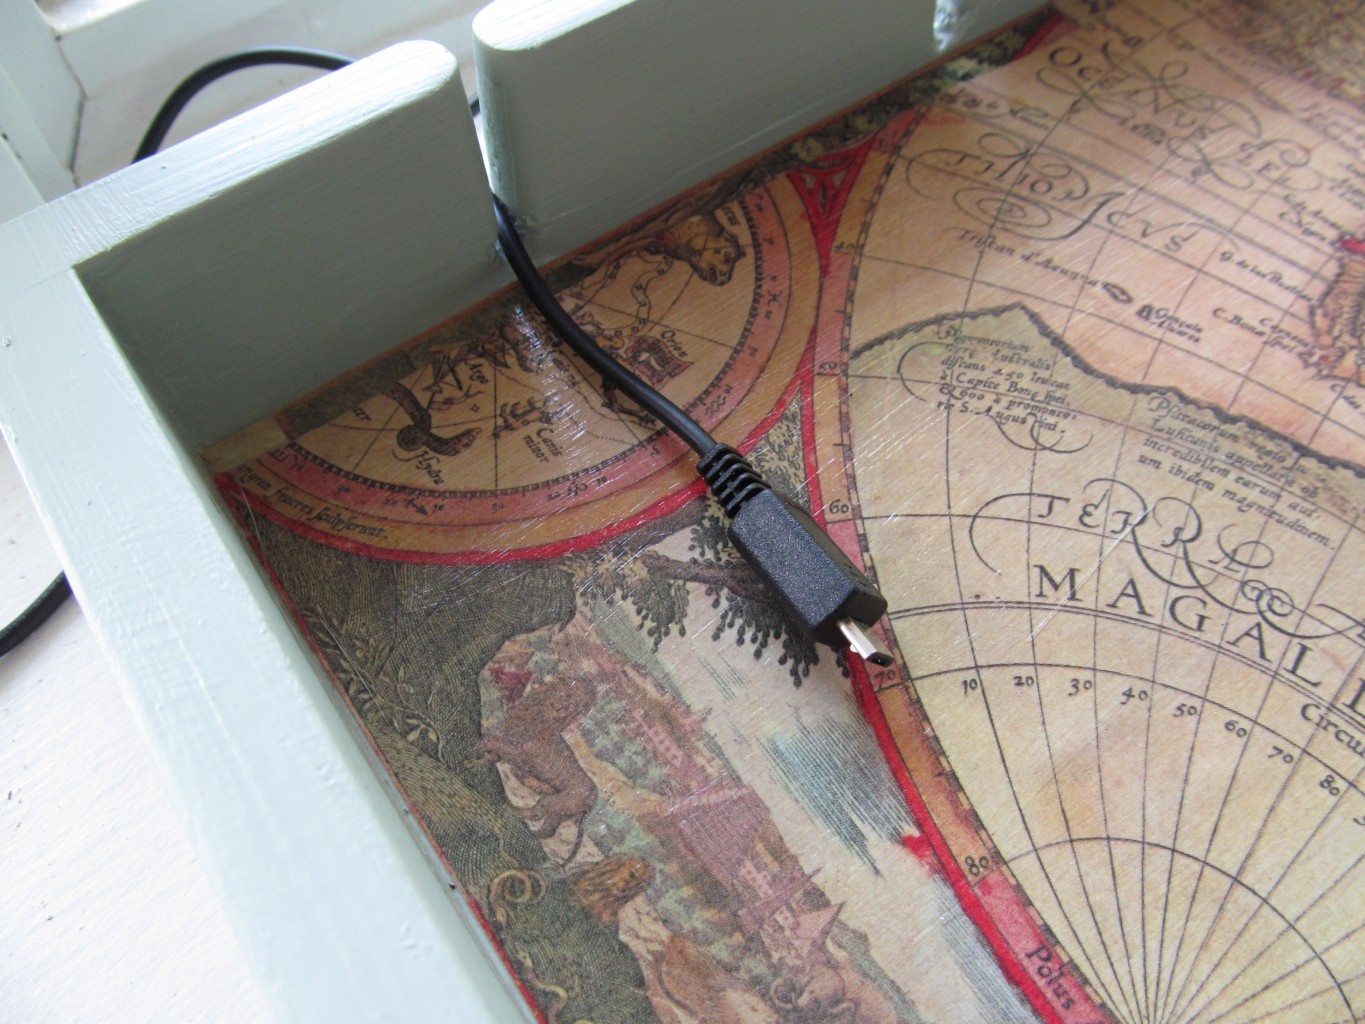
I bought an atlas at the thrift story that had an amazing map on the inside covers, so I carefully removed the pages of the book so I could use them on my tray.
I coated the bottom of the tray with mod podge (the same exact kind I used in the dictionary box project), then I placed the paper in the tray and coated the top with mod podge. I let the mod podge dry overnight, then put one more coat on this morning before my class.
Here’s how it looked before it dried… it bubbled a bit, but it didn’t stay like that once it dried.
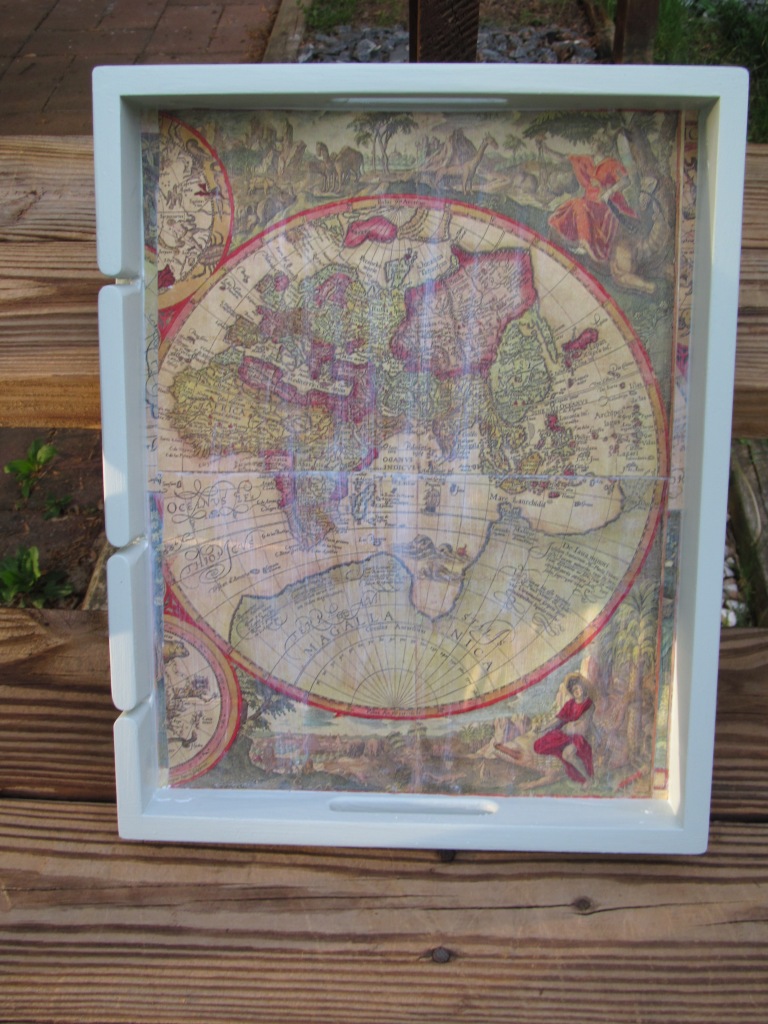
It turned out beautifully!
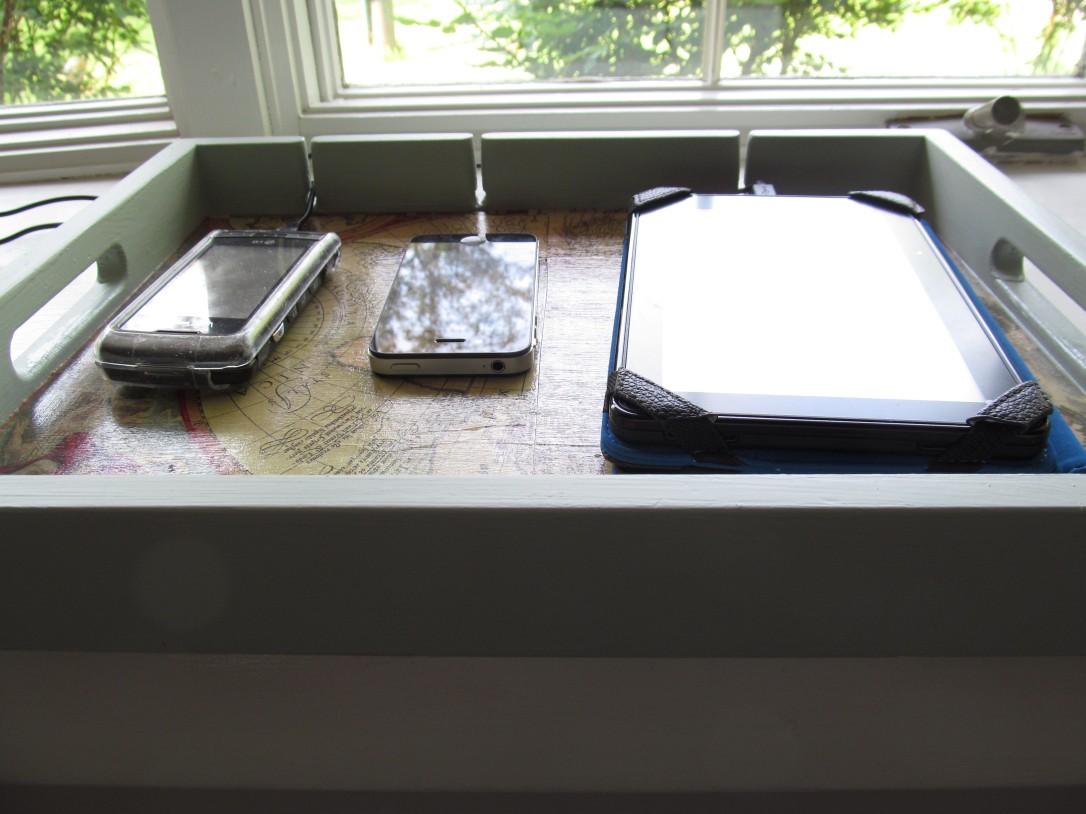
The carved out channels are the perfect width to hold onto the wires so they don’t slip out when you aren’t charging your devices.
It fits perfectly on my nightstand and is going to be so helpful for me!


Jess, That is really nice. I could use one of those myself.
How did you know I wanted to make one of these? AND that I found not one but TWO trays…but I’m not sure they are destined to be the charging station tho! I think I have PLANS for them! MUA hahahahaha! (sorry…I think its the DIYer in my trying to get out!)