Christmas, Craft Projects, DIY GIFT GUIDE, Holiday, Quick and Easy Crafts, Wine Crafts

DIY GIFT GUIDE: Wine Cork Wine Charms

Wine Charms

Need quick and easy gifts to give this holiday season? Over the next few days I’ll be sharing some super simple, super affordable gift ideas — all made with things you probably already have around the house.

Today’s gift idea: Wine Cork Wine Charms

Brilliant, right? Who wouldn’t want to make a wine accessory out of something that comes in wine?!

Supplies:

  • Wine corks
  • Permanent Marker or Stamps
  • Drill
  • Hoop Earring findings
  • Jump Rings
  • Cutting tool

Steps:

  1. Using a knife, scissors, or any other cutting tool, CAREFULLY cut your cork into half-inch thick pieces. I recommend creating sets of 4 or 6, so cut enough to make as many sets as you’d like to gift.
  2. Using a permanent marker or a stamp, draw or stamp your design onto each cork sliver. It is important to note that each design should be easy to remember and different from one another. For example, I drew numbers (well, my neighbor did) on my corks. If I had stamped different scrolly patterns on each, you’d never remember whose wine was whose.
  3. Drill a hole through the top of each sliver. Test out your drill bit size on a scrap piece of cork.
  4. Put your jump ring through the hole and tighten.
  5. Attach your hoop earring finding  by looping it through the jump ring and bending the straight end into a sharp angle. This will prevent the circle on one end of the finding from sliding off of the other end and will allow it to stay on the wine glass.
  6. Fill up your wine glass, add your charms and end enjoy!

Charms

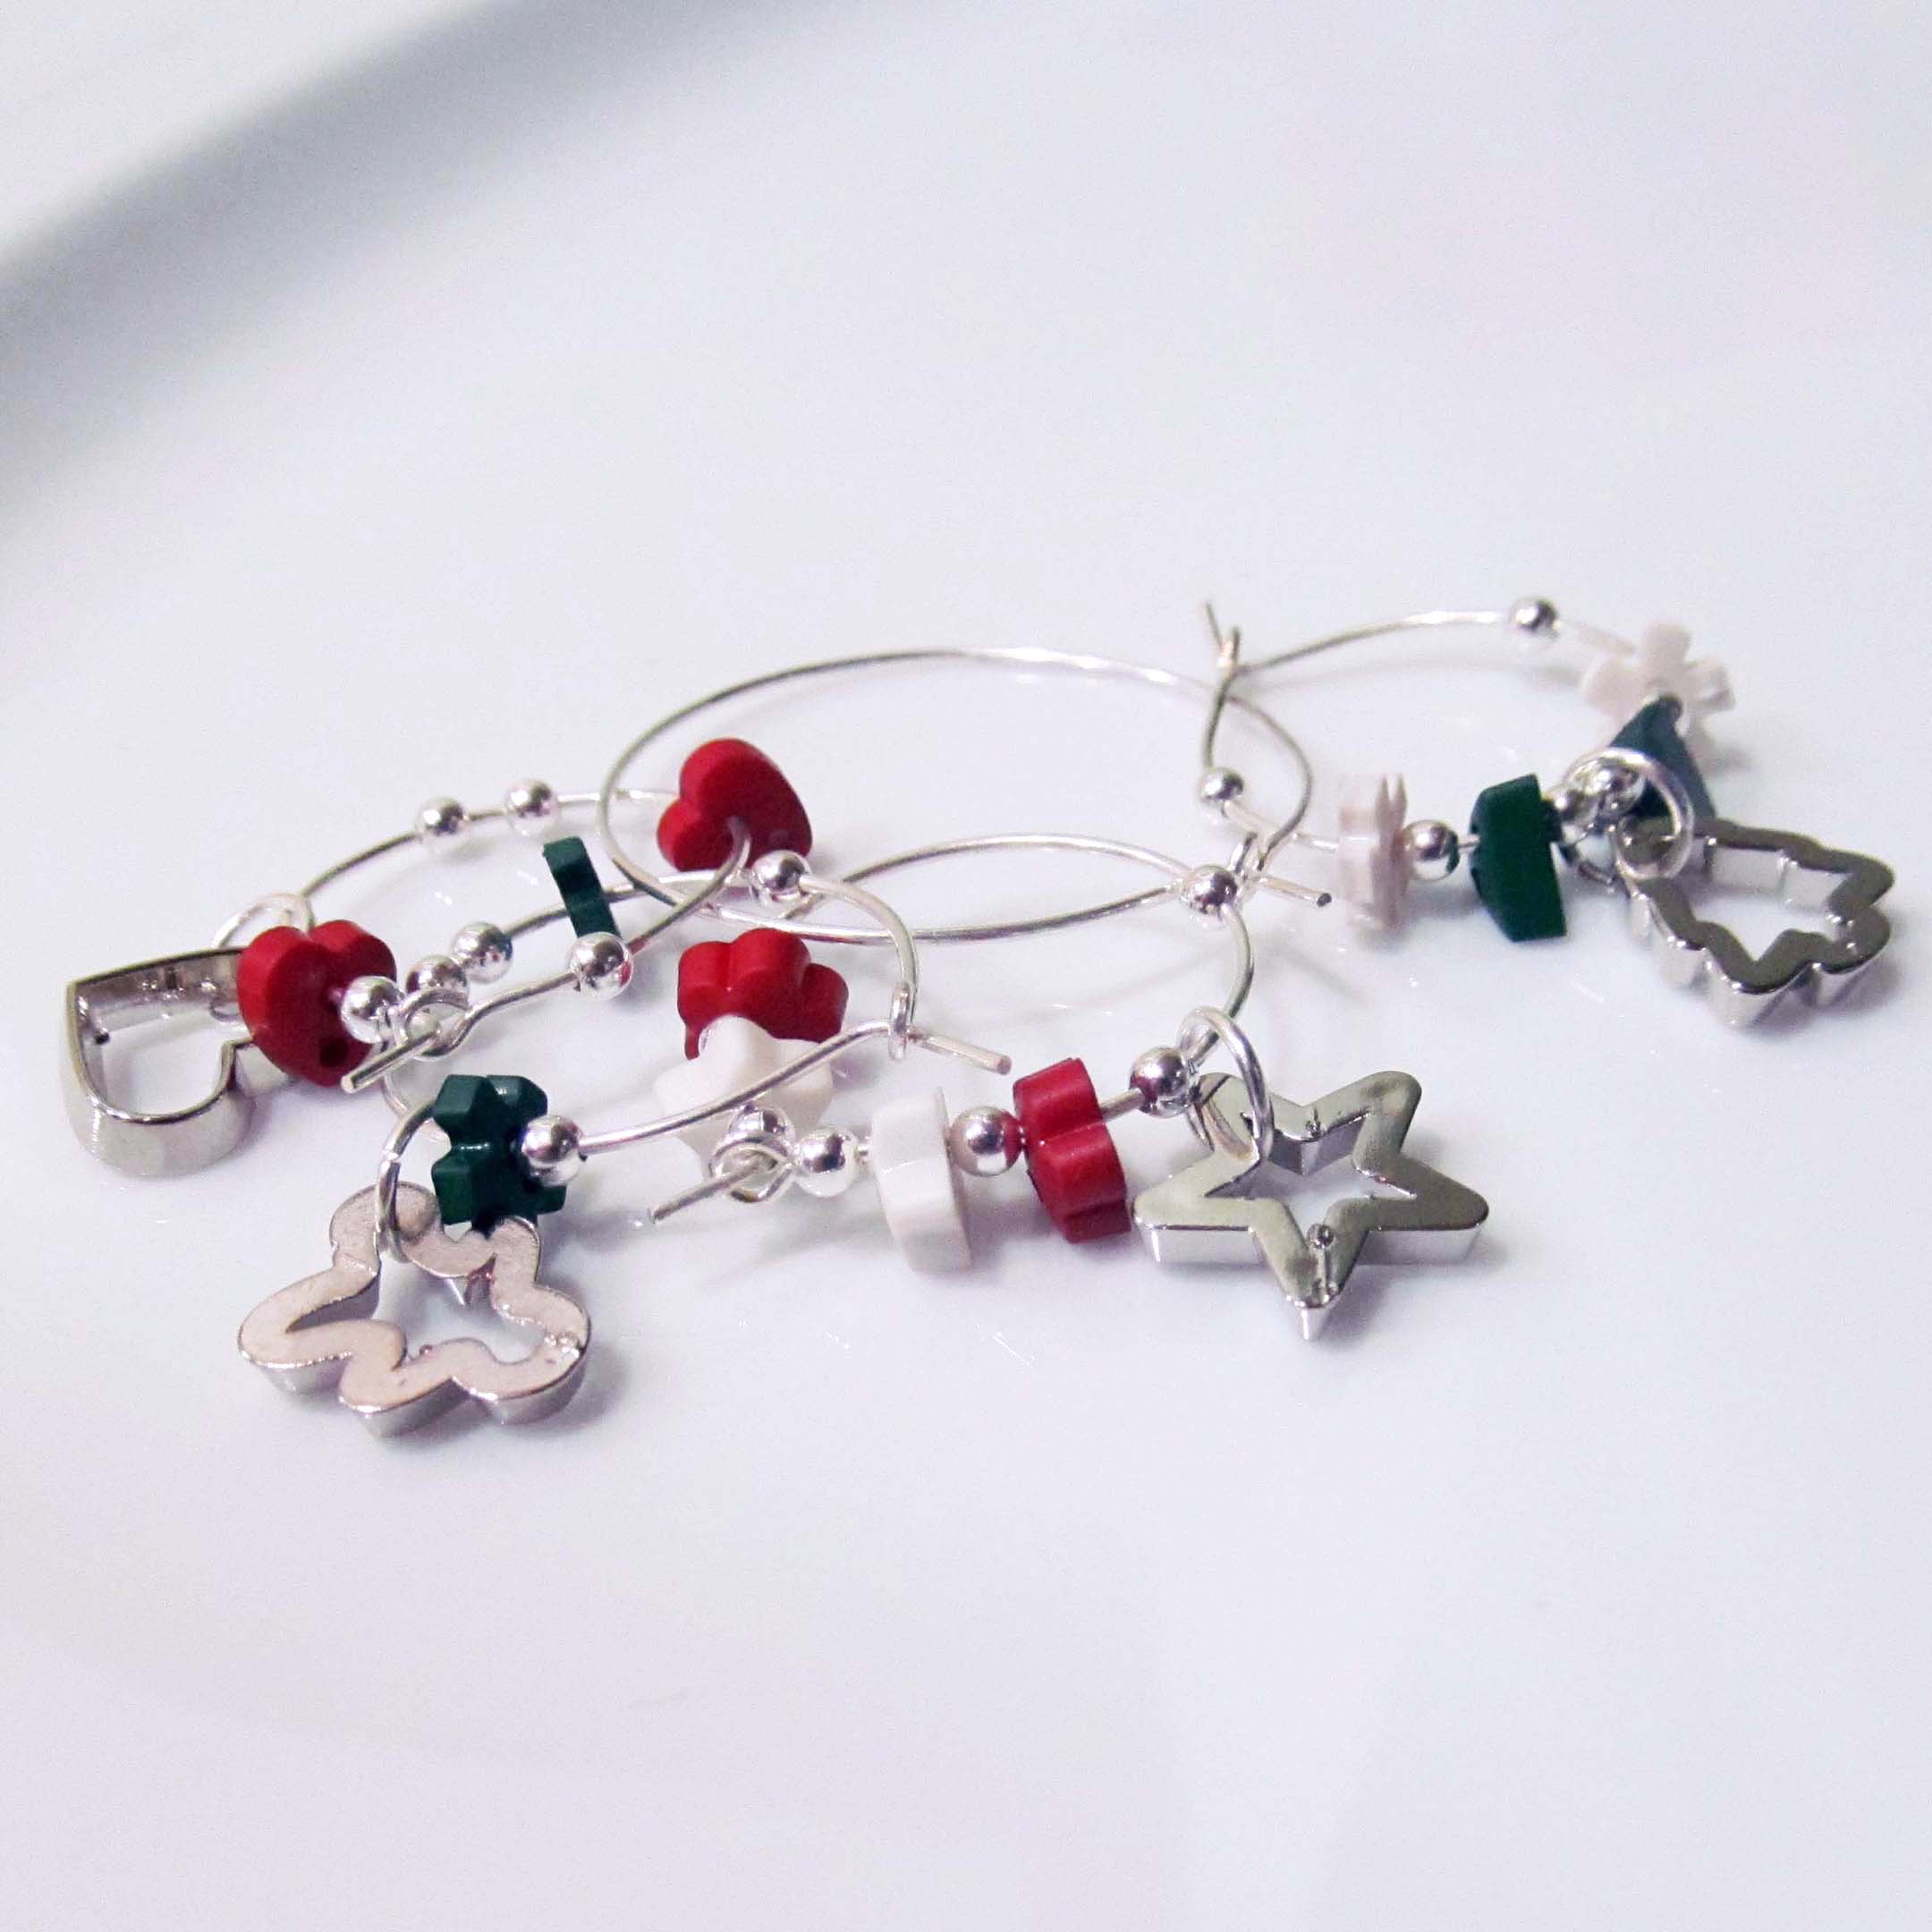
Like the idea of wine charms but don’t have a ton of extra corks around the house? Try making these other holiday themed charms.

Christmas Light Wine Charms

Holiday wine charms

Christmas Cookie Cutter Wine Charms

wine charms

Color Coded Wine Charms

wine charms cg

Christmas, Craft Projects, Holiday, Wreath

Christmas Centerpiece

How many times can I say I have awesome neighbors?

Well, it’s just true and I’m gonna keep shouting that I love them. Because they rock.

Sunday, our neighbor came over to watch football with Brian, so the wives got together and hung out too! But get this, we cleaned! Ye, that is a good friend. Allie and I cleaned the hell out of my craft room, which so desperately
needed it. I threw away a ton of stuff that I wasn’t going to use. I have a pile of crafts to gift this Christmas. And I have a bunch of stuff to donate.

While cleaning, we also found/rediscovered some materials I had bought in the past two years and just never got around to using. For example, a floral ring. Turns out, I had a perfect glass dish (it holds the dip in our now-deceased chip and dip set… thanks, Brian haha) to fit in the center.

So after we cleaned, we headed to Michaels and bought some fake winter foliage to make a Christmas centerpiece.

This project was so easy and would make a great gift. And if you get to Michaels when they are having a sale (50% off of all holiday flowers and an extra 25% off!), it’s not terribly expensive.

I started with the floral ring, and I bought the flowers and the silver charger ($2) at the craft store.

I started by tearing up the floral pieces that I got so each branch, pearl, stem, etc. was separate. Then, I glued the floral ring to the center of the charger.

Starting at the bottom, I started to place large piece of evergreen around the base.

Christmas Centerpiece beginning

And basically, that’s it. No more gluing — just sticking! I worked my way around and around and around. And when I thought I might be done, I wasn’t. So I added more. Once the greenery had good coverage, I added white and silver pearls. These are also available in the floral section and come on wire. So again, just stick ’em where you want ’em.

An important thing to note — I left the center untouched so my dish would still fit in the center. I did place evergreen along the top edge of the center, but nothing in the actual hole in the center. I will be using a fake candle, so I wasn’t too worried about things catching fire.

Christmas Centerpiece

So what do you think!? Isn’t it purdy? I don’t think I would have ever thought to do this if it weren’t for Allie. She was going to make it for me, but she was going to use real plants and that would have kicked it after a season so I opted for fake.

Christmas Centerpiece lit up

She did do another project for my house while I made this centerpiece and hers is even more beautiful.

Centerpiece

I ❤ neighbor craft nights!

What Christmas crafts have you all been up to? I have a lot more things I want to make this year. Here’s hoping I have time!

Christmas, Craft Projects, Holiday, Quick and Easy Crafts, Wine Crafts

Wine cork grape ornaments

I think this craft is one of my all-time favorites. My neighbor and I did a craft night before my Trash to treasure fair and we made so many cool things out of corks!

Unfortunately, I only have photos of the finished project. It’s hard to remember to take photos when you are crafting with one of your best friends. It’s basically non-stop talking mixed with singing along to Christmas music.

Anyway, check these out!IMG_0020

To make a wine cork grape ornament, you will need 8 wine-stained corks, a thin piece of cork, wire, hot glue, ribbon and a leaf!

First, you will need to cut the tops of your corks off. We used sharp knives from my kitchen to cut through the cork. Err, correction, Allie used the sharp knives… I couldn’t stand the noise it made. Either way, cut about half an inch from the wine stained end. We didn’t care if ours we all the same length because the different sizes gave the ornament a nice depth to it. (Can an ornament have depth?)

IMG_0021

Once the cork tops were sliced off, I arranged them on a flat piece of cork that Allie got from TJ Maxx. It’s super thin and was meant to be a placemat. It worked great for this project, but you could use really anything to glue the corks onto. Cardboard, maybe.

Once the corks were arranged in a grape shape, we traced around them and cut out the cork. Then, we glued the leaf at the top (from a fake flower) and proceeded to glue each grape onto the cork.

IMG_0022

When the glue dried, I poked wire through the cork and made a hidden loop behind the leaf. Then I strung my ribbon through the top and hung it on our holiday garland!

I absolutely love these ornaments and will definitely be gifting a few this holiday season.