Craft Projects

DIY Doggie Bow Tie

{A Smith of All Trades} Remmy and his bow tie

It snowed a ton in Maryland yesterday — but of course, nothing stuck AT ALL. What the heck! Even though I didn’t get to frolic through the promised 10 inches of snow, I did get a snow day from work. That basically meant playing with my pup all day, which included me making him an ADORABLE bow tie.

{A Smith of All Trades} Remmy and his bow tie1

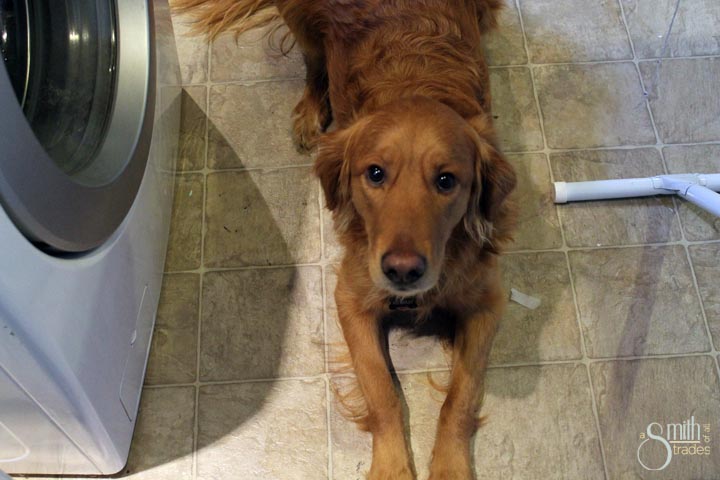
“Hey Mom, make me a bow tie, please!”

{A Smith of All Trades} Remmy and his bow tie2

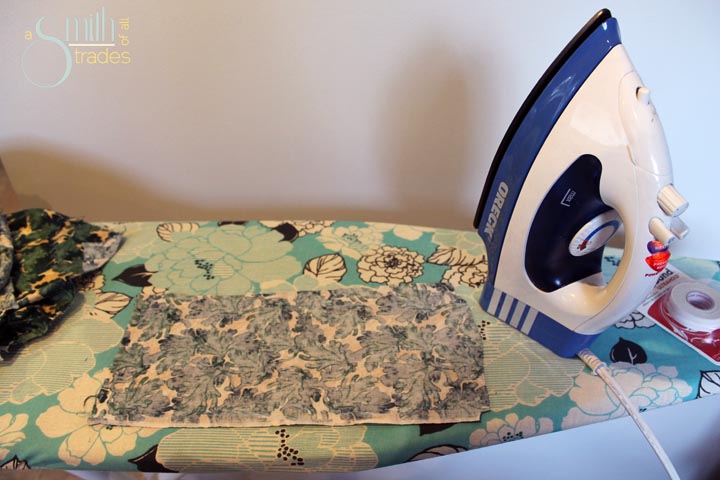
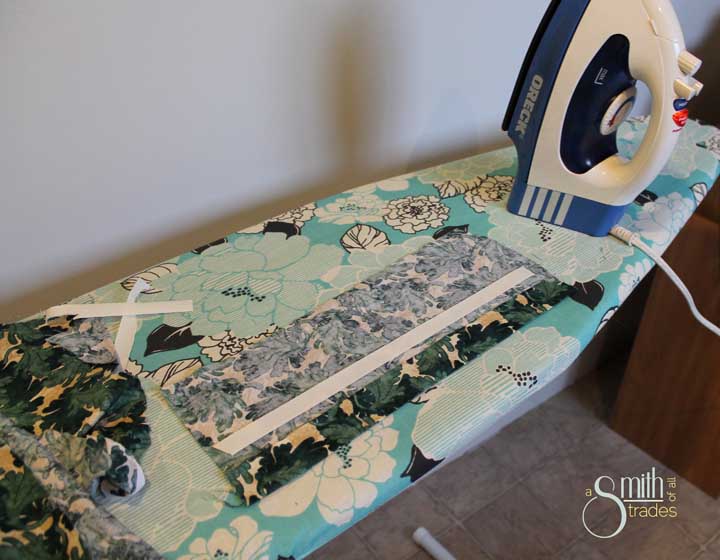
Remmy picked out a charming fabric for his bow tie, and we immediately set to work on our snow day project. First, I cut out a nice rectangle of fabric and ironed it flat.

{A Smith of All Trades} Remmy and his bow tie3

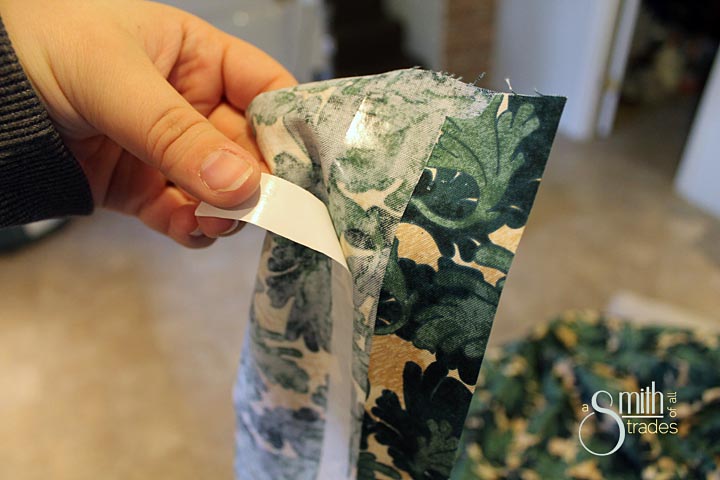
Then, I created a secure hem using hem tape.

{A Smith of All Trades} Remmy and his bow tie4

I did the same thing to the other side of the fabric.

{A Smith of All Trades} Remmy and his bow tie5

This was different hem tape than I used in my tablecloth project, so first I had to iron one side of the tape down. Then, you remove the paper backing, and iron the other side of the fabric to the exposed side of the tape.

{A Smith of All Trades} Remmy and his bow tie6

When I was done, it looked something like this:

{A Smith of All Trades} Remmy and his bow tie7

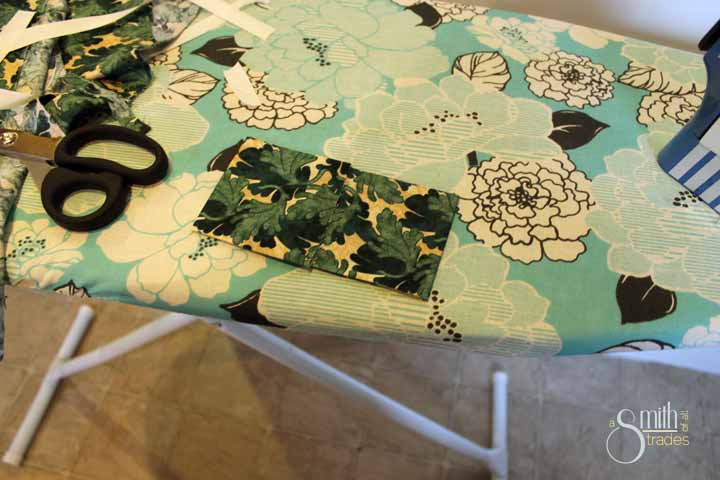
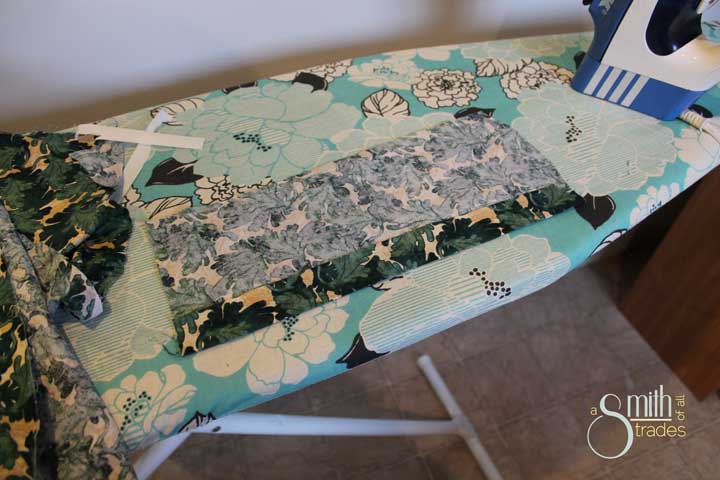
Next, I folded each end of the newly hemmed rectangle into the center, with about an inch of overlap. I placed hem tape down the center strip, and secured the two ends together. I also ironed strong creases into the folds.

{A Smith of All Trades} Remmy and his bow tie8

Next, I created the center of the bow tie using the same technique as before — just suppppppper skinny!

{A Smith of All Trades} Remmy and his bow tie9

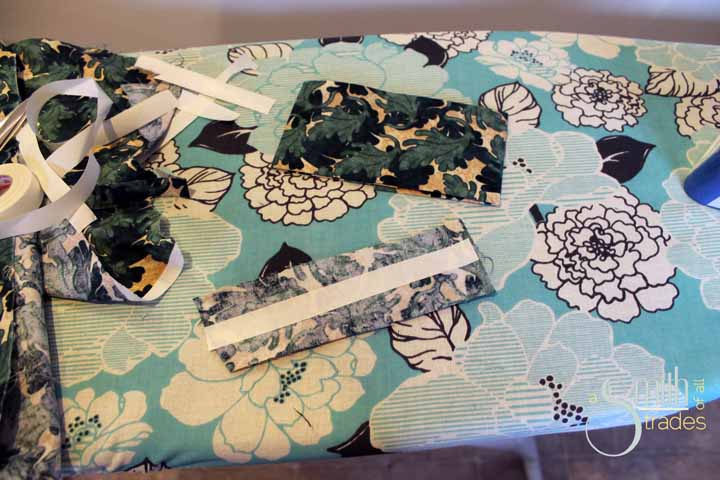
I secured this piece to the middle of the large rectangle, then wrapped it around remaining fabric and cinched it tight.

{A Smith of All Trades} Remmy and his bow tie10

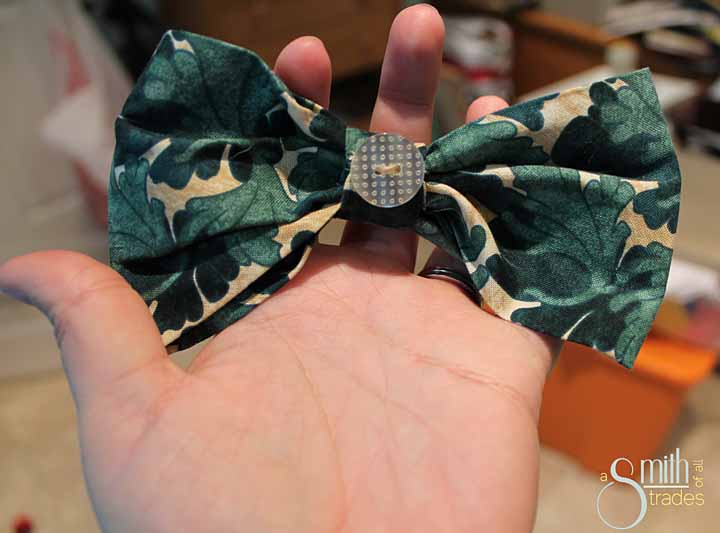
I stitched the ends closed, then sewed a polka dot button in the middle. Time to go find Remmy!

{A Smith of All Trades} Remmy and his bow tie11

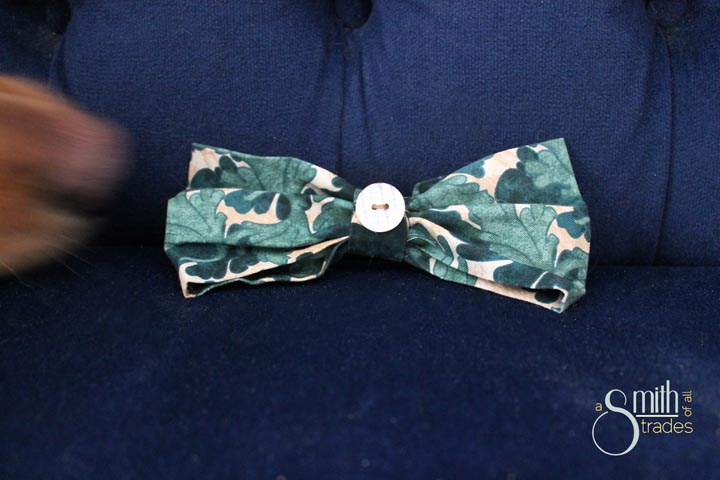
Well, he found me and the bow tie first. And immediately stole it and hid from me.

{A Smith of All Trades} Remmy and his bow tie12

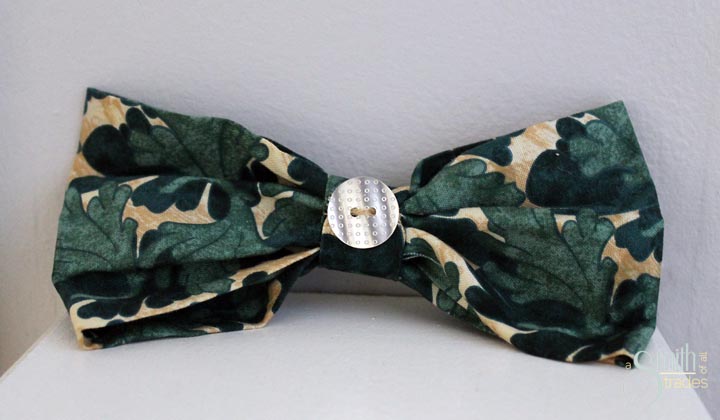
What a jerk. Once I finagled the bow tie from my pup, I tried to slip it onto his collar. Unfortunately, I didn’t leave enough room around the center like I thought I did, so it wouldn’t slip onto the collar. Good to know for next time!

{A Smith of All Trades} Remmy and his bow tie13

Oh well! Time to grab some zip ties!

{A Smith of All Trades} Remmy and his bow tie14

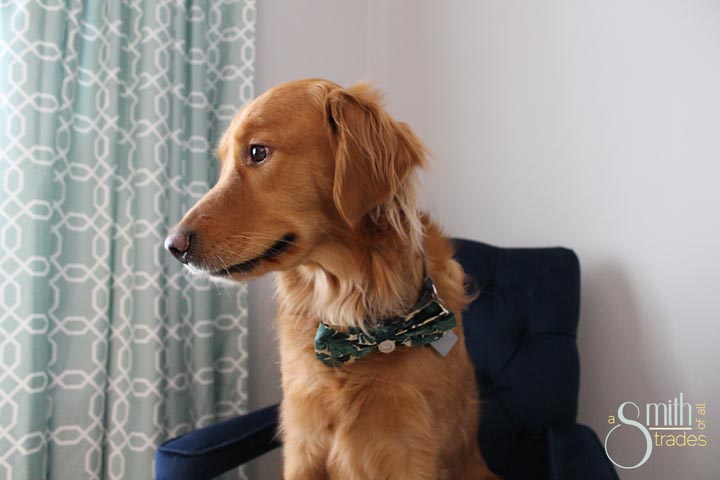
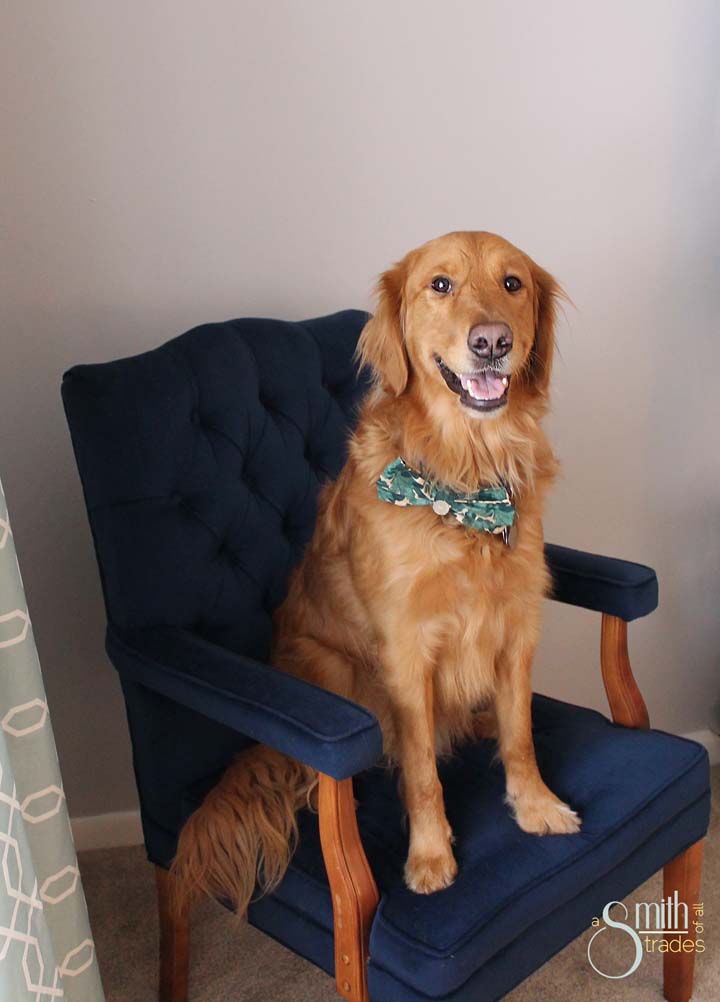
Looping a few zip ties through the back center of the bow tie, I secured it to my pup’s collar. Then we had a PHOTO SHOOT! Many treats were involved.

Many.{A Smith of All Trades} Remmy and his bow tie16

{A Smith of All Trades} Remmy and his bow tie17

{A Smith of All Trades} Remmy and his bow tie19

{A Smith of All Trades} Remmy and his bow tie20

{A Smith of All Trades} Remmy and his bow tie21

{A Smith of All Trades} Remmy and his bow tie18

{A Smith of All Trades} Remmy and his bow tie23

{A Smith of All Trades} Remmy and his bow tie15

Then we took the bow tie off… Turns out my pup doesn’t love it like he does his shirts.

{A Smith of All Trades} Remmy and his bow tie22

Thanks for stopping by!

Craft Projects

DIY Button Tray


IMG_0160

Need a fun project for the upcoming weekend? Why not try making your own button tray?!

This tray takes a while, but the end result is totally worth it.

Supplies:

Step one: Prepare your tray for painting by doing a light sanding (if necessary).

Plain tray

Step two: Apply several coats of paint to your tray, allowing adequate dry time in between coats. I opted for an off-white color for my tray.

Step three: Once your tray is dry, start securing buttons to the bottom using glue. I used super glue until I ran out of it and switched to hot glue. Glue your buttons as close to one another as possible. Do not skip the gluing step because the buttons will rise when you pour on your super glaze.

Button Tray

Button TrayStep four: When all of your buttons are secure and the entire tray is filled, it is time for your super glaze. I buy mine from Home Depot. Mix up your super glaze according to the directions pon the box (1:1), then pour over the buttons. To get the best results, I poured my first layer and let it dry for the recommended 72 hours. Then I came back and poured a second layer to fill in any nook, crannies and buttonholes.

Step five: This is the hardest part — let your tray dry for the full 72 hours. I had to wait twice since I did mine in two layers! If you don’t, you will get fingerprints on the clear finish and it might be tacky. Also, let the tray dry in the warmest room in your house. I let mine dry in our office — the hubby’s computer makes it super warm. When I let it dry in our cool basement, the finish on the super glaze was tacky to the touch. Always place cardboard underneath in case anything leaks out (which is did because my tray cost $.50 and wasn’t the greatest work of construction known to man).

IMG_0151

Step six: Admire your hard wok and patience by displaying your beautiful tray proudly in your home.

IMG_0152

Button Tray square


Craft Projects, Furniture

Over-sized Jar Lamp

IMG_0134

Happy one-year house anniversary to us! A year ago today we closed on our house — what an adventure it has been. Every room of our house has been painted, we did a massive family room overhaul, and tackled smaller projects here and there along the way.

My newest project is making our living room pretty, which started last weekend when we got rid of our old, grimy couch and purchased a pretty, new one!

Old Couch

If you are on vine or twitter, you can see the satisfying thud this ugly thing made when it hit the bottom of the dumpster at the local dump. So satisfying.

We didn’t mourn this couch long (or at all) — from the dump we headed to a local warehouse to pick up the clearance couch we’d purchased the night before. Not to brag too much, but we got our new couch for a steal!

AND IT IS ADORABLE!

IMG_0003

The pillows that came with the couch were a little too Hawaiian for me, so I picked up the charcoal gray and teal pillows at Target! I also got a gray throw and snagged the light gray pillow from our bedroom. It is so pretty. I love it.

Now that I actually have a couch I like and something to jump off of from a design standpoint, I am going non-stop to make this room perfect. See, this is my room. There is no TV and no computer, just a big window and a comfy couch. I want to be able to read in here! I can during the day, but at night I am in a fish bowl. That’s why I am working to find the perfect curtains for our bay window. I ordered some online, so fingers are crossed that they work.

In the meantime, I needed some more light in this room. With just the overhead ceiling fan, the light in this room is just mediocre come night-time. I have a beautiful glass lamp that I bought for super cheap at Target because it was broken. I fixed that and just need a flashy shade. I need a few more lamps though, so I decided to make my own.

Using a shade I had from the thrift store and an old, large jar, I set off today to make another light for that room.

IMG_0080

The first thing I needed to do was put a hole in the center of my jar lid. To do so, I had to find a drill bit large enough to fit my threaded pole (attached to the light fixture and to the nut underneath the lid). Once I found one, I carefully drilled through the lid while it was screwed onto the jar.

IMG_0084

Originally, I wanted to keep the green lid for my lamp, but no amount of scrubbing could remove the “crayon” label from childhood.

IMG_0081

Before I started to spray paint my lamp fixture, I figured out just how I was going to secure all of the parts of my lap. I ended up drilling through a mason jar lid with the same drill bit to use as extra support underneath the jar lid. I opted for a stack of washers on top of the lid to raise the light fixture up, and one washer and two nuts underneath for added stability.

IMG_0111

I also used a lamp harp to support the shade.

IMG_0112

Between the brassy harp, green lid and silver washers, I needed one finish for all of the parts of my lamp. I got out some metallic silver spray paint and lightly dusted all of the parts so they would match. I also did a coat of polyurethane.

photo (10)

When everything was dry, I assembled all of the pieces: Light socket & threaded rod > harp > washers > lid > mason jar lid > washer > two nuts. I tightened the heck out of everything, and when it was good and secure I placed the lid of the jar back onto the freshly washed and crayon-free jar.

I added the shade and the finial and put it next to the couch.

IMG_0135

What do you think? It turned out pretty darn cute if you ask me. Now I just need to replace that old piano bench with something a little classier since my couch is so pretty now!

IMG_0128

Did I mention I only paid $2 for the gorgeous shade?