Christmas, Craft Projects, Holiday, Quick and Easy Crafts, Wine Crafts

Holiday Wine Charms

I welcome today with open arms after yesterday’s tragedy in Connecticut. I was in a real funk after hearing about the shooting (rightfully so) and couldn’t quite snap out of it all day. Even though we had our holiday party at work and I got to come home to my hubby and my puppy, I couldn’t shake the terrible sadness I was feeling. I can’t even imagine what that town is going through right now and my thoughts are with them in this unthinkably difficult time. I am so thankful to get to see my little brother today and my sister and my parents… they are all getting extra big hugs from me for sure. Today is a new day and will most certainly be a better day, so with that said, onto a few happier things.

Today is my best friend’s birthday! Dana and I have been friends forever. Seriously. We were next-door neighbors when we were born and have been friends ever since. Sure, we were forced to be friends. But years of our parents making us play nice turned into a fantastic friendship that I know I’ll have as long as I live.

Me and Dana

Weren’t we cute? I’m on the left and Dana is on the right. And that’s my momma 🙂 She’s so pretty.

Dana and Me

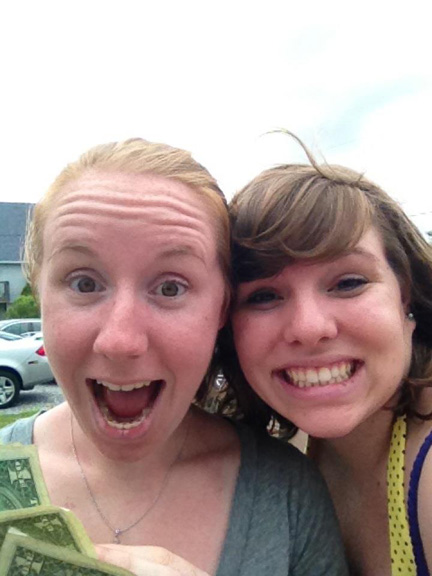
And here we are today… Dana is on the left this time and has a lot more hair, but we are more or less the same.

Love you, Dana! Happy birthday.

And now onto the craft!

I’ve already shown you how to make wine charms, but did you ever think to make holiday-themed wine charms as inexpensive Christmas gifts? I hadn’t until this year, but as I was wandering the aisles of Michaels I Stumbled across holiday buttons and picked up a pack of holiday lights and cookie cutter buttons. Holy cuteness.

In case you forget how or simply missed the post on how to make wine charms, it is super easy. All you need are different charms or beads, pre-made hoop wire, and pliers. Add your beads and charms onto the hoop wire, then bend the end of the wire into a right angle so nothing can fall off. Put this bent end into the eyelet on the end of the hoop wire, and your charm is finished! Just make sure there is something obviously different about each charm so when they are used people will be able to remember which is theirs (although I never remember… oops.)

The first set I made were a Secret Santa gift for my coworker Julie. I made her a set of three wine cork ornaments and these wine charms to go with a nice bottle of wine. I used the Christmas light buttons and a few silver beads as accents to make this adorable set of wine charms. She really liked them and said she didn’t have any wine charms at all before! Sweet.

Holiday wine charms

Then I made this set of cookie cutter charms. The colors are all very similar, but each charm is very different: Heart, tree, gingerbread man, star. I have two sets of these and will be giving them out as Christmas gifts. Gah, they are so cute.

wine charms

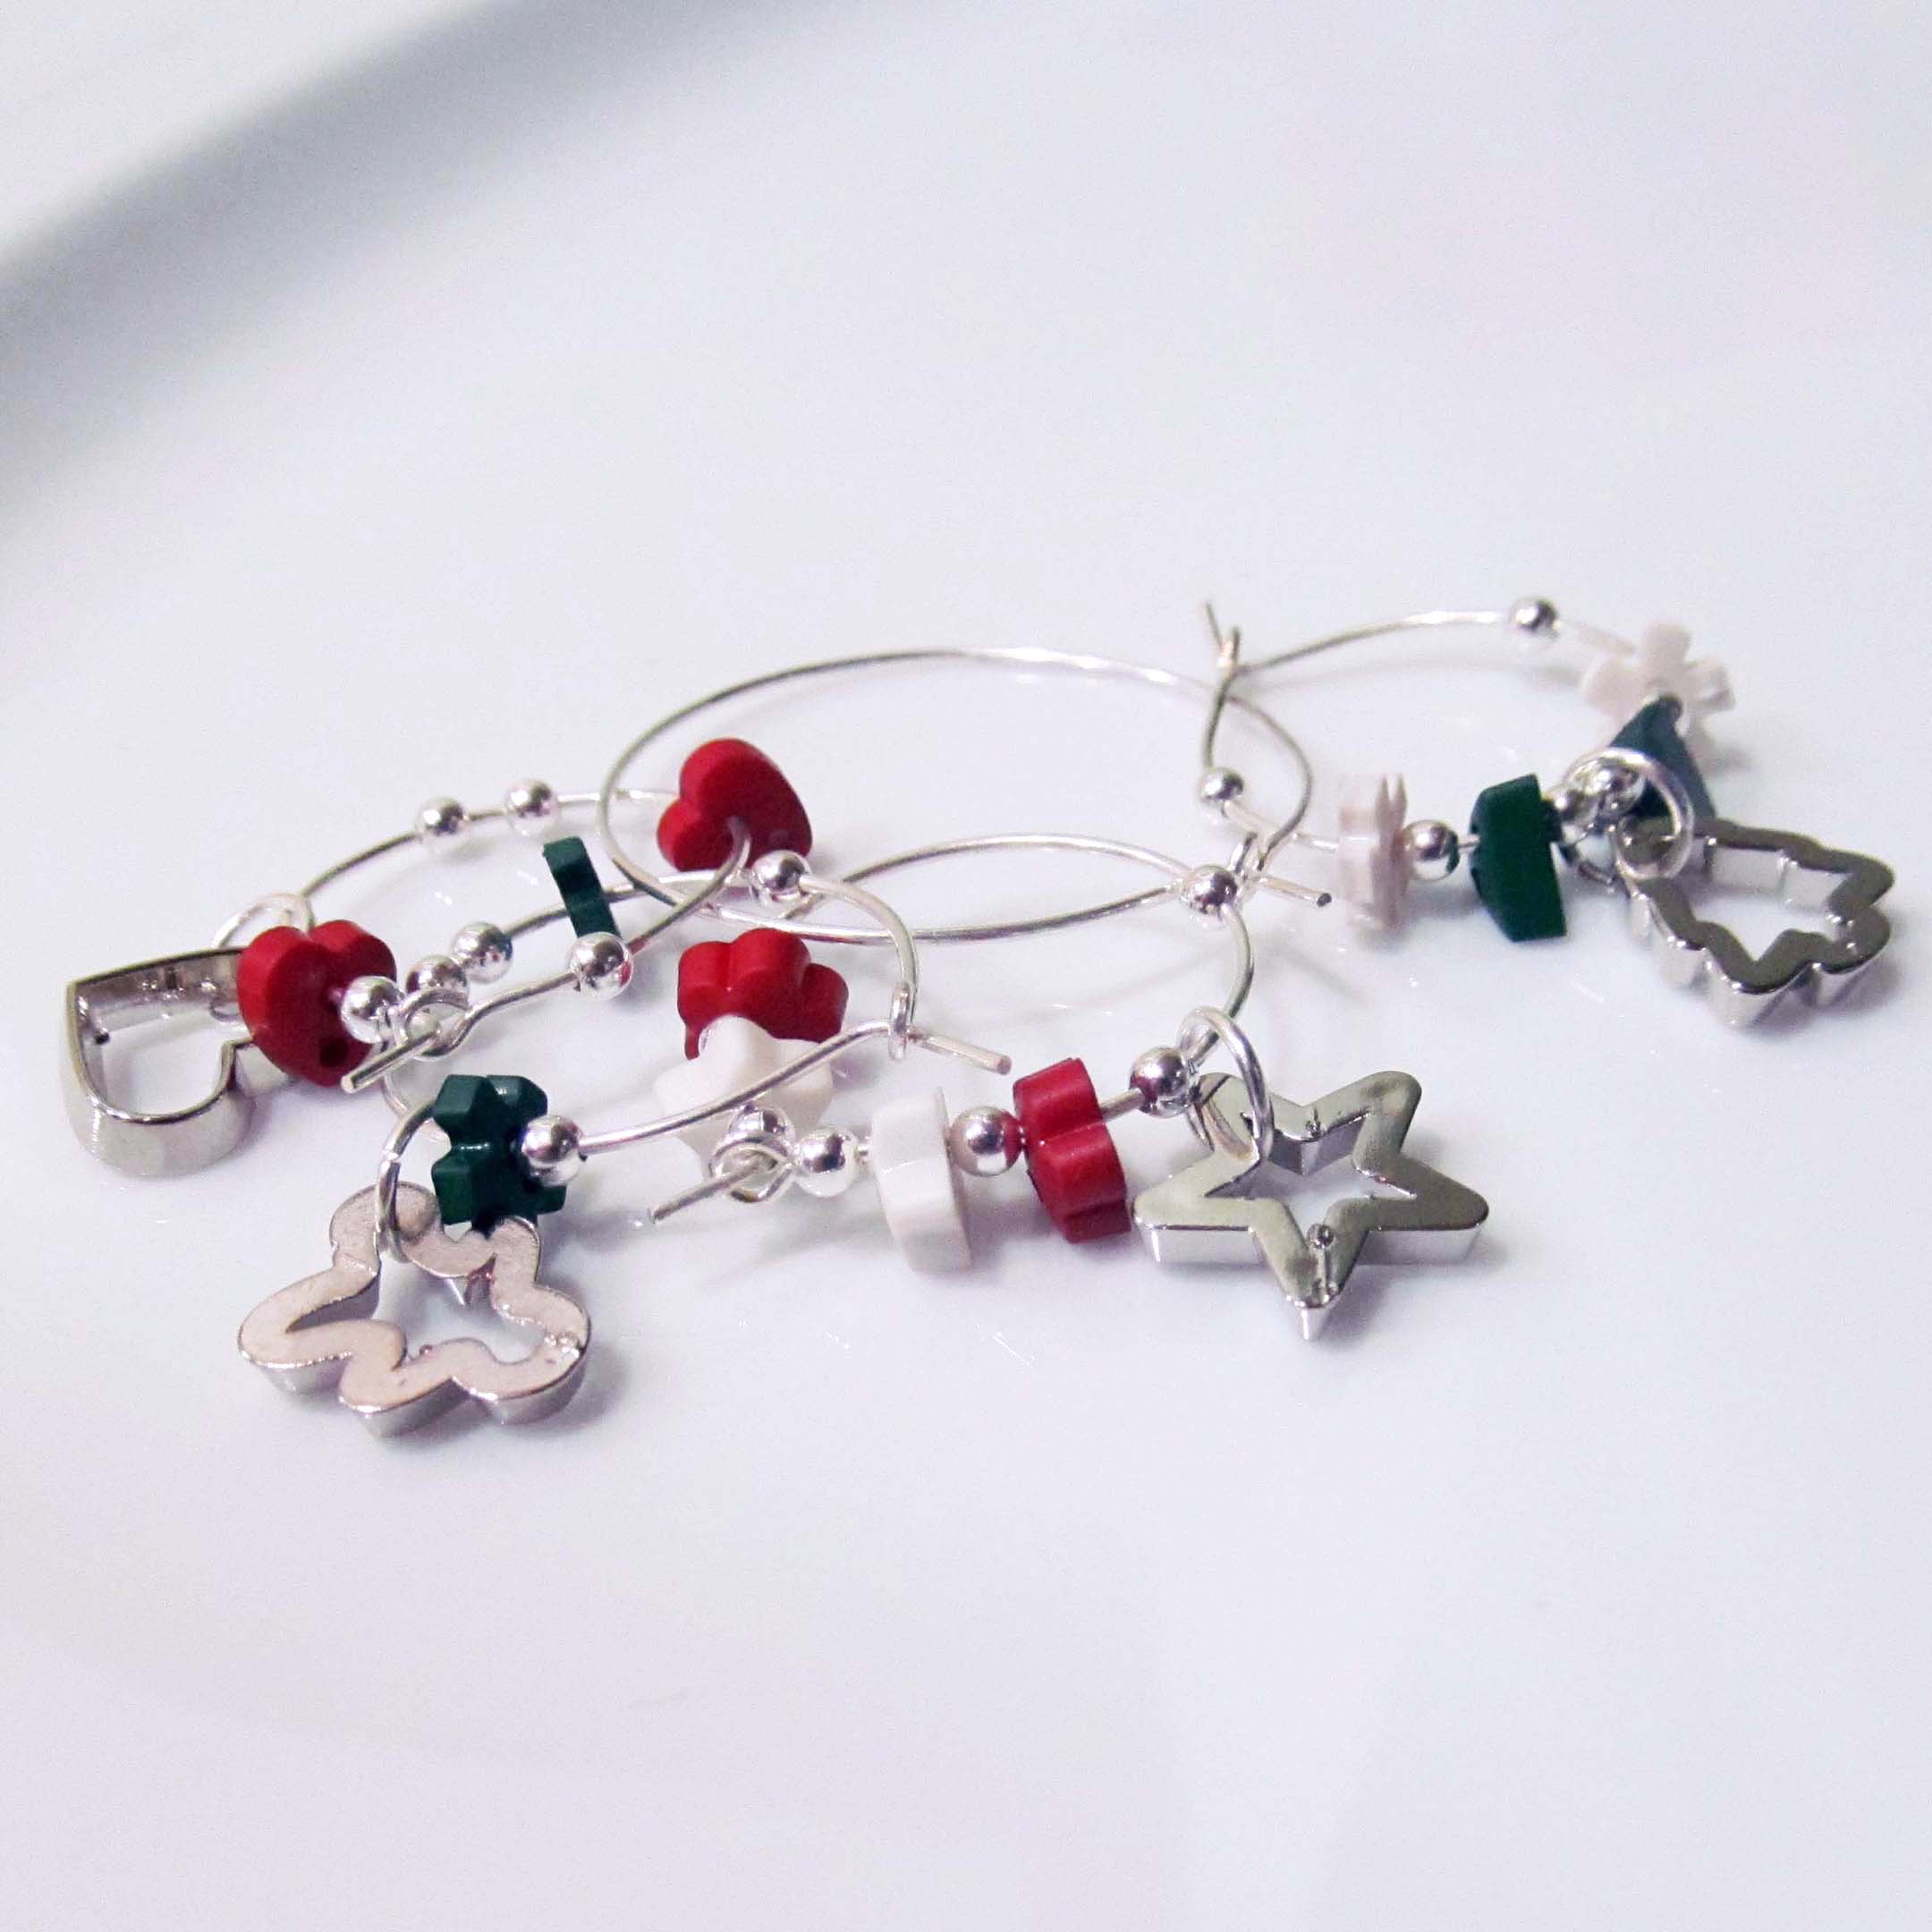
All in all, these probably cost about $2 per set. So if you need an inexpensive gift, these are a great idea.

I hope you all have a great weekend! Hug your loved ones and make wine charms 🙂

Christmas, Craft Projects, Holiday, Quick and Easy Crafts

Glitter Pinecones

Wow, what a weekend! Craft night on Friday, two holiday parties on Saturday and a football party on Sunday.

I made the most adorable football cookies for our sad loss (better luck next time, boys!). At least the cookies were delicious.

IMG_2166

Onwards to the craft! Need a quick and easy holiday decoration that is sure to make your house sparkle and smell delicious? Why not glitter some cinnamon-scented pinecones?

That was one of our crafts for Craft Night and it was super fun and messy!

We used Mod Podge and a paint brush to paint the tips of the pinecones.

IMG_2152

Then we poured, rolled, dusted, etc., glitter onto the edges. Once the glue and glitter dried, I sprayed mine with Mod Podge sealer so the glitter would go crazy everywhere.

And then I popped them into my centerpiece bowl full of cinnamon pinecones. Yummo 🙂

pinecone

I only glittered four pinecones, and I think it was the perfect pop of aqua in my centerpiece. I’m usually all about green, red, gold and silver for the holidays, but I think the blue looks lovely.

IMG_2158

Holy glitter!

IMG_2156

Happy Monday!

Christmas, Craft Projects, Holiday

Cookie Cutter framed art

Do you and your family make Christmas cookies every year? We do — in fact, it’s a big to-do in our family. We set aside an entire day dedicated to making our famous sugar cookies before our extended family joins us for the holidays.

Last year, we went through our cookie cutters to weed out the ones we never use, and my mom pulled out a set that used to be her mom’s. We never use them because they are a bit of a pain to use, but she didn’t want to throw them away. So, she gave them to me to make Christmas artwork for her. I turned them into a pretty and festive framed piece of art that she displays in her kitchen — how perfect!

To make the frame, I bought a ruby-red fabric with gold diamonds on it, as well as some spray adhesive. I also grabbed a shadow box frame since the cookie cutters aren’t flat.

I sprayed the adhesive onto the black insert that came with the frame and tightly wrapped the fabric around the edges. I trimmed off the excess and let it dry. Don’t go overboard on the spray glue because it can seep through your fabric.

Once the fabric was secure, I figured out how I wanted to space my cookie cutters, then started to glue. The cookie cutters were hollow(ish) on the inside, so I had to glue something inside of them so the glue could reach the fabric. For one, I glued crumpled up paper, which worked great. For the remaining ones, I glued small magnets. Those also did the trick.

With the cookie cutters ready to be added, I piled up hot glue on top of the paper/magnets, then carefully placed them onto my fabric-covered cardboard.

After I had all four glued on, I wanted to add a little something extra. I had ribbon that matched the fabric perfectly, so I tied four bows to add to the frame.

Once they were all about equal size, I glued them onto each of the cookie cutters.

Then, I popped the cardboard back into the frame and secured the back. Voila!