Recipes

100 Days of Real Food Cookbook review

Between bathroom renovations and power outages, I almost forgot to share a different kind of post for A Smith of All Trades — a book review!

I have been following 100 Days of Real Food for a few years now and the woman behind the blog, Lisa Leake, just published her first cookbook. Lisa’s blog is about cooking with real ingredients and cutting out processed foods. She has a ton of great recipes to share, as well as tips for cutting back on pre-packaged, over-processed foods. While I’m not 100% processed food free — I might not even be 50% — following her blog has been eye-opening for me as to the simple changes I can make to get rid of some, well, crap. Instead of buying frozen pizzas, we make our own from scratch. Box-mix cookies? A thing of the past. Bisquick for pancakes and biscuits — I can easily make my own. I even make our whipped cream instead of buying the canned stuff!

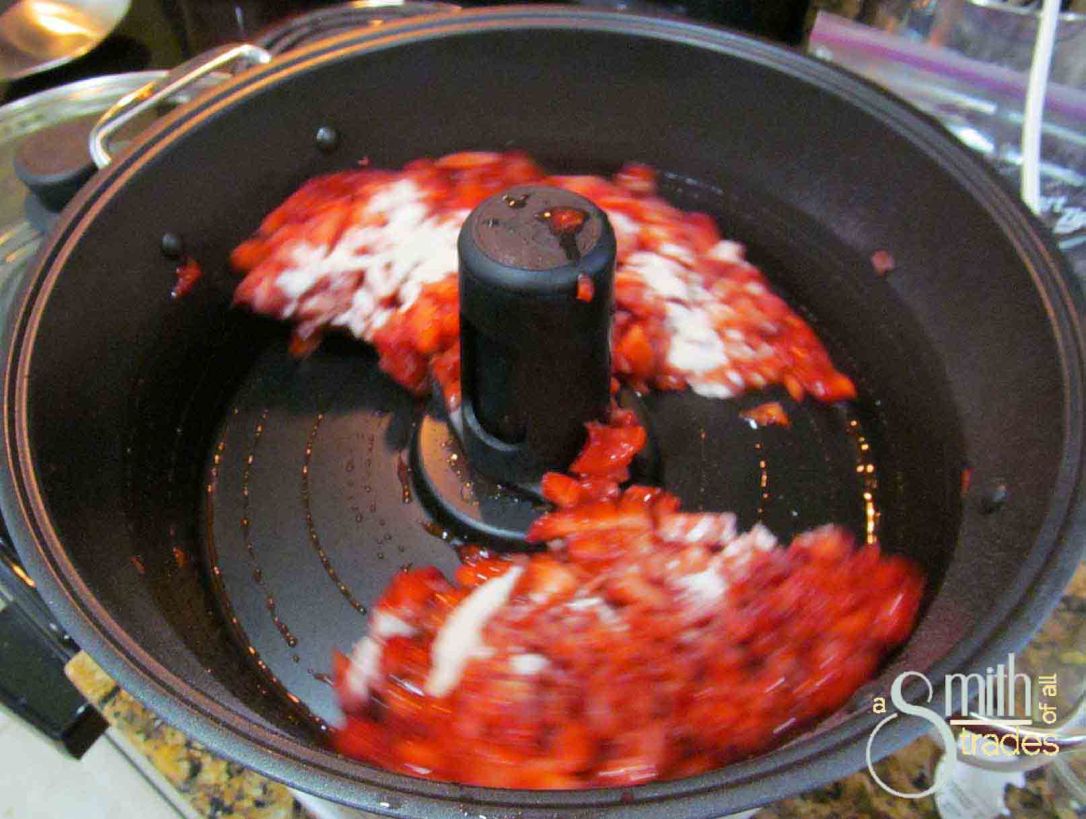
And you guys know I love to can some food from my garden veggies. And it is always yummier than if I buy it from a store. Real food = delicious food.

Some of our favorite meals have come from Lisa’s blog (The Best Whole Chicken in a Crock Pot — it really is the best and we are actually having it for dinner tonight!), so when I had to opportunity to review her cookbook I couldn’t refuse. Turns out, this recipe is also in her book.

100 Days of Real Food cookbook

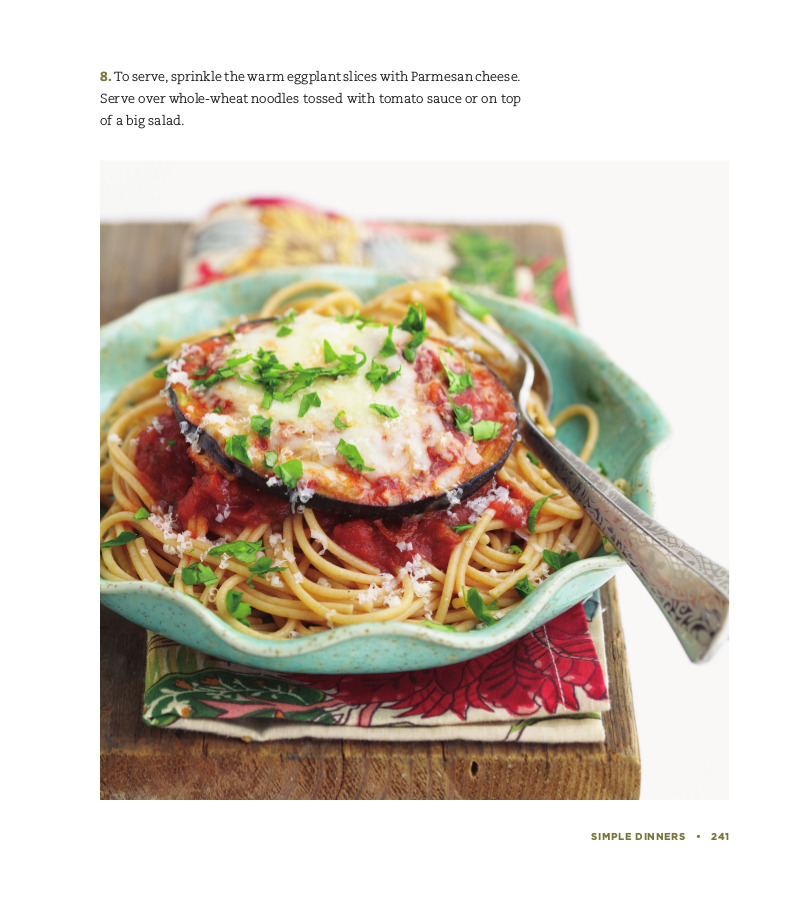
100 Days of Real Food is a beautiful cookbook. That might seem a strange thing to mention first instead of, say, the recipes. But it truly is beautiful. Every page has a photo, which is essential (in my opinion) to a good cookbook.

It also has all sorts of recipes (it is a cookbook after all), from simple to more complex. She also explains in great detail about transitioning to real food. I’ve read some of her tips on her blog, but just from flipping through it seems like there is a lot I haven’t seen yet. She has a whole section on tips to convince skeptics (ahem, my hubby) that real food is the way to go. I’ll definitely be reading that section.

I think I might be most excited for her recipes for kitchen staples like salad dressings, bbq sauce, tomato sauce (hello, new recipe to can!) — these are the things that I am so used to just buying from the store but that have sooo many added ingredients. I think having these recipes on hand will make replacing the over-processed versions much easier.

OK, enough of my rambling. Obviously I like it. Check it out!

Here’s a few of the pages from the book so you can see just how pretty it is and how yummy the recipes look.

Shortcut Eggplant Parm RecipeShortcut Eggplant Parm Photo

Veggie Corn Chowder recipe

Veggie Corn Chowder2

Frozen Yogurt Pops recipe

Frozen Yogurt Pops photo

My whole family has been getting into the real food lifestyle, so I know they are gonna want to borrow this one.


Next time you hear from me, I’ll be showing off our new bathroom 🙂 Hope you all have a great weekend!

I received a free copy of 100 Days of Real Food — all opinions are my own.

Garden, Graphic Design, Life

Farmers Markets — Eat local!

This post is going to ramble a bit. Consider yourself warned.

I am not a huge fan of summer weather. Maryland summers are humid, hot, sticky, stormy… I am more of a spring and fall weather kinda girl. That being said, summer really is the best season ever. The days are longer, schedules free up, activities are more active… and my favorite… the food! My garden has been doing really well this year. And just like last year, I want to really expand my planting area in the future. I only did a little expansion this year, mainly because I didn’t want to fork over too much cash money.

I’ve got 10 tomato plants, peas, strawberries, green beans, lettuce, peppers… all sorts of goodies. And what I don’t grow in my garden, I have been really enjoying shopping for at local farmers markets! It’s great to eat local foods and to support small businesses and farmers.

I am so lucky that we have a farmers market ON CAMPUS at the University of Maryland. Every Wednesday I walk over and buy delicious, fresh goodies. This week I bought blueberries, raspberries and tomatoes. Did I mention we also have a sustainable food truck!?! I bought a lamb sandwich and fresh lemonade. It was AMAZING. The vendors sell so much yummy stuff (hormone-free meats, fresh-baked pastries, dipping sauces, fresh eggs…). You name it, you can probably find it there — well, as long as it is in season.

As if that wasn’t awesome enough, Howard County offers a traveling farmers market. I’ve only gone once at the beginning of the season, but it too was a great experience. I bought fresh eggs and some yummy greens. Fresh eggs are amazing. I want my own chickens… too bad my dog would probably play with them to death.

I’ve really gotten into eating fresh, organic produce lately so I am going to interrupt my own post to share some awesome blogs I’ve stumbled upon recently and I love. If you are interested at all in eating organic or less processed foods, check out these three awesome blogs: Food Babe, 100 Days of Real Food & Deliciously Organic. I’ve got a whole organic chicken in our crockpot cooking for dinner tonight using a recipe from 100 Days of Real Food. My step sister also has an impressive blog about eating healthy: Fuel My Family. They are all awesome — check ’em out.

Also, don’t worry. I’m not about to turn this into a health food blog. Just figured I’d share since I started rambling about vegetables today 🙂

OK, back to farmers markets.

The real reason I wanted to write this post was to talk about how Dana, my bff, has started selling her baked goods at a farmers market in Laurel! That’s right, Little King’s Confections will be at the Main Street Farmers Market EVERY THURSDAY! I am so proud of her 🙂

Little Kings

Little Kings Farmers Market

Little Kings Confections

Little Kings Confections Market

OK, ramble almost over. See that logo on Dana’s booth? Yup, I designed it. It was really simple to do in Adobe Illustrator. I used the fonts Lavenderia for “Little King’s” and Code Light for “Confections.” The crown was a free clip art that I swapped from black to white. It is adorable 🙂


Little Kings Confections logoo

Happy ramblings & happy Friday!

Recipes

Homemade Strawberry Jam

Homemade Strawberry Jam

I got the most random appliance for Christmas (I asked for it, btw) — a jelly and jam maker! I absolutely love making homemade jams and jellies and thought I’d share a recipe or two with you guys.

Today I made strawberry jam. It’s the hubby’s favorite and it is so soooo delicious. I like making my own because I don’t have to put nearly as much sugar in it as the store-bought jellies. Plus, it is tastier.

Here’s what you need (yes, real measurements! I know, that’s crazy coming from me.):

  • 2 lbs Strawberries
  • 1 tbsp butter
  • 1.5 tbsp pectin
  • 3/4 cup sugar

Before I start I should add that this recipe will work on the stove as well. The jam maker is preset to make jam or jelly and has a stirrer in the middle so nothing burns. It’s just a glorified pot. (But it is awesome!)

First, cut up your strawberries into little bits. If you like your jam chunkier, leave some bigger chunks of the fruit.

Next, mash your berries with a potato masher to get some of the juices loose and the strawberries extra squishy.

IMG_0062

Add your strawberries, butter and pectin to your jam maker and turn it on. In my jam maker, the preset time for jam is 21 minutes. If you make it on the stove, cook on medium heat for about the same amount of time.

Side note: I had no idea what pectin was before I started experimenting with my jam maker, so here’s what I’ve learned. Pectin is a natural substance found in apples that helps fruit to gel up. For fruits with a lot of pectin in them, you do not have to add pectin to make the jam or jelly (although it doesn’t hurt). Berries don’t have a lot of pectin, so you need the added stuff. I buy mine on Amazon.

After 4 minutes, add in your sugar. Cover and walk away and let the pot do its work.

Jam

Come back in 21 minutes to a steamy pot full of delicious jam. If you want to can your jam, do it immediately while the jam is still boiling hot and you won’t have to boil your jars to seal them. Simply place your seal and your lid onto the can after it is full, then flip it upside down. The heat from the jar’s contents will seal the jar and make it last for about a year.

The jam will also burn badly if you spill it on yourself. I learned this the hard way after spilling a bunch of boiling peach jam on my hand. Be careful!!!

If you are going to use some right away, plop it into a container and place it in the fridge. Once it is cool, try it out!

jam on toast

(Don’t just my white bread. … It’s what the hubby likes and mine was out :p)

The main reason I am sharing this recipe is that when I got my jelly and jam maker it came with a recipe book. This recipe book called for a ton more pectin (which is expensive) and a TON more sugar. I’m talking three cups. Gross. I think the recipe I have here is a really good one that I plan to use from now on with this jam.

Enjoy!