Christmas, Craft Projects, Holiday, Quick and Easy Crafts, Wine Crafts

Wine cork grape ornaments

I think this craft is one of my all-time favorites. My neighbor and I did a craft night before my Trash to treasure fair and we made so many cool things out of corks!

Unfortunately, I only have photos of the finished project. It’s hard to remember to take photos when you are crafting with one of your best friends. It’s basically non-stop talking mixed with singing along to Christmas music.

Anyway, check these out!IMG_0020

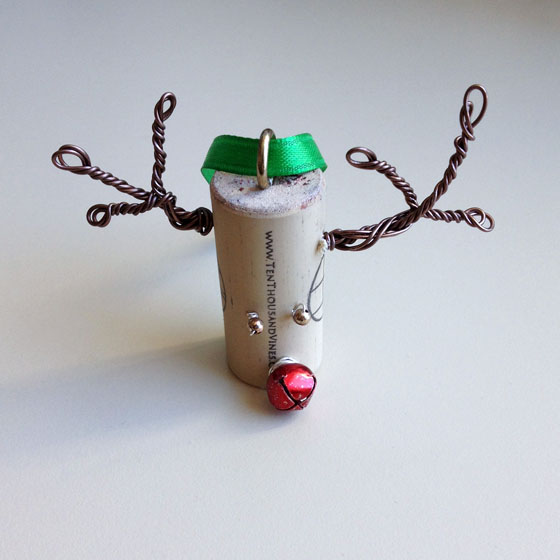
To make a wine cork grape ornament, you will need 8 wine-stained corks, a thin piece of cork, wire, hot glue, ribbon and a leaf!

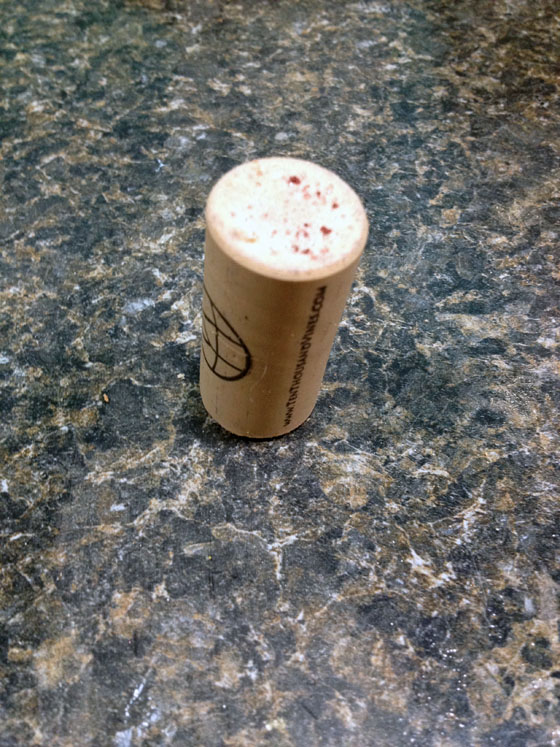
First, you will need to cut the tops of your corks off. We used sharp knives from my kitchen to cut through the cork. Err, correction, Allie used the sharp knives… I couldn’t stand the noise it made. Either way, cut about half an inch from the wine stained end. We didn’t care if ours we all the same length because the different sizes gave the ornament a nice depth to it. (Can an ornament have depth?)

IMG_0021

Once the cork tops were sliced off, I arranged them on a flat piece of cork that Allie got from TJ Maxx. It’s super thin and was meant to be a placemat. It worked great for this project, but you could use really anything to glue the corks onto. Cardboard, maybe.

Once the corks were arranged in a grape shape, we traced around them and cut out the cork. Then, we glued the leaf at the top (from a fake flower) and proceeded to glue each grape onto the cork.

IMG_0022

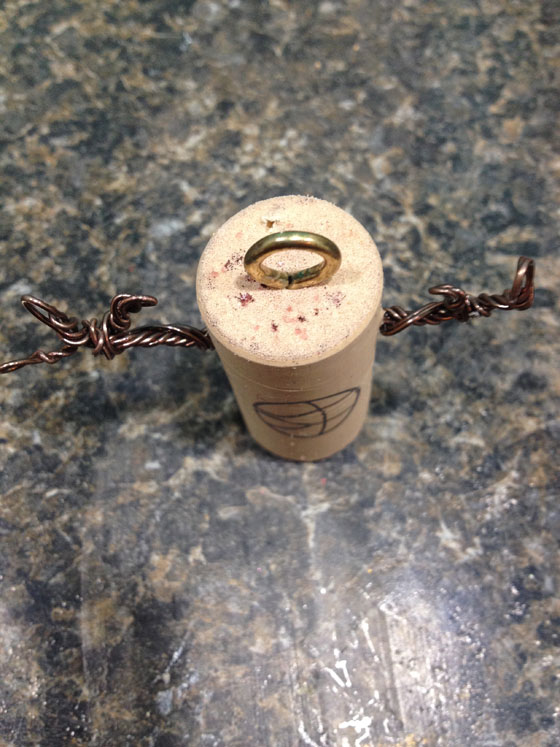
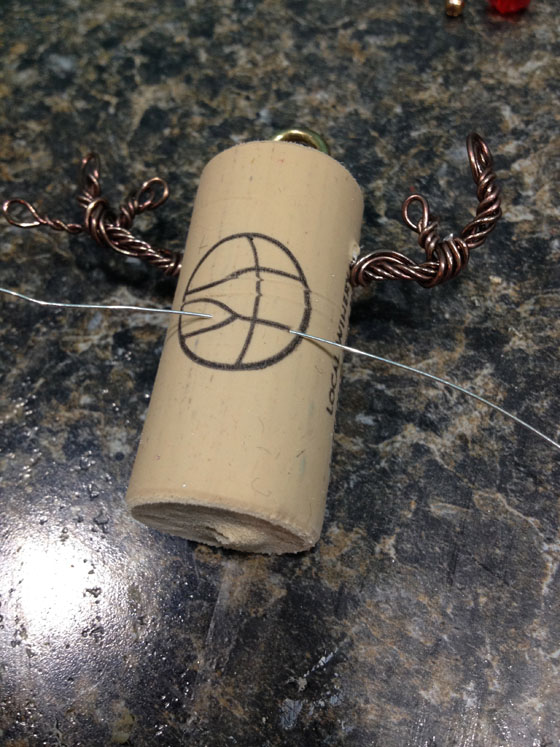
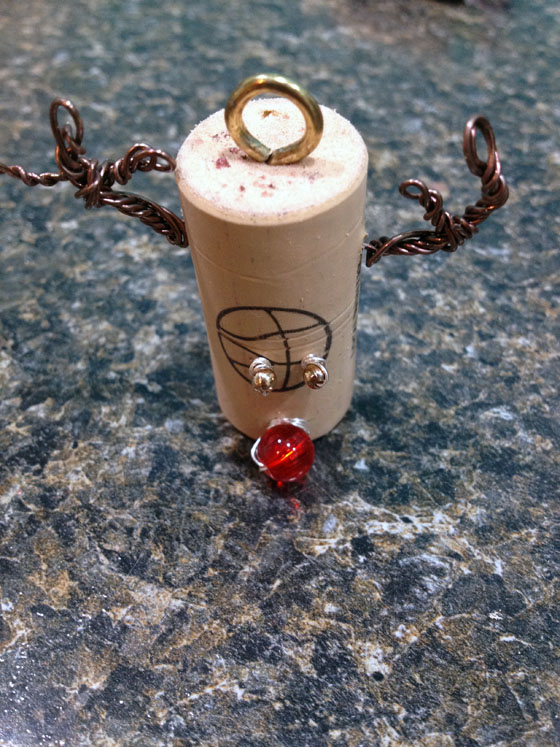
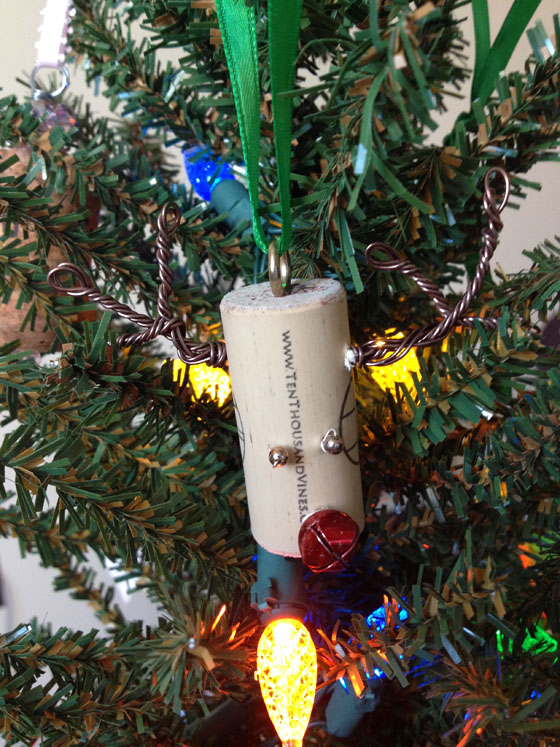
When the glue dried, I poked wire through the cork and made a hidden loop behind the leaf. Then I strung my ribbon through the top and hung it on our holiday garland!

I absolutely love these ornaments and will definitely be gifting a few this holiday season.


Christmas, Craft Projects, Holiday, Wine Crafts

Wine Cork Rudoplhs

wine rudy2

OMG OMG OMG OMG. A CRAFT POST.  A CHRISTMAS CRAFT POST!!!!!

Holy smokes, she’s back! Yup, this craft blogger has some crafts to show you! I mentioned a few posts back that I have ben focusing lately on getting healthy and losing weight — well, I am more than 30 lbs down (Thank goodness! Chubby me was tired of being chubby!) and feel like I have a much better grasp on the balance between eating, exercising and all other fun activities like CRAFTS!

Enter Rudolph the wine cork reindeer!

To make this freakin’ adorable ornament, first start with a cork. I like the corks that aren’t true corks. They have a layer of skin (almost) to them that makes this project easier than if you were to use a true cork.

Cork Rudolph_1

Drill through the cork — don’t go top to bottom, rather drill through the side of the cork, somewhat near the top. This will be the heigh of your antlers.

Cork Rudolph_2

Cut a long piece of malleable brown wire and fold it in half. Stick the wire through your drilled hole, sending the folded end through the cork first. I learned the hard way that it is much more difficult to get your wire through your cork if the sharp end leads the way.

Cork Rudolph_3Your cork should sit in the middle of your wire.

Next, it’s time to form your antlers. I folded the wire about 1.5 inches from the base and twisted the wire until it touched the cork. Then, with the extra wire I wrapped back up the twisted portion and did this again. I ended up with three-pronged antlers, with the extra wire wrapping down along the base of each. Do this on both sides.

Cork Rudolph_4

Once the antlers were on, I screwed an eye hook into the top of the cork to make this an ornament.

Cork Rudolph_5Time for the eyes and nose!

Here’s where your cork having “skin” is important. I took a nail and pressed it through the skin of the cork as an appropriate eye level for rudolph. It went in at one point and came out another — these entry/exit points are where the wire will enter and exit.

Cork Rudolph_6

Once you create your hole and feed your wire through, add see beads for eyes. Get them as close to the cork as possible, then wrap wire around the base of each eye to secure them to the cork.

Cork Rudolph_7

One eye!

Cork Rudolph_8

Two eyes!

I used this exact same process for the nose. I tried to make the entry and exit points closer together when feeding the nail through the cork since the nose didn’t need no be spaced far apart like the eyes. I used beads and bells on different ornaments, but each one needs to be secured to the cork by wrapping the wire around the base.

Cork Rudolph_9

The final step is to add a ribbon! Voila! Rudolph the Red-Nosed Wine Cork!

CORKRUDY

Cork Rudy is hanging on my mini tree in my office. Yes, I’ve started decorating already 🙂

IMG_0033

Christmas, Craft Projects, Holiday, Quick and Easy Crafts, Wine Crafts

Holiday Wine Charms

I welcome today with open arms after yesterday’s tragedy in Connecticut. I was in a real funk after hearing about the shooting (rightfully so) and couldn’t quite snap out of it all day. Even though we had our holiday party at work and I got to come home to my hubby and my puppy, I couldn’t shake the terrible sadness I was feeling. I can’t even imagine what that town is going through right now and my thoughts are with them in this unthinkably difficult time. I am so thankful to get to see my little brother today and my sister and my parents… they are all getting extra big hugs from me for sure. Today is a new day and will most certainly be a better day, so with that said, onto a few happier things.

Today is my best friend’s birthday! Dana and I have been friends forever. Seriously. We were next-door neighbors when we were born and have been friends ever since. Sure, we were forced to be friends. But years of our parents making us play nice turned into a fantastic friendship that I know I’ll have as long as I live.

Me and Dana

Weren’t we cute? I’m on the left and Dana is on the right. And that’s my momma 🙂 She’s so pretty.

Dana and Me

And here we are today… Dana is on the left this time and has a lot more hair, but we are more or less the same.

Love you, Dana! Happy birthday.

And now onto the craft!

I’ve already shown you how to make wine charms, but did you ever think to make holiday-themed wine charms as inexpensive Christmas gifts? I hadn’t until this year, but as I was wandering the aisles of Michaels I Stumbled across holiday buttons and picked up a pack of holiday lights and cookie cutter buttons. Holy cuteness.

In case you forget how or simply missed the post on how to make wine charms, it is super easy. All you need are different charms or beads, pre-made hoop wire, and pliers. Add your beads and charms onto the hoop wire, then bend the end of the wire into a right angle so nothing can fall off. Put this bent end into the eyelet on the end of the hoop wire, and your charm is finished! Just make sure there is something obviously different about each charm so when they are used people will be able to remember which is theirs (although I never remember… oops.)

The first set I made were a Secret Santa gift for my coworker Julie. I made her a set of three wine cork ornaments and these wine charms to go with a nice bottle of wine. I used the Christmas light buttons and a few silver beads as accents to make this adorable set of wine charms. She really liked them and said she didn’t have any wine charms at all before! Sweet.

Holiday wine charms

Then I made this set of cookie cutter charms. The colors are all very similar, but each charm is very different: Heart, tree, gingerbread man, star. I have two sets of these and will be giving them out as Christmas gifts. Gah, they are so cute.

wine charms

All in all, these probably cost about $2 per set. So if you need an inexpensive gift, these are a great idea.

I hope you all have a great weekend! Hug your loved ones and make wine charms 🙂