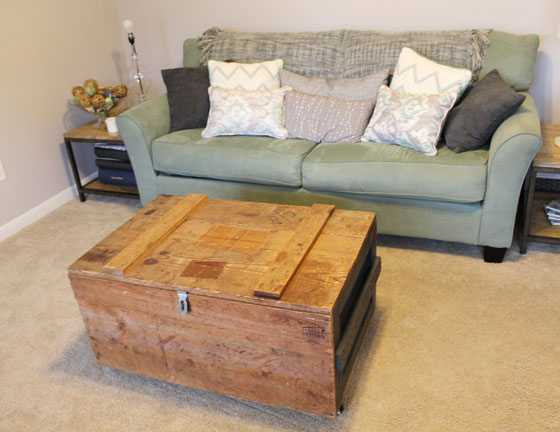
Earlier this year I found a crate on my local Freecycle listserv that I scooped up, added some caster to and turned into a coffee table.
The crate sat as is for a while, but the wood was rough around the edges and the crate had been written on and scuffed up. I decided to take on the coffee table crate project for a second time, this time opting to stain the crate and make the piece a little more polished — well, as polished as an old wood crate can look.
The side of the crate was painted a dark, charcoal gray. I decided to stain the crate a gray to pull out the charcoal-colored sides.
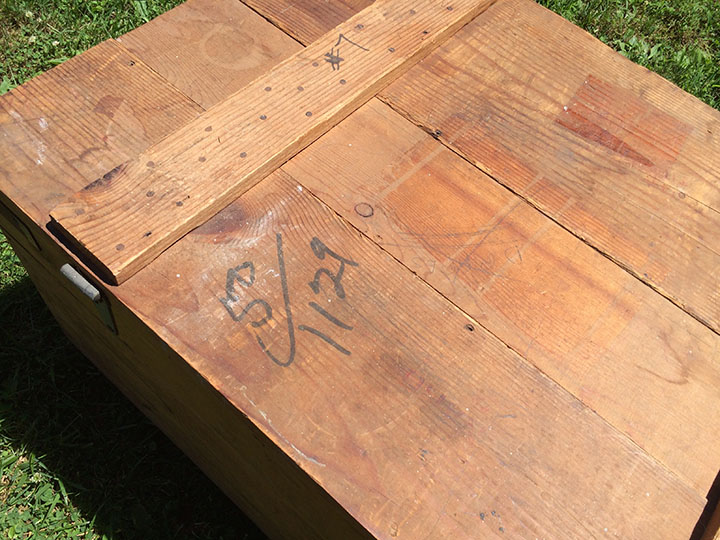
Before I could start staining, I had to sand the hell outta the crate. The top was covered in nicks, scuffs, sharpie, old sticker goo…. It wasn’t pretty.
It looked like someone had kept score on the crate, or attempted math? Who knows. But the sharpie had to go.
Once the whole crate was sanded down, I applied a gray stain to the whole thing, including the painted sides. Since some of the paint was scuffed off, I wanted to make sure the exposed wood was gray, too.
The wood soaked up the stain lie crazy, turning the whole crate a charcoal gray with wood grain popping through. I love the color mixed with the natural wood peeping through.
Once it dried, I coated the whole thing in a polyurethane.
The finished product is still a roughed up, old crate — but a much nicer looking old crate. I like the gray a lot and how it tied the sides and the rest of the piece together. I also like the lack of graffiti on my furniture. That’s a plus for sure.
We aren’t currently using the crate as a coffee table, so I’m not sure what we’ll do with it. But I really like the cleaned up look for this neat old piece.
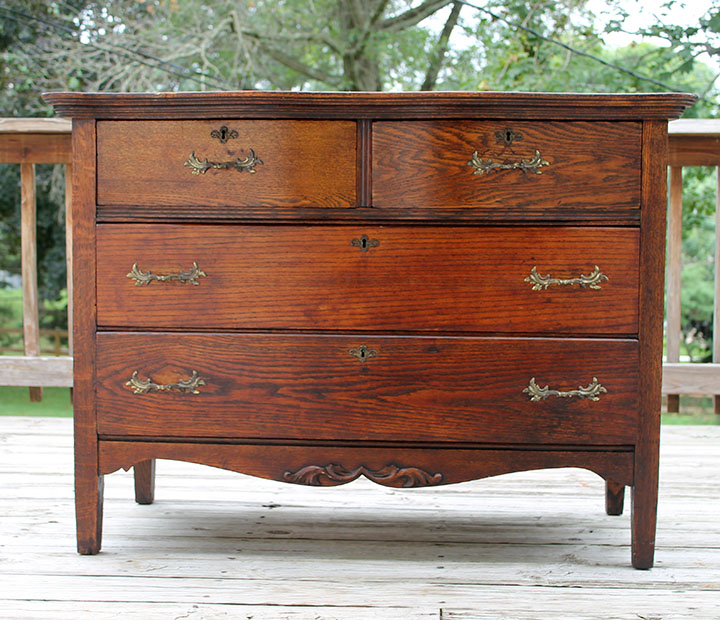
I grew up with this antique dresser always somewhere in my house. Ever have an affinity for something just because you grew up with it? Well, that’s how I feel about this dresser. It’s not quite my style, but I love it nonetheless. With four drawers, each with their own keyhole, and a beautiful curve — this piece is exactly what comes to my mind when I think of an antique dresser. My dresser comes with an added bonus — a small teal bead that me and my sisters stuck in one of the keyholes. We could easily remove the bead, but it has become sort of sentimental through the year — like, oh, is that the dresser with the bead stuck in it?
Anyway, long story short, my mom and step dad had the dresser at their hose for years. Over the years, it somehow made its way into the garage and became a storage chest for nails, screws and the like. Needless to say, it got a little bit beat up.
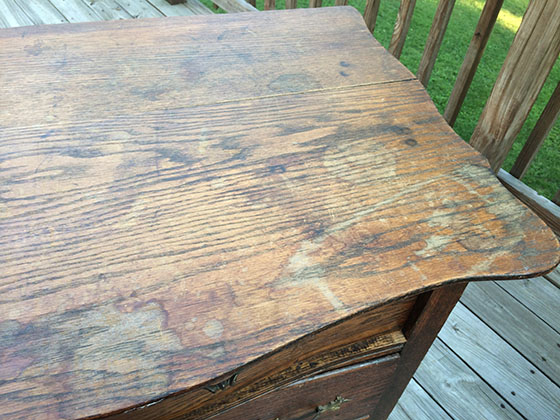
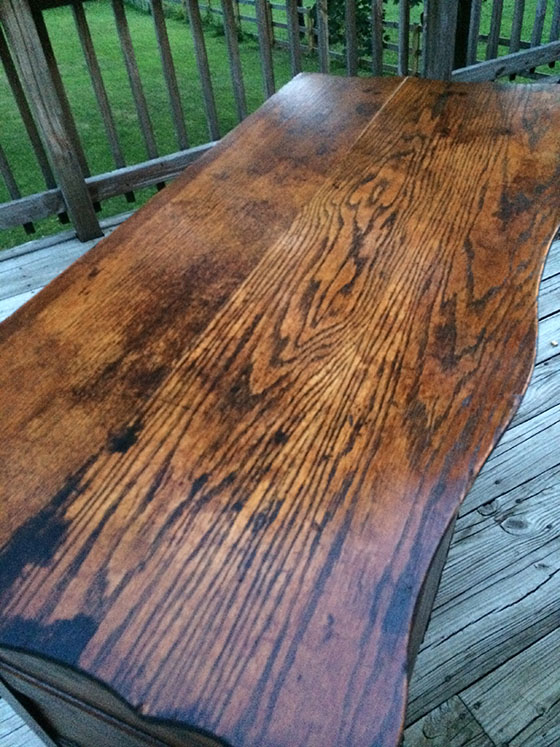
The top really needed some love. With a crack 1/3 the way through it and all sorts of nastiness to the finish, it was crying for some help.
But let’s rewind….
Before I could tackle any of this, I had to clean this puppy up.
Talk about some serious spider webs.
OK, back to the restoration.
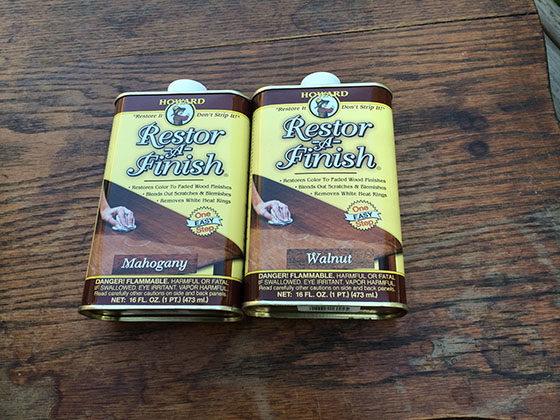
I pulled out my walnut restor-a-finish and a new bottle of mahogany finish and mixed the two together. The dresser was an in-between color, so I figured a mix would be the best option.
Before I started the application of the restor-a-finish, I first wiped down the whole dresser, removed the drawers and took off the hardware.
You can really see the color variation in the finish in this next picture, especially underneath where the hardware goes. You might also notice some doggy paws keeping me company.
I also filled the crack in the top of the dresser using Elmer’s wood filler.
Once that dried, I sanded it smooth.
Then, I got to restoring. Using gloves and a ventilator mask for safety, I started applying the restor-a-finish to the whole dresser. All you have to do is put it on with a paper towel and let it soak in. In 20 minutes, wipe the finish back off. I did this twice, although that probably isn’t necessary. When that was dry, I simply added some feed-n-wax to the piece. You use the same method for the wax — wipe it on with a paper towel, then in 20 minutes remove it again.
And that’s it! I reattached the hardware and put the drawers back in.
Check out that top! All sorts of fancy and nice.
Here’s another shot. You can see there are still scratches in the top, but they don’t stand out anymore because of the treatment done. If you wanted the scratches out completely, you’d have to sand down the stop, which would remove the original finish of the piece. It’s a toss-up. The scratches don’t bother me, so I opted to let them stay with the original finish of the piece.
Ready for the whole thing?
BEFORE:
AFTER:
It has such a nice color to it again!
This dresser is a perfect example of not needing to paint old furniture. Don’t get me wrong — I love a painted piece of furniture, but I hate to see beautiful antiques covered with paint because people aren’t aware of their other options!
My mom and stepdad will be sad they let it go. Now I need to figure out where it will live in my house. I am thinking it will go in our guest room and that we could use it as a future changing table for future babies. That seems to be a popular trend these days, anyway. Wouldn’t this be adorable in a little girl’s room? Of course it would, that’s why my mom got it for her three daughters 🙂
BONUS:
I don’t usually share outtakes from my projects and photo shoots, but Remmy was all over me for this project. I guess when his momma is outside, he’s gonna be glued to her side.
Here he is in his cone of shame. Don’t worry, he’s OK. He just irritated his paw and wouldn’t leave it alone.Don’t worry, Rem. I wanted to take your picture, not one of the dresser.Staring contest. I won, he got bored.Oh, were you trying to take a picture? My bad…
Happy Mother’s Day to all of the moms out there! My Mother’s Day was fantastic — I got to see all three of my moms and hopefully made each of their days special. Oddly enough, you will see no photos of my moms in this post because during the time I got to spend with them yesterday I completely forgot to take pictures! Oops.
We started out our morning in Annapolis with my mom (who did remember to take pictures, phew!). It was a beautiful day for brunch on the Chesapeake Bay and we had a wonderful time.
It was also a beautiful day for a duck selfie. Sorry ladies. This goofball is taken 🙂
After brunch, the hubby and started on our new project: replacing our outdated brass closet doors in our living room. You might think it is odd that we chose to replace these doors in the five hours between brunch and when our guests would arrive for dinner. Well, we actually started this project on Saturday. … or, I started the project. I wanted to move our more modern (if you can call them that) sliding mirror doors from our guest bedroom to our living room to replace the brass doors from the ’80s.
The only picture I could find of the doors is here, from when I was painting the living room gray. It’s crazy how much in this one photo has changed! (The TV lived in that spot for maybe 2 weeks, we have a new front door, curtains, paint. That’s a lot for the front area of the house…)
Anyway, you can probably see where this is going. The brass doors were a bitch huge pain to remove and we ended up breaking the mirrors in both during the process. There was no turning back, which ended up being unfortunate because the replacement doors didn’t fit… which of course we learned after I spent 20 minutes hacksawing the frame down so it would fit in the opening. Grrrrr. Oh well!
So we took everything to the dump and planned on putting up new doors in between our Sunday engagements.
Here’s how the closet looks without the doors. Honestly, it looks way better without than it did with haha. You can see at the foot of the closet the strip of missing carpet and our hardwoods underneath! Someday I would love to rip up the carpet and refinish the floors 🙂 Call me a dreamer because it will probably never happen.
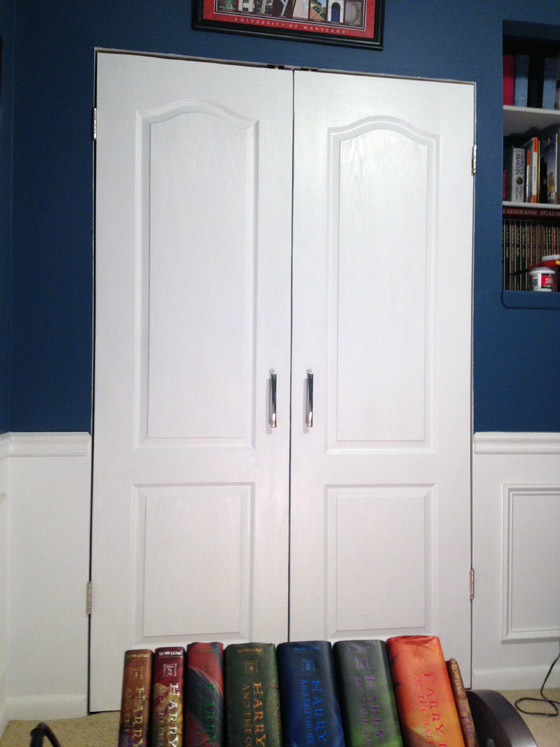
We want our doors to eventually look like the closet in our office:
We got the doors hung up, but there is currently no hardware, no paint, no reinforcing the bottom of the doors from the parts we cut off…. we have a little bit more to do! But I’ll save that for later.
Brian’s mom and my step mom came over for dinner as we wrapped up our door project. Thankfully I spent the majority of Saturday cleaning the house, setting up for dinner and prepping food because it was all ready to go when they arrived.
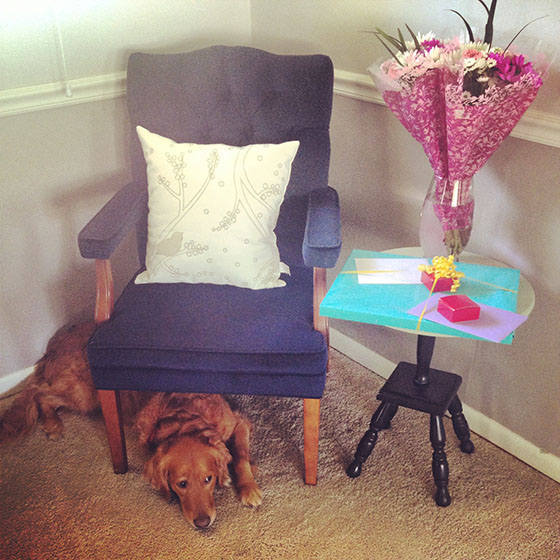
Check out my fancy table 🙂
I got to use my pretty teal napkins for the fist time and a lot of our wedding stemware! So fun. I even set up a “gift station” because I had to move our table from our dining room into our living room so the eight of us could eat comfortably. This chair and table were the only things in our dining room haha. Temporary solution!
Even though there are no moms pictured in this post, we had a wonderful day celebrating with our three leading ladies. Brian and I are fortunate to have been raised by wonderful women.