Life

Memorial Day weekend recap

Remmy

Holy hell, Batman. This weekend was awesome. In spite of the fact that I ate and drank so much it made me sick on Tuesday (call the waaaahmbulance!), this weekend seriously kicked ass.

Thursday night we had one of my college roommates over. We grilled and it was delicious.

Friday night my bestie and her man came over. We made homemade pizza and Dana brought over Velatis caramels. And it was delicious.

Saturday I did two more sections of rocks in our driveway while the hubby mowed. Then we installed shutters. Then we drove all over Columbia to get lunch at chipotle. Then we painted his mom’s molding in her living room and helped her set it back up. Then I planted 6 tomato plants! In a dress. Without getting dirty. WOO! Then we had friends over for yard games. Busy day, huh?

Sunday! Sunday started with friends and food (big surprise, right?). Our friends Ben and Phil came over super early to watch a Formula 1 race with my man, then we all piled into the car (plus Dana) and headed to a local farmer’s market! I scored a loaf of Italian bread, cherry tomatoes and some peas. And it was all delicious.

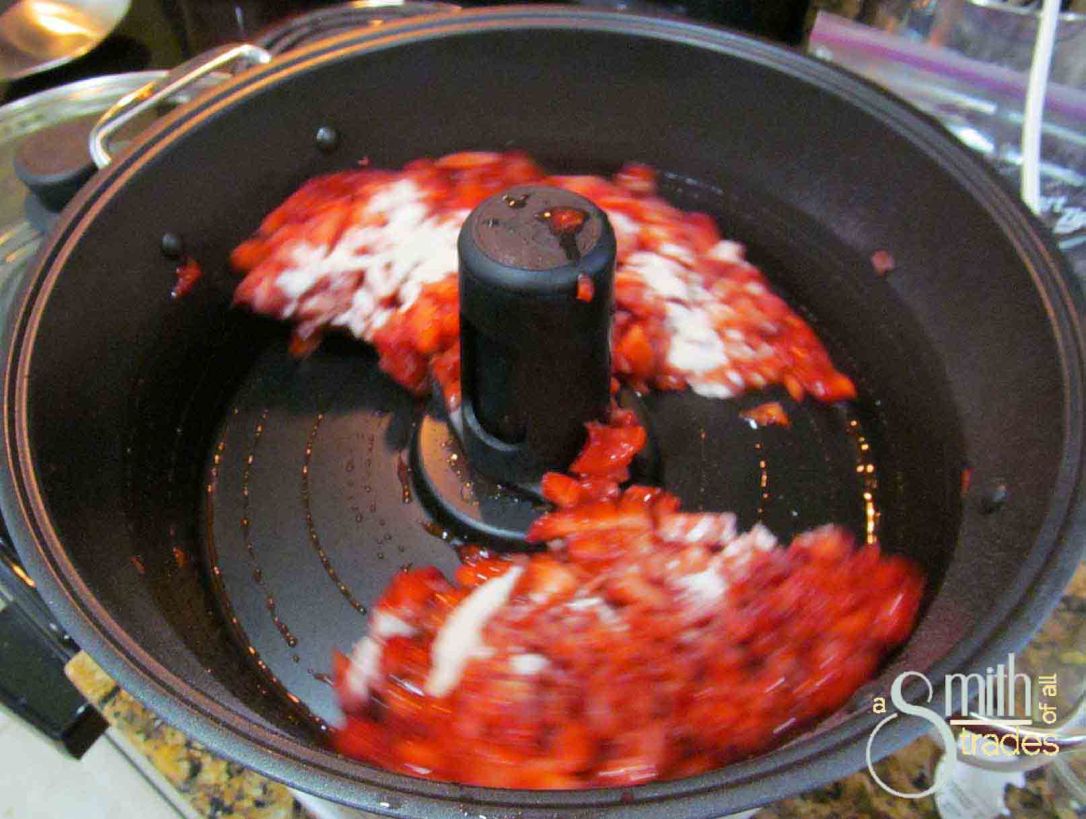
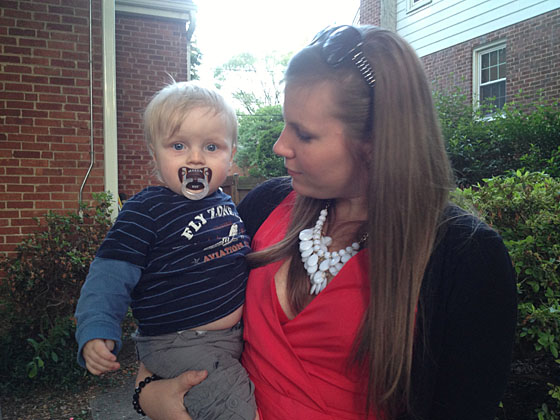
Sunday afternoon we baked. Well, Emily baked and my baking failed. But that’s ok. Then we went to a Memorial Day cookout at our friends’ house in Silver Spring. I pretty much hung out with baby Declan the entire time. Holy cuteness.

Declan
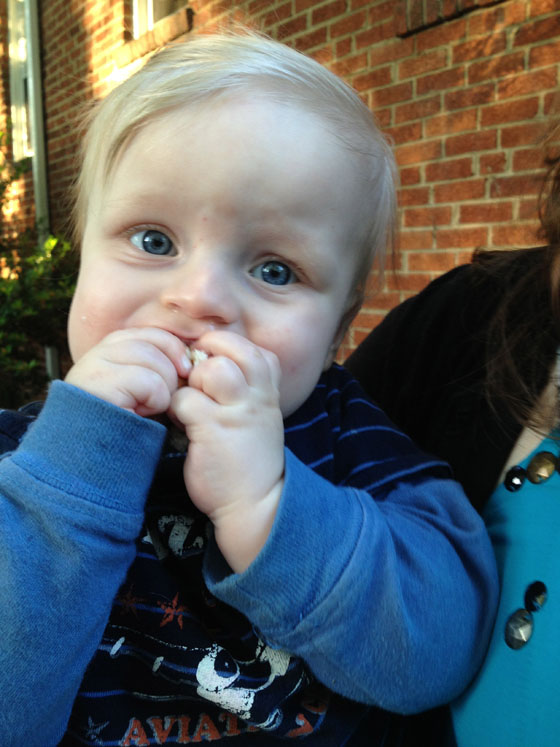
Yup… look at those eyes.

IMG_3625

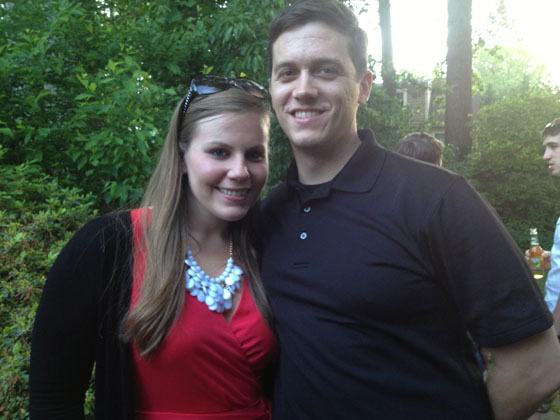
Nice photo bomb, Phil!

Enjoy a few more photos from our fun night!

IMG_3628

IMG_3622

IMG_3620

IMG_3619

IMG_3623

Like I said, totally awesome weekend. We finished our fabulous weekend with a picnic at my dad’s house. I don’t remember the last time I got to see so many friends and family members a span of five days — it was incredible.

I hope you all had a great weekend. Enjoy your weeks & happy hump day (do people still say that?!)

Craft Projects, Quick and Easy Crafts

Quick and Easy Heating Pad

{A Smith of All Trades} Heating Pad

Do you ever hang on to something that you should probably toss, but you’re just positive that someday you’ll have a use for it?

I had one of those moments last night– the hubby’s back is a little sore and I thought, “man, I should really buy us a heating pad next time I see one.”

Then I remembered that I bought a bag of lentils a few months ago AND I had an almost-sewn bag that our duvet cover came in — I could make my own!

{A Smith of All Trades} Heating Pad 1

This project is really simply, even if you don’t have a three-sided pouch ready for you to turn into a heating pad. You need fabric, lentils and tea!

Take your fabric and cut out two rectangles of the identical size. Place the fabric so both “nice” sides are touching one another, then run each edge through your sewing machine — make sure you leave about an inch gap in one side so you can add your lentil mixture. Since I had this already sewn pouch thingy, I simply sewed across the one edge (I actually sewed it by hand because I can’t figure out how to use my new sewing machine my sister gave me and I didn’t feel like reading the directions last night — pathetic I know).

Flip your bag right-side-out and grab a funnel. In a bowl, mix an entire bag of lentils (you may need more than one depending on how large you make yours) with loose tea. If you don’t have loose tea, you can cut open tea from your tea bags and mix it with the lentils. I love the smell of jasmine, so I cut open about eight tea bags and dump the contents into the bowl with my lentils.

Stick the funnel into the remaining hole of your heating pad and slowly add the lentil/tea mixture. When it’s full, sew the remaining hole shut!

Donezo!

Throw that bad boy into the microwave for a minute and a half and you have yourself a heating pad that smells super yummy.

{A Smith of All Trades} Heating Pad bag

Fantastic picture of the hubby using it, huh?

{A Smith of All Trades} Heating Pad Neck

Recipes

Homemade Strawberry Jam

Homemade Strawberry Jam

I got the most random appliance for Christmas (I asked for it, btw) — a jelly and jam maker! I absolutely love making homemade jams and jellies and thought I’d share a recipe or two with you guys.

Today I made strawberry jam. It’s the hubby’s favorite and it is so soooo delicious. I like making my own because I don’t have to put nearly as much sugar in it as the store-bought jellies. Plus, it is tastier.

Here’s what you need (yes, real measurements! I know, that’s crazy coming from me.):

  • 2 lbs Strawberries
  • 1 tbsp butter
  • 1.5 tbsp pectin
  • 3/4 cup sugar

Before I start I should add that this recipe will work on the stove as well. The jam maker is preset to make jam or jelly and has a stirrer in the middle so nothing burns. It’s just a glorified pot. (But it is awesome!)

First, cut up your strawberries into little bits. If you like your jam chunkier, leave some bigger chunks of the fruit.

Next, mash your berries with a potato masher to get some of the juices loose and the strawberries extra squishy.

IMG_0062

Add your strawberries, butter and pectin to your jam maker and turn it on. In my jam maker, the preset time for jam is 21 minutes. If you make it on the stove, cook on medium heat for about the same amount of time.

Side note: I had no idea what pectin was before I started experimenting with my jam maker, so here’s what I’ve learned. Pectin is a natural substance found in apples that helps fruit to gel up. For fruits with a lot of pectin in them, you do not have to add pectin to make the jam or jelly (although it doesn’t hurt). Berries don’t have a lot of pectin, so you need the added stuff. I buy mine on Amazon.

After 4 minutes, add in your sugar. Cover and walk away and let the pot do its work.

Jam

Come back in 21 minutes to a steamy pot full of delicious jam. If you want to can your jam, do it immediately while the jam is still boiling hot and you won’t have to boil your jars to seal them. Simply place your seal and your lid onto the can after it is full, then flip it upside down. The heat from the jar’s contents will seal the jar and make it last for about a year.

The jam will also burn badly if you spill it on yourself. I learned this the hard way after spilling a bunch of boiling peach jam on my hand. Be careful!!!

If you are going to use some right away, plop it into a container and place it in the fridge. Once it is cool, try it out!

jam on toast

(Don’t just my white bread. … It’s what the hubby likes and mine was out :p)

The main reason I am sharing this recipe is that when I got my jelly and jam maker it came with a recipe book. This recipe book called for a ton more pectin (which is expensive) and a TON more sugar. I’m talking three cups. Gross. I think the recipe I have here is a really good one that I plan to use from now on with this jam.

Enjoy!