

Today has not been my day. After getting all decked out in Ravens gear and heading to Baltimore for the parade, we instead sat in terrible traffic. Then, when we got into the city, they promptly redirected us right back out onto the highway. No Super Bowl celebration for us. So sooo bummed.
Instead I worked like most everyone else, which is good because I had stuff I needed to do. So, instead of Super Bowl celebration photos, here is a post I had scheduled for Wednesday for your enjoyment 🙂
I showed you how to make a few different types of button earrings in my last few posts, so today I’ll share how to make a button ring. It’s a little trickier than the earrings. All you need is a button, some hard wire, some pliers, and something to bend your wire around so it stays round — I have a ring sizer I use specifically for making rings.

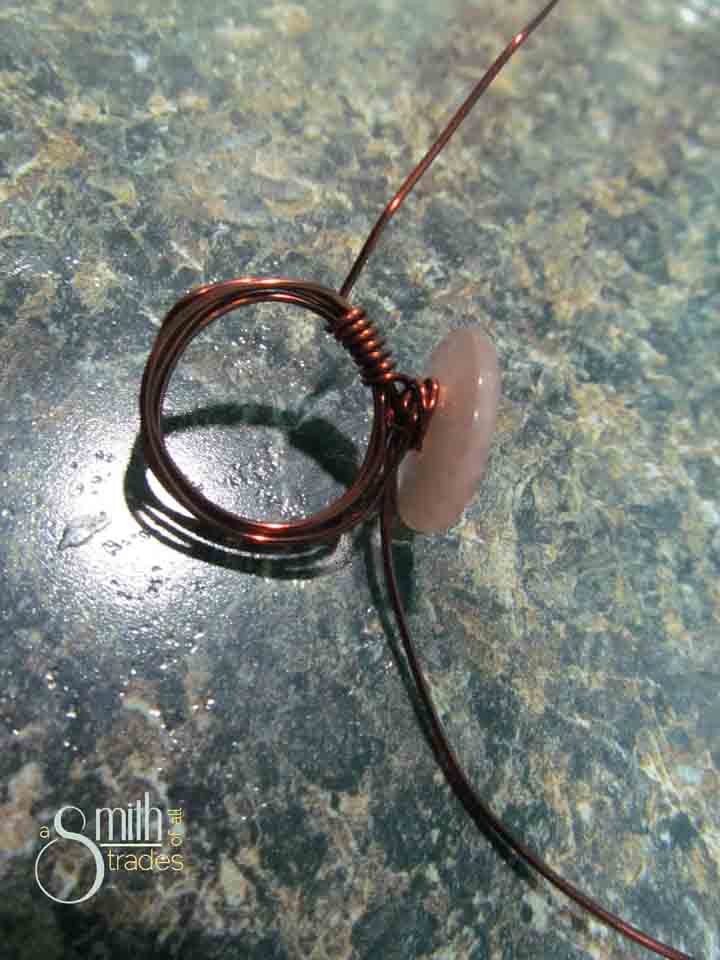
Thread your wire into your button holes.

On the under side of the button, bend the wire in opposite directions. Then, send one of the wires back up and down through the holes again. Twist the wires around one another so the button will not fall off the wire if you let go.

Then, wrap your wire around something that will hold the round shape. I chose to have a thicker band, so I wrapped the wire around my ring sizer four times.

Next, starting with one side and at the base of the button, start wrapping the leftover wire tightly around the ring band.
Do the same to the other side. Stop when you get all of the way around, or when both sides are even. If you wrap the wire around the entire band, your ring will be a lot smaller than you originally sized it to be, so keep that in mind.

Cut the excess wire off and fold the edges down against the band. With that, your ring is finished!

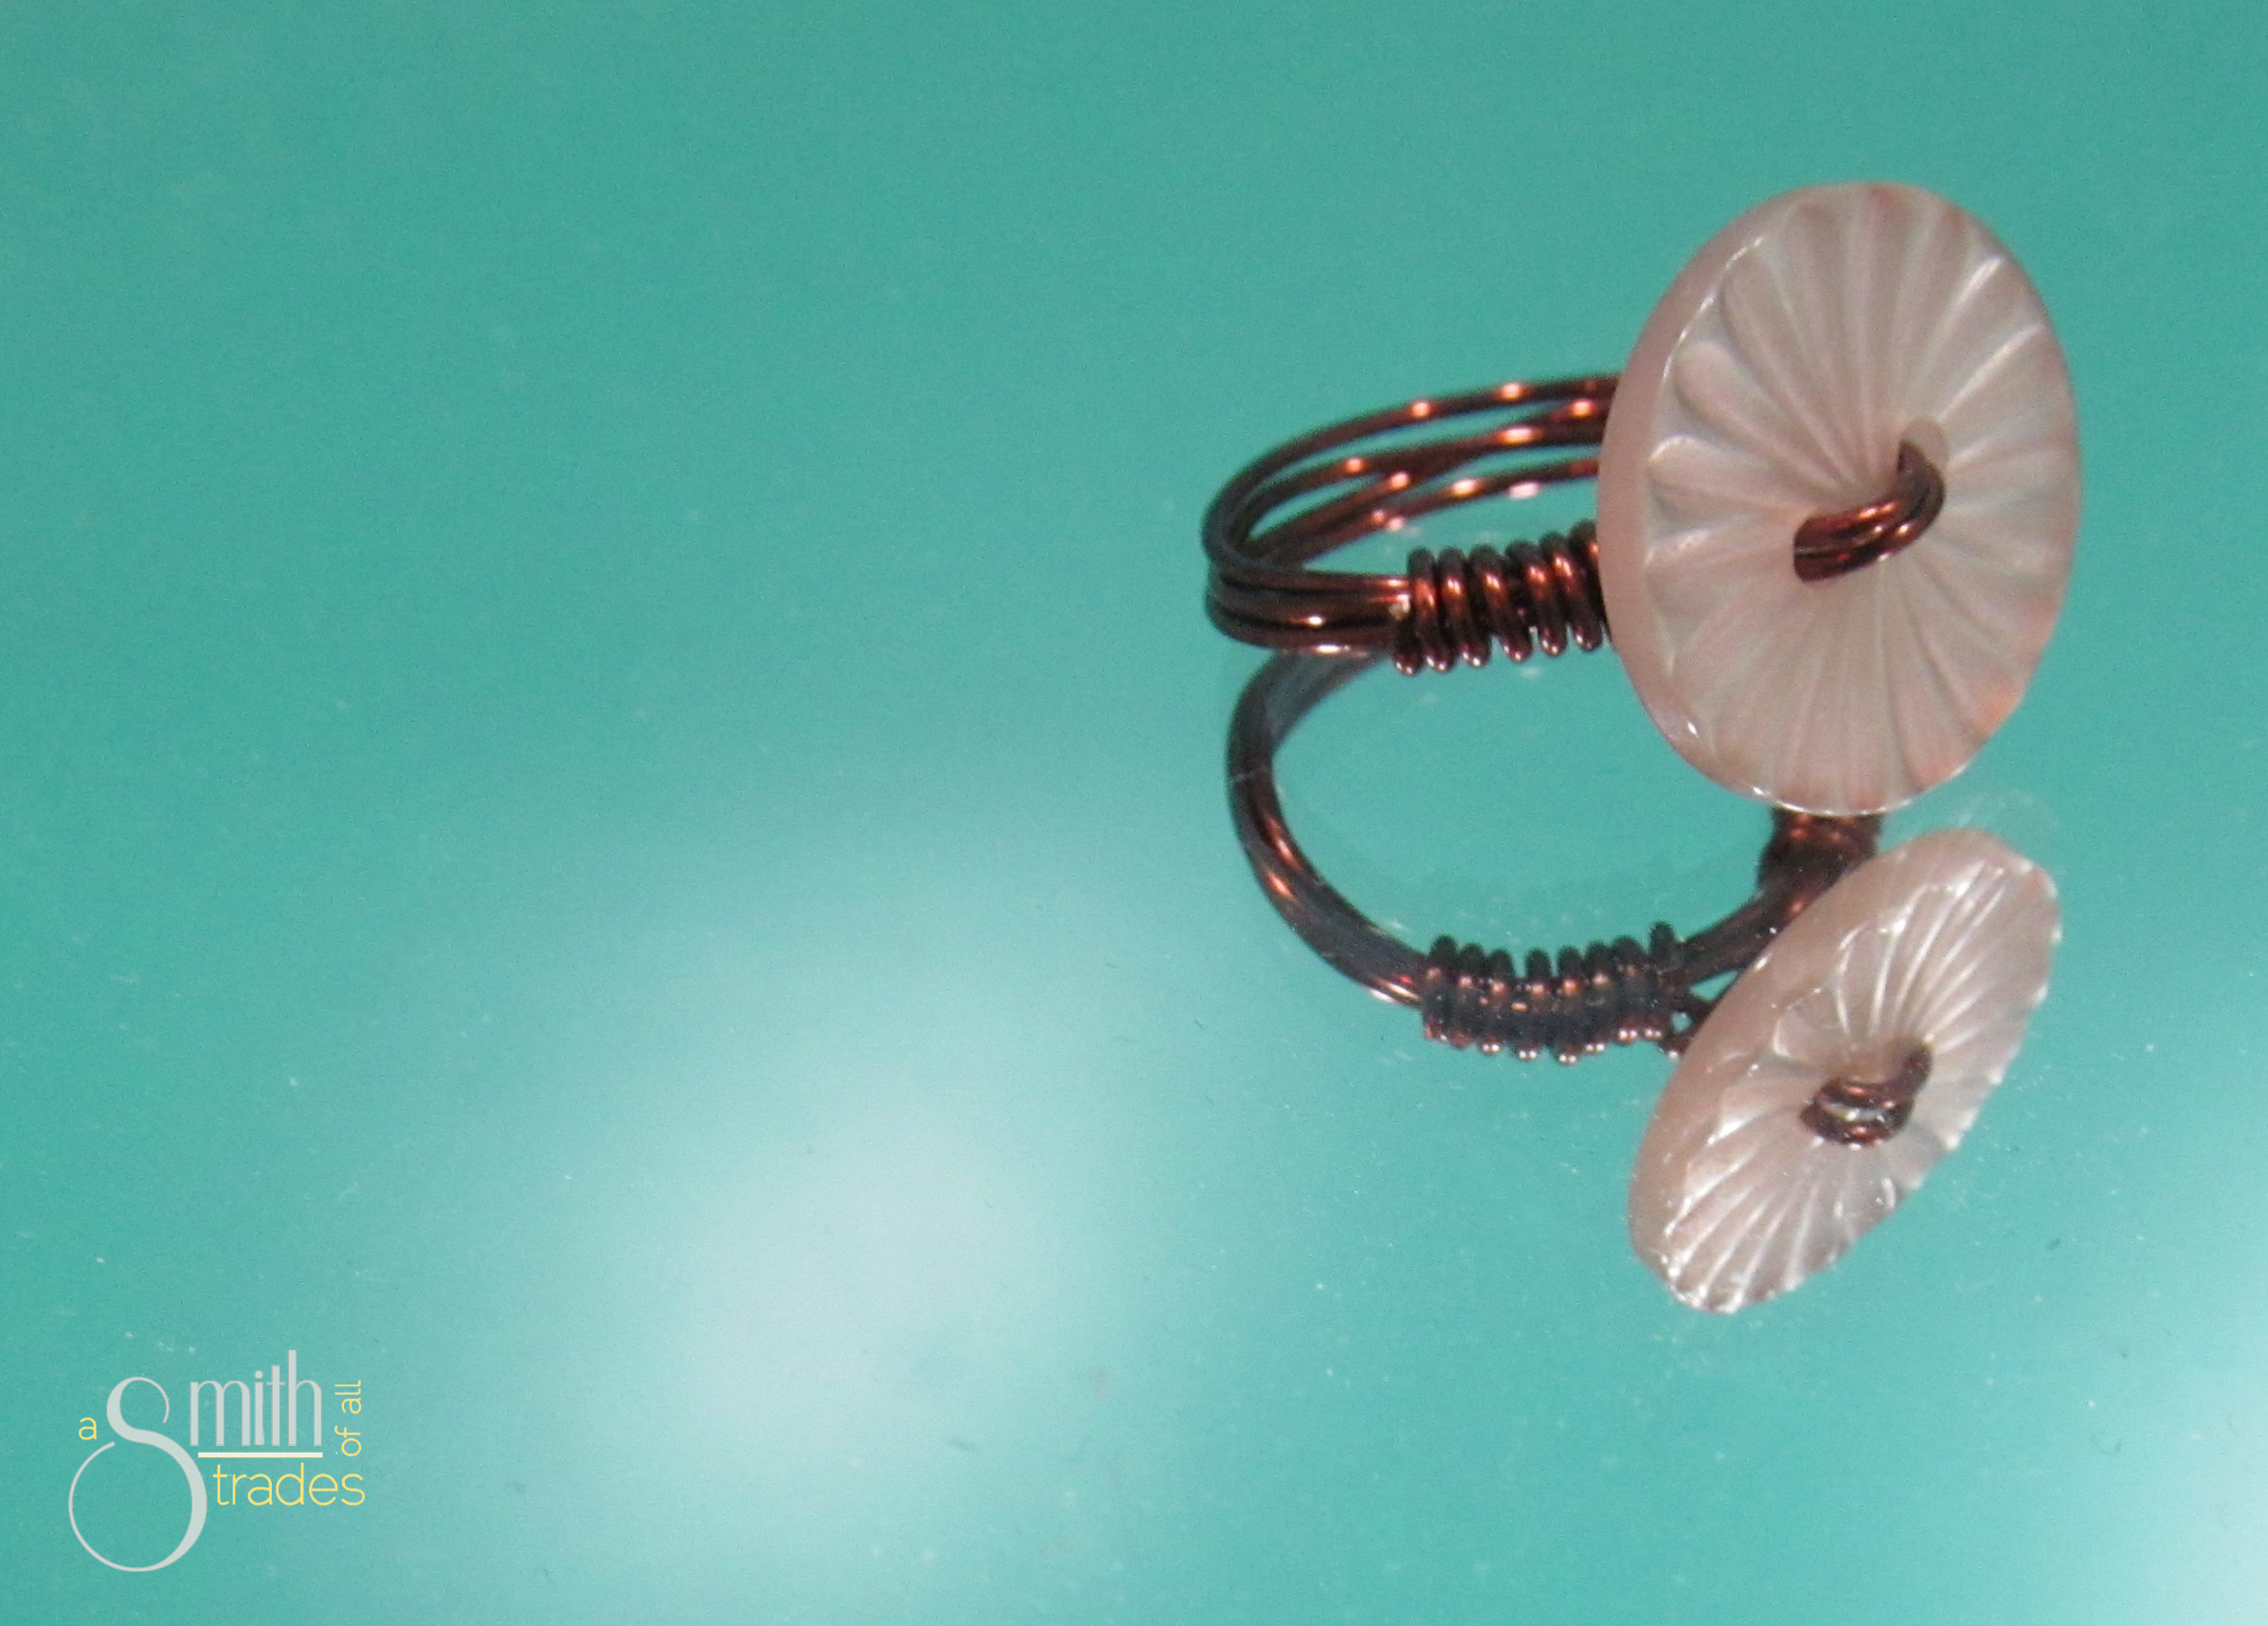
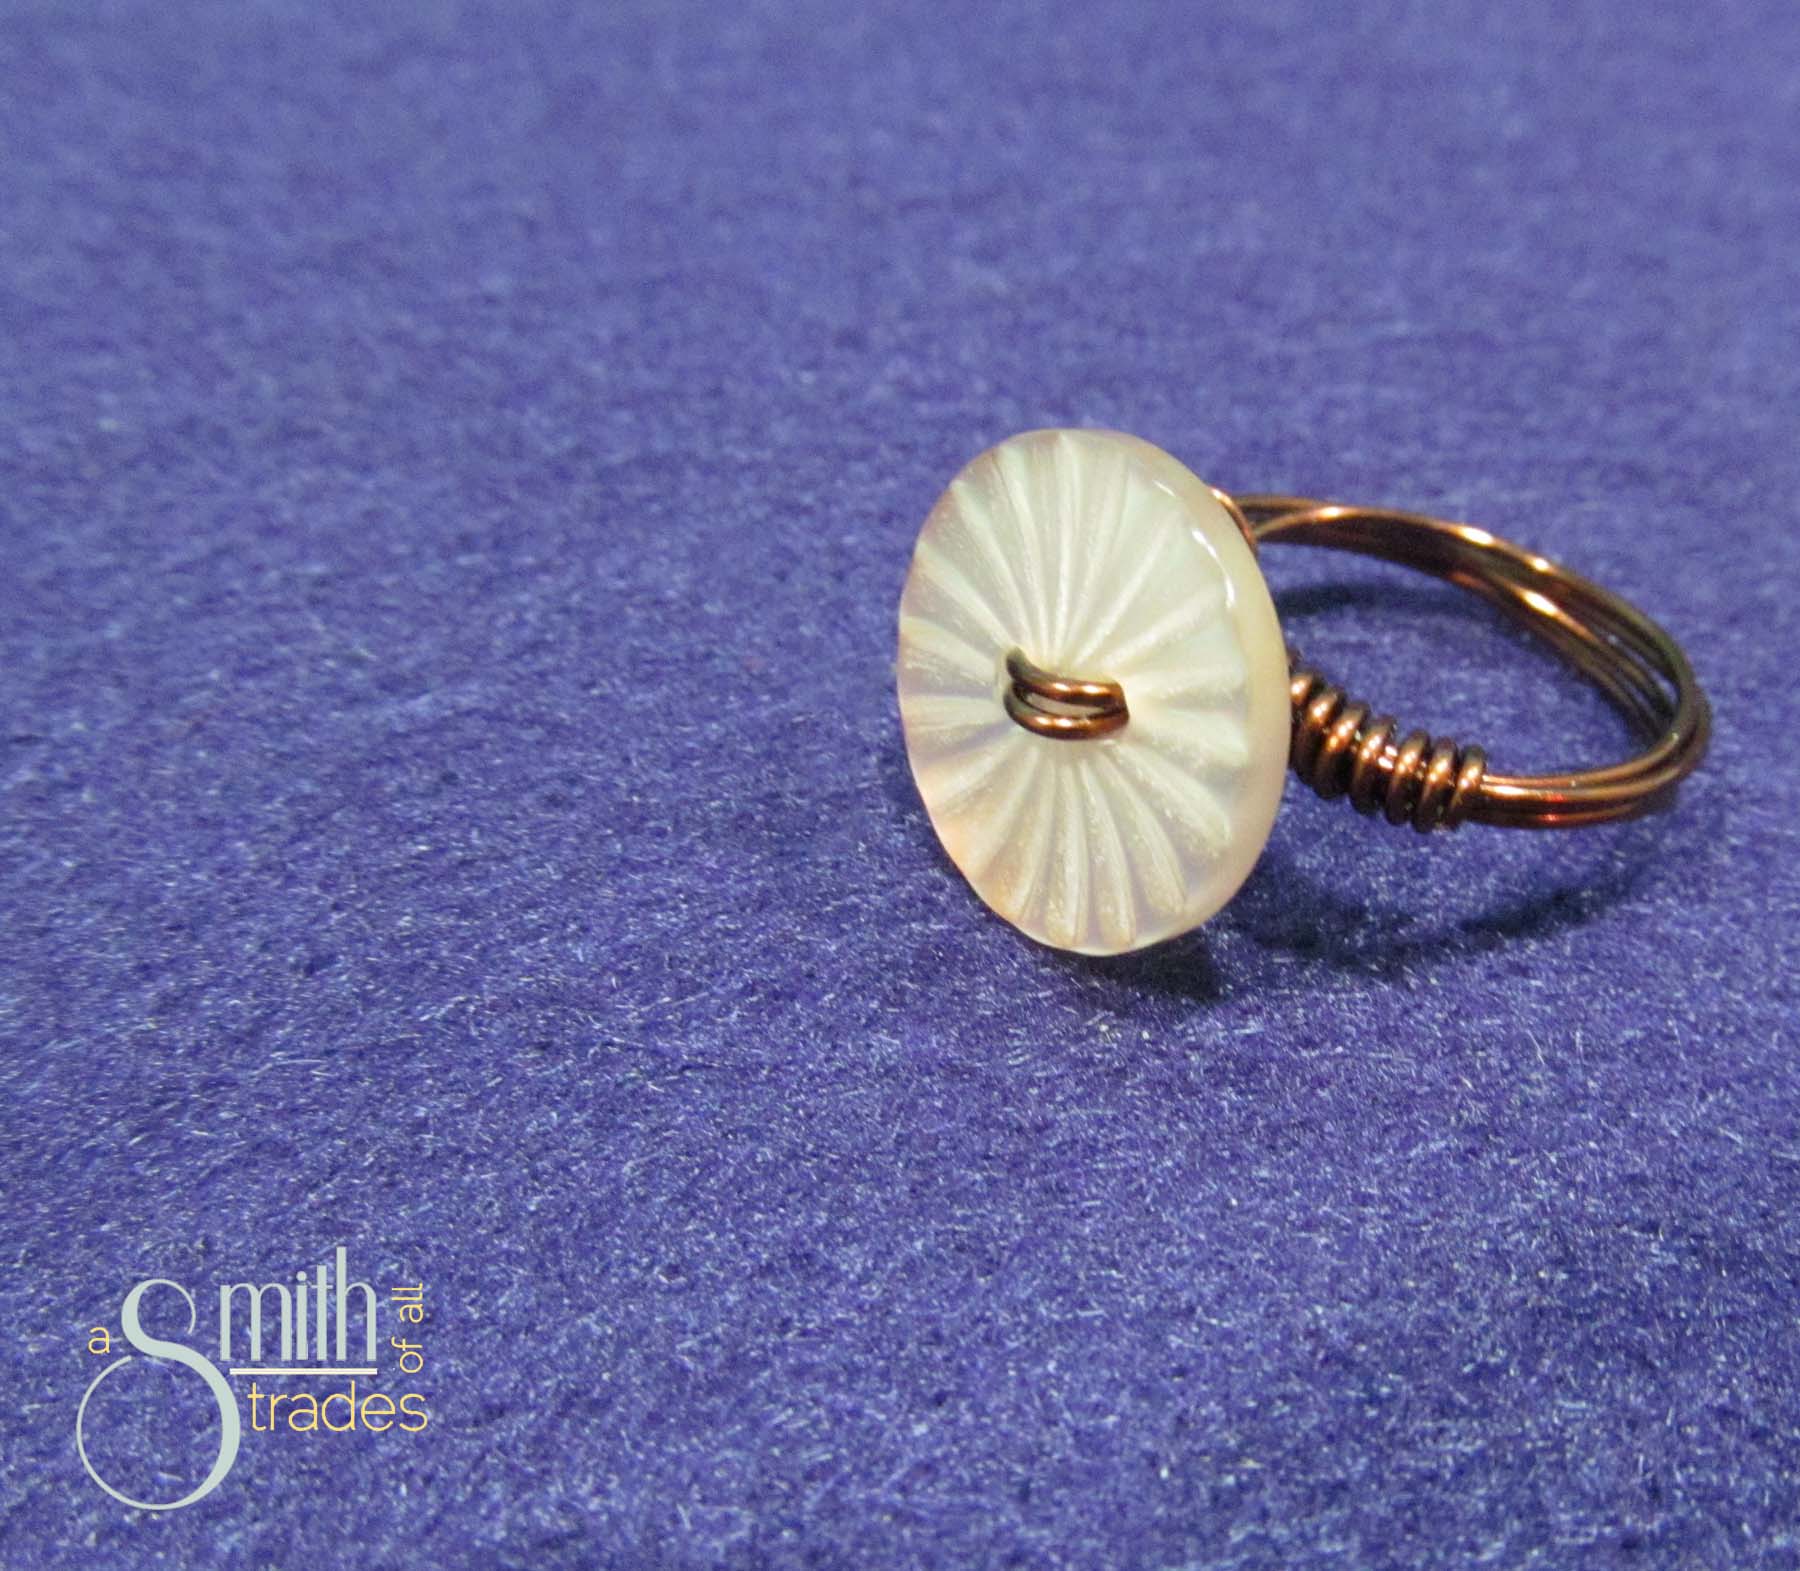
Pretty darn cute, right?

I am wondering where would I get ring sizer?
I got mine on eBay, but you can also find them on Amazon.